Pages Overview
Pages are the foundation of your Knack Live App, serving as containers for elements that display and interact with your data. This overview will help you understand how pages work and how to manage them effectively.
What You'll Learn
In this overview, you'll discover how pages function within your Knack app, where to find and manage them in the Builder, and the essential actions for creating, editing, and organizing your app's page structure. You'll gain the knowledge to efficiently build and maintain the navigation framework that your users will experience.
What are Pages?
Knack utilizes pages and elements to construct your live app. An element serves as a visual component, such as a form, grid, or search, that interacts with records in your database. A page is responsible for consolidating multiple elements into a single screen that your users interact with.
Your Live App can include multiple pages that users navigate through menus and links.
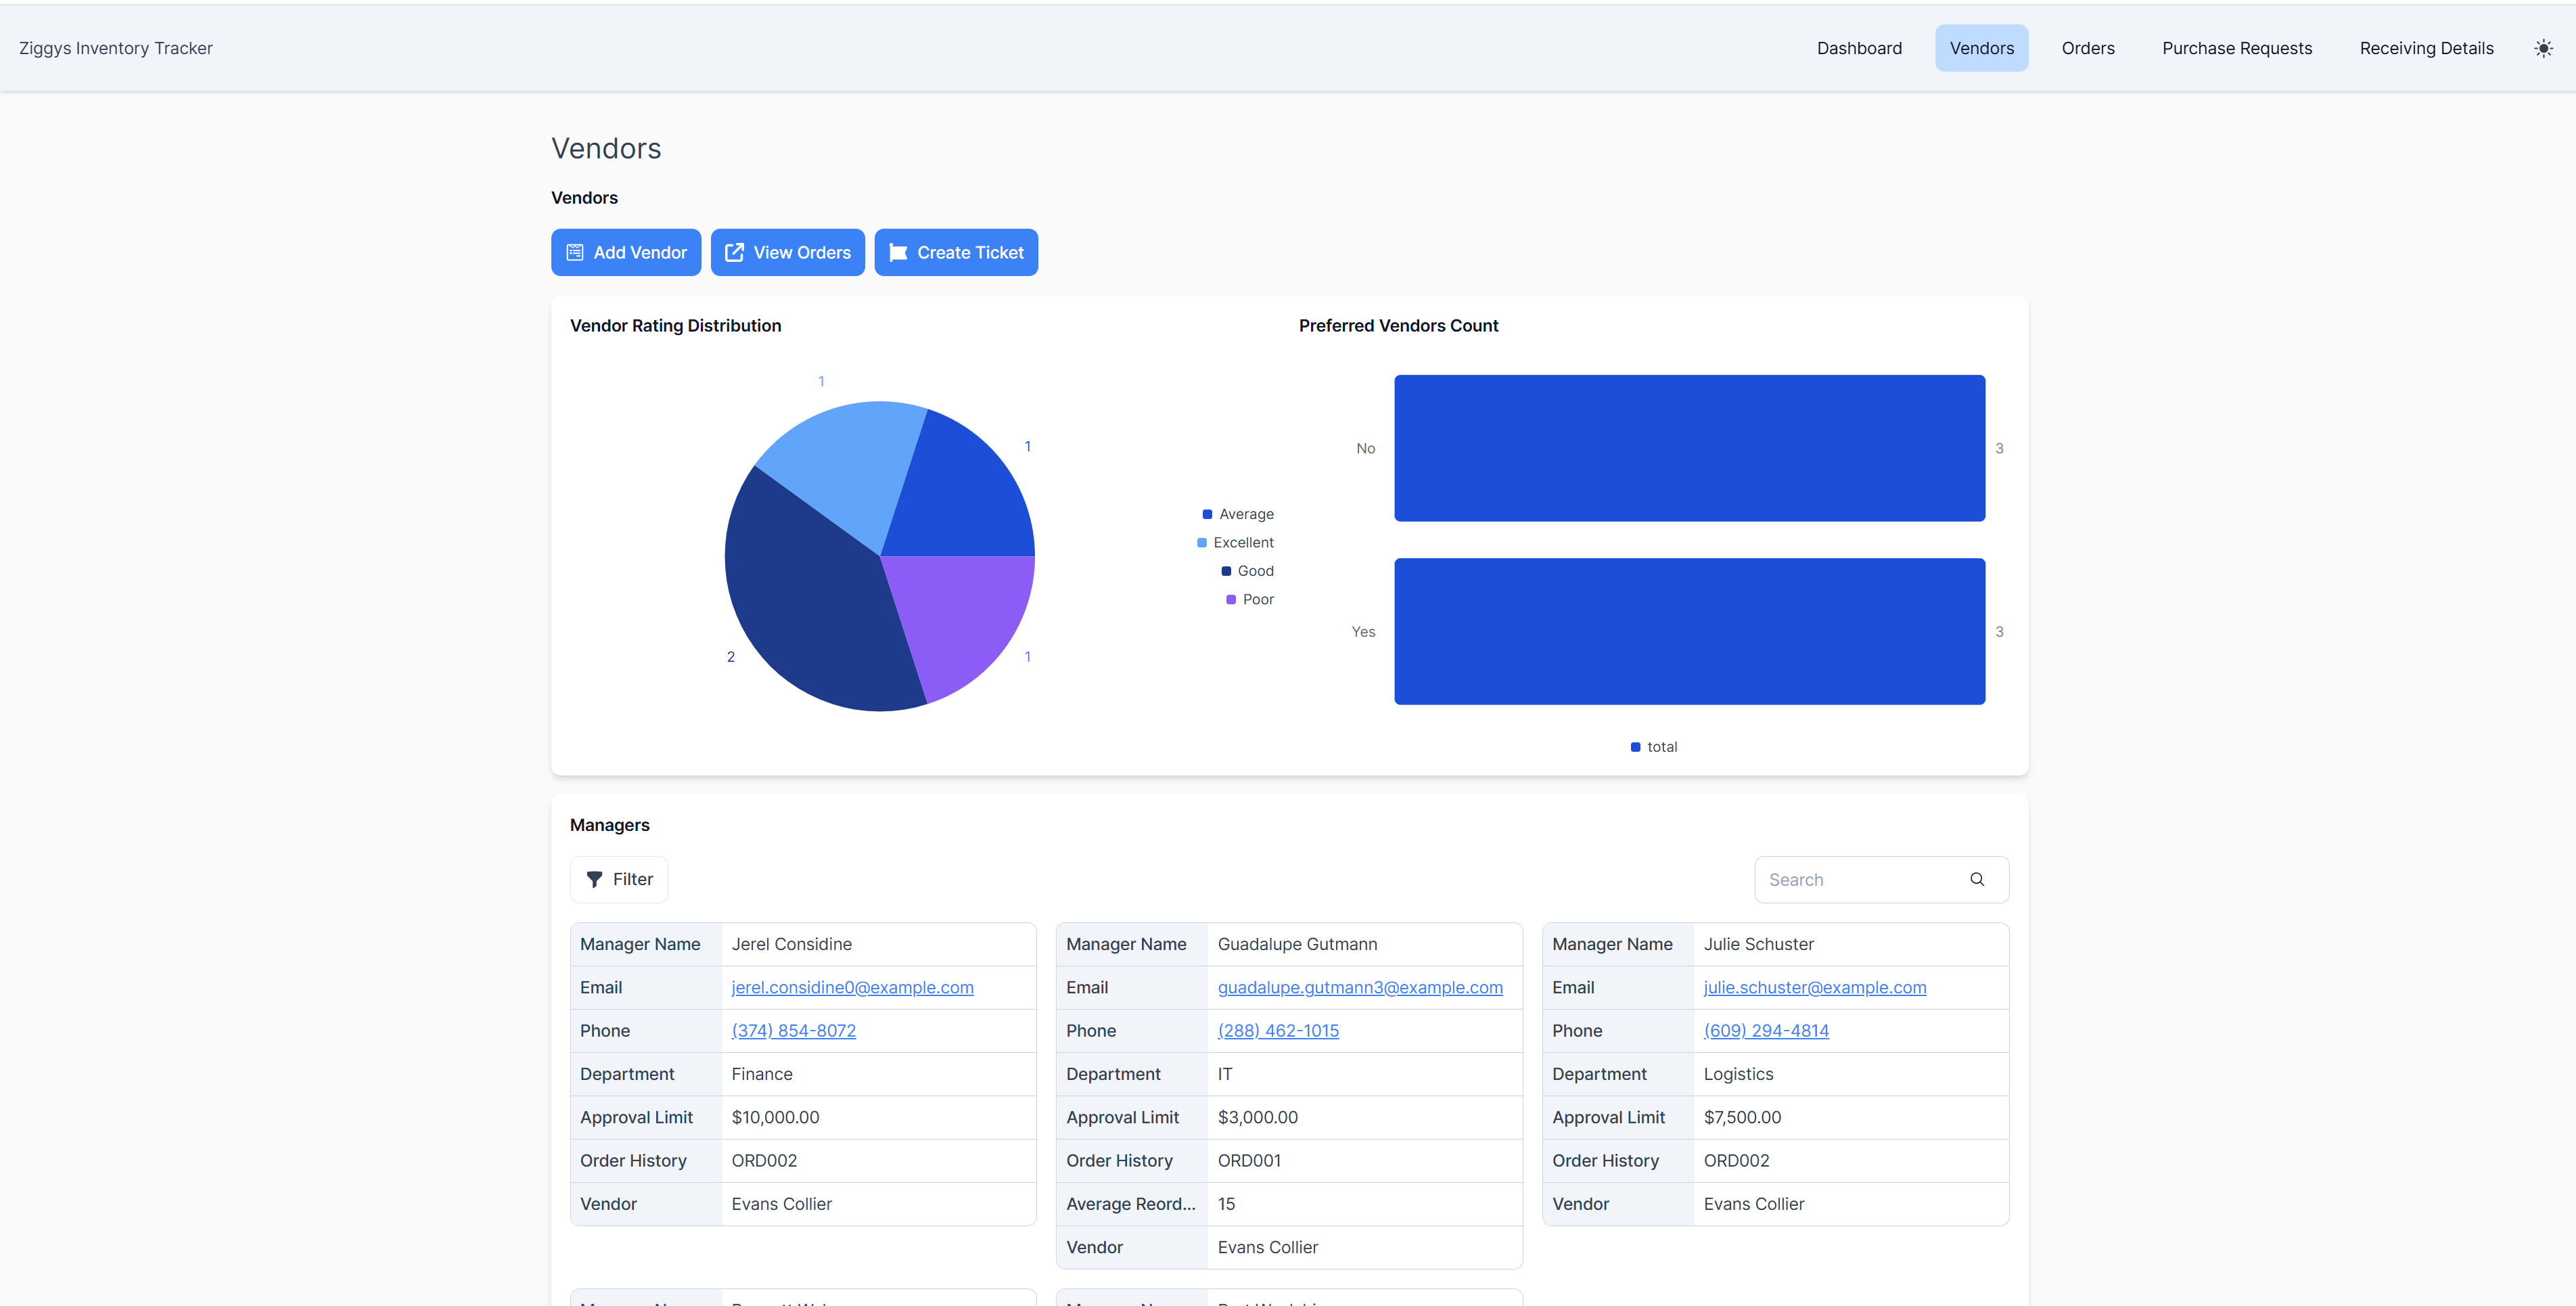
Live App
Accessing Pages
To access your pages in the Builder, click on the Pages tab located in the left column. Your pages are listed in the page tree on the left side of the page.
By clicking on any page in the list, you can view existing elements, add new elements, and update the settings for both the page and the elements it contains.
Here is an example page tree from the Inventory Manager sample app:
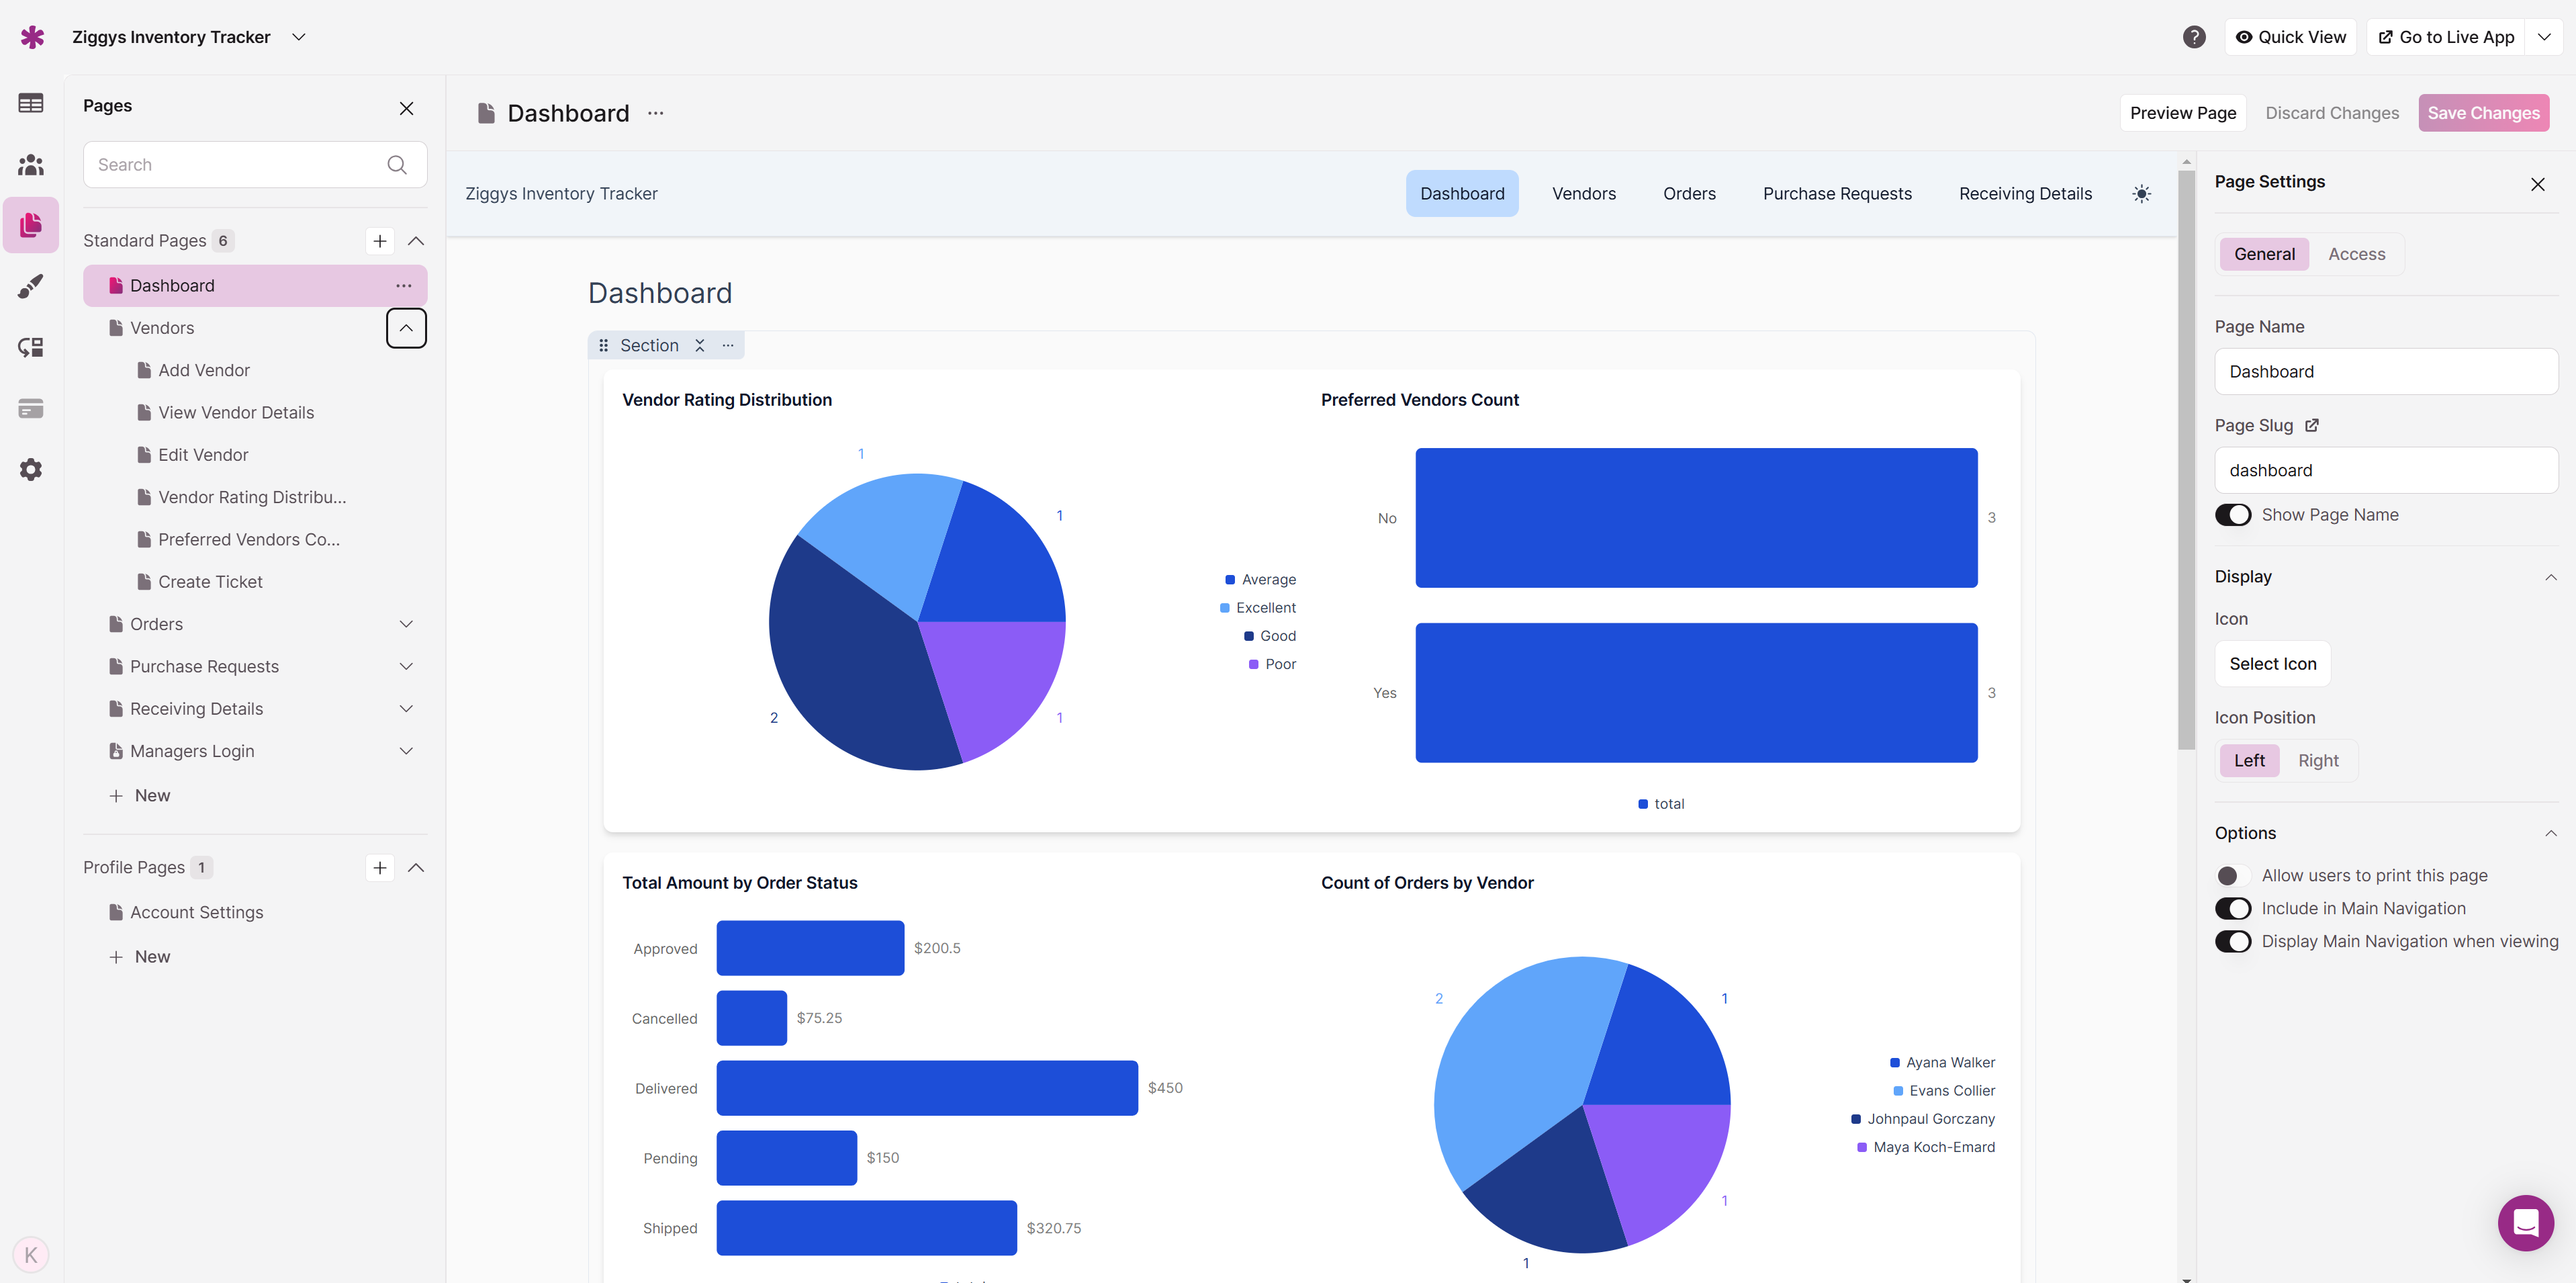
Pages
Managing Pages
Adding Pages
To add a page, click on the "+" button located next to the "Pages" label on the left side of the page.
Editing Pages
To edit a page, click on the ellipses (...) next to the page's name and choose "Settings" from the dropdown menu. This will open the right pane where you can configure page settings.
Linking to an Existing Page
Reusing child pages can be valuable when working with complex detail layouts or forms. By linking existing pages to elements that display records from the same grid, you can avoid setting up these layouts or forms from scratch.
For example, when adding new columns to a grid, you can click on the "Actions" tab and select "Link to another page." From there, you can choose any other child pages to connect to:
When you add a link to the grid or other elements, a new link will be created that directs users to an existing page in your app. Adding these links doesn't create copies of the pages, but establishes connections to them.
If you make any edits to the original linked page, it will impact all elements linked to that page.
Note: Only pages displaying records from the same table are eligible for linking. For instance, in a Contacts grid, you can only link to an existing Contacts child page and any grandchild page created from that child page. -->
Collapsing/Expanding Page Content
If your page becomes too large, you can expand and collapse each section, or, click on the ellipses next to the page name and expand/collapse all
Expand/Collapse Sections
Deleting Pages
To delete a page:
- Click on the down arrow icon next to the page's name
- Choose the "Delete" option from the dropdown menu
- Confirm the deletion in the prompt that appears
Caution: Deleting a page is a permanent action that will remove all associated elements and child pages.
Building Pages
Adding Start Pages
Every Live App must have at least one start page.
The first time you visit the Pages section, you'll be prompted to create your first start page:
You can add as many additional start pages as needed by clicking the "+" button in the left column:
Start pages are independent of any other page in your app. When adding an element using the element menu on a start page, you'll be able to add an element for any of the tables in your database.
Start pages can add links to the page menu and can also be embedded as independent apps.
Adding Child Pages
A child page is generated from a link on a parent page and cannot exist as an independent page.
Users navigate to various child pages by clicking on links and menus within each element. For instance:
- A Menu can display links to one or more child pages
- A Grid or List can link to a child page to show more details about each record displayed
- A Details element can link to a child page to edit the same record or insert child records
You can view child pages by clicking on the page in the page tree or from the links that you can add to each element:
You'll often add child pages automatically when adding pages and elements through the left toolbox. For example, when adding a grid element, you'll have options for adding child pages:
Note: Child pages are created only when they are generated from a link on a parent page. For instance, when setting up a menu element on a parent page, you have the option to include a new link to a new page. This action will create a child page beneath the parent page where the menu element is located.
Additional Page Features
Pages & User Logins
To manage login access for different roles in your Live App, you can control access to each page individually. By adding a user login to a page, users will be required to log in before they can view any of the elements on that page.
Page Rules
Page rules allow you to automate actions based on specific conditions as soon as a user accesses a page. For instance, if you have an event registration form with limited availability, you can hide the registration form when the availability reaches zero, ensuring a seamless user experience.
Updated 8 months ago