Planning Your Tables
Planning your tables is a crucial foundation for any successful Knack app. This article will walk you through the process of properly structuring your database to ensure your app runs efficiently and meets your needs.
What You'll Learn
In this guide, you'll discover how to effectively organize your data into tables, establish meaningful connections between different types of information, and determine when to use tables versus user roles. By understanding these fundamental concepts, you'll create a more maintainable app structure that grows with your needs and supports complex workflows.
Understanding Tables and User Roles
Tables are the building blocks that organize and group information in your app. Each table should represent only one type of information, containing properties that identify a specific kind of item.
For example:
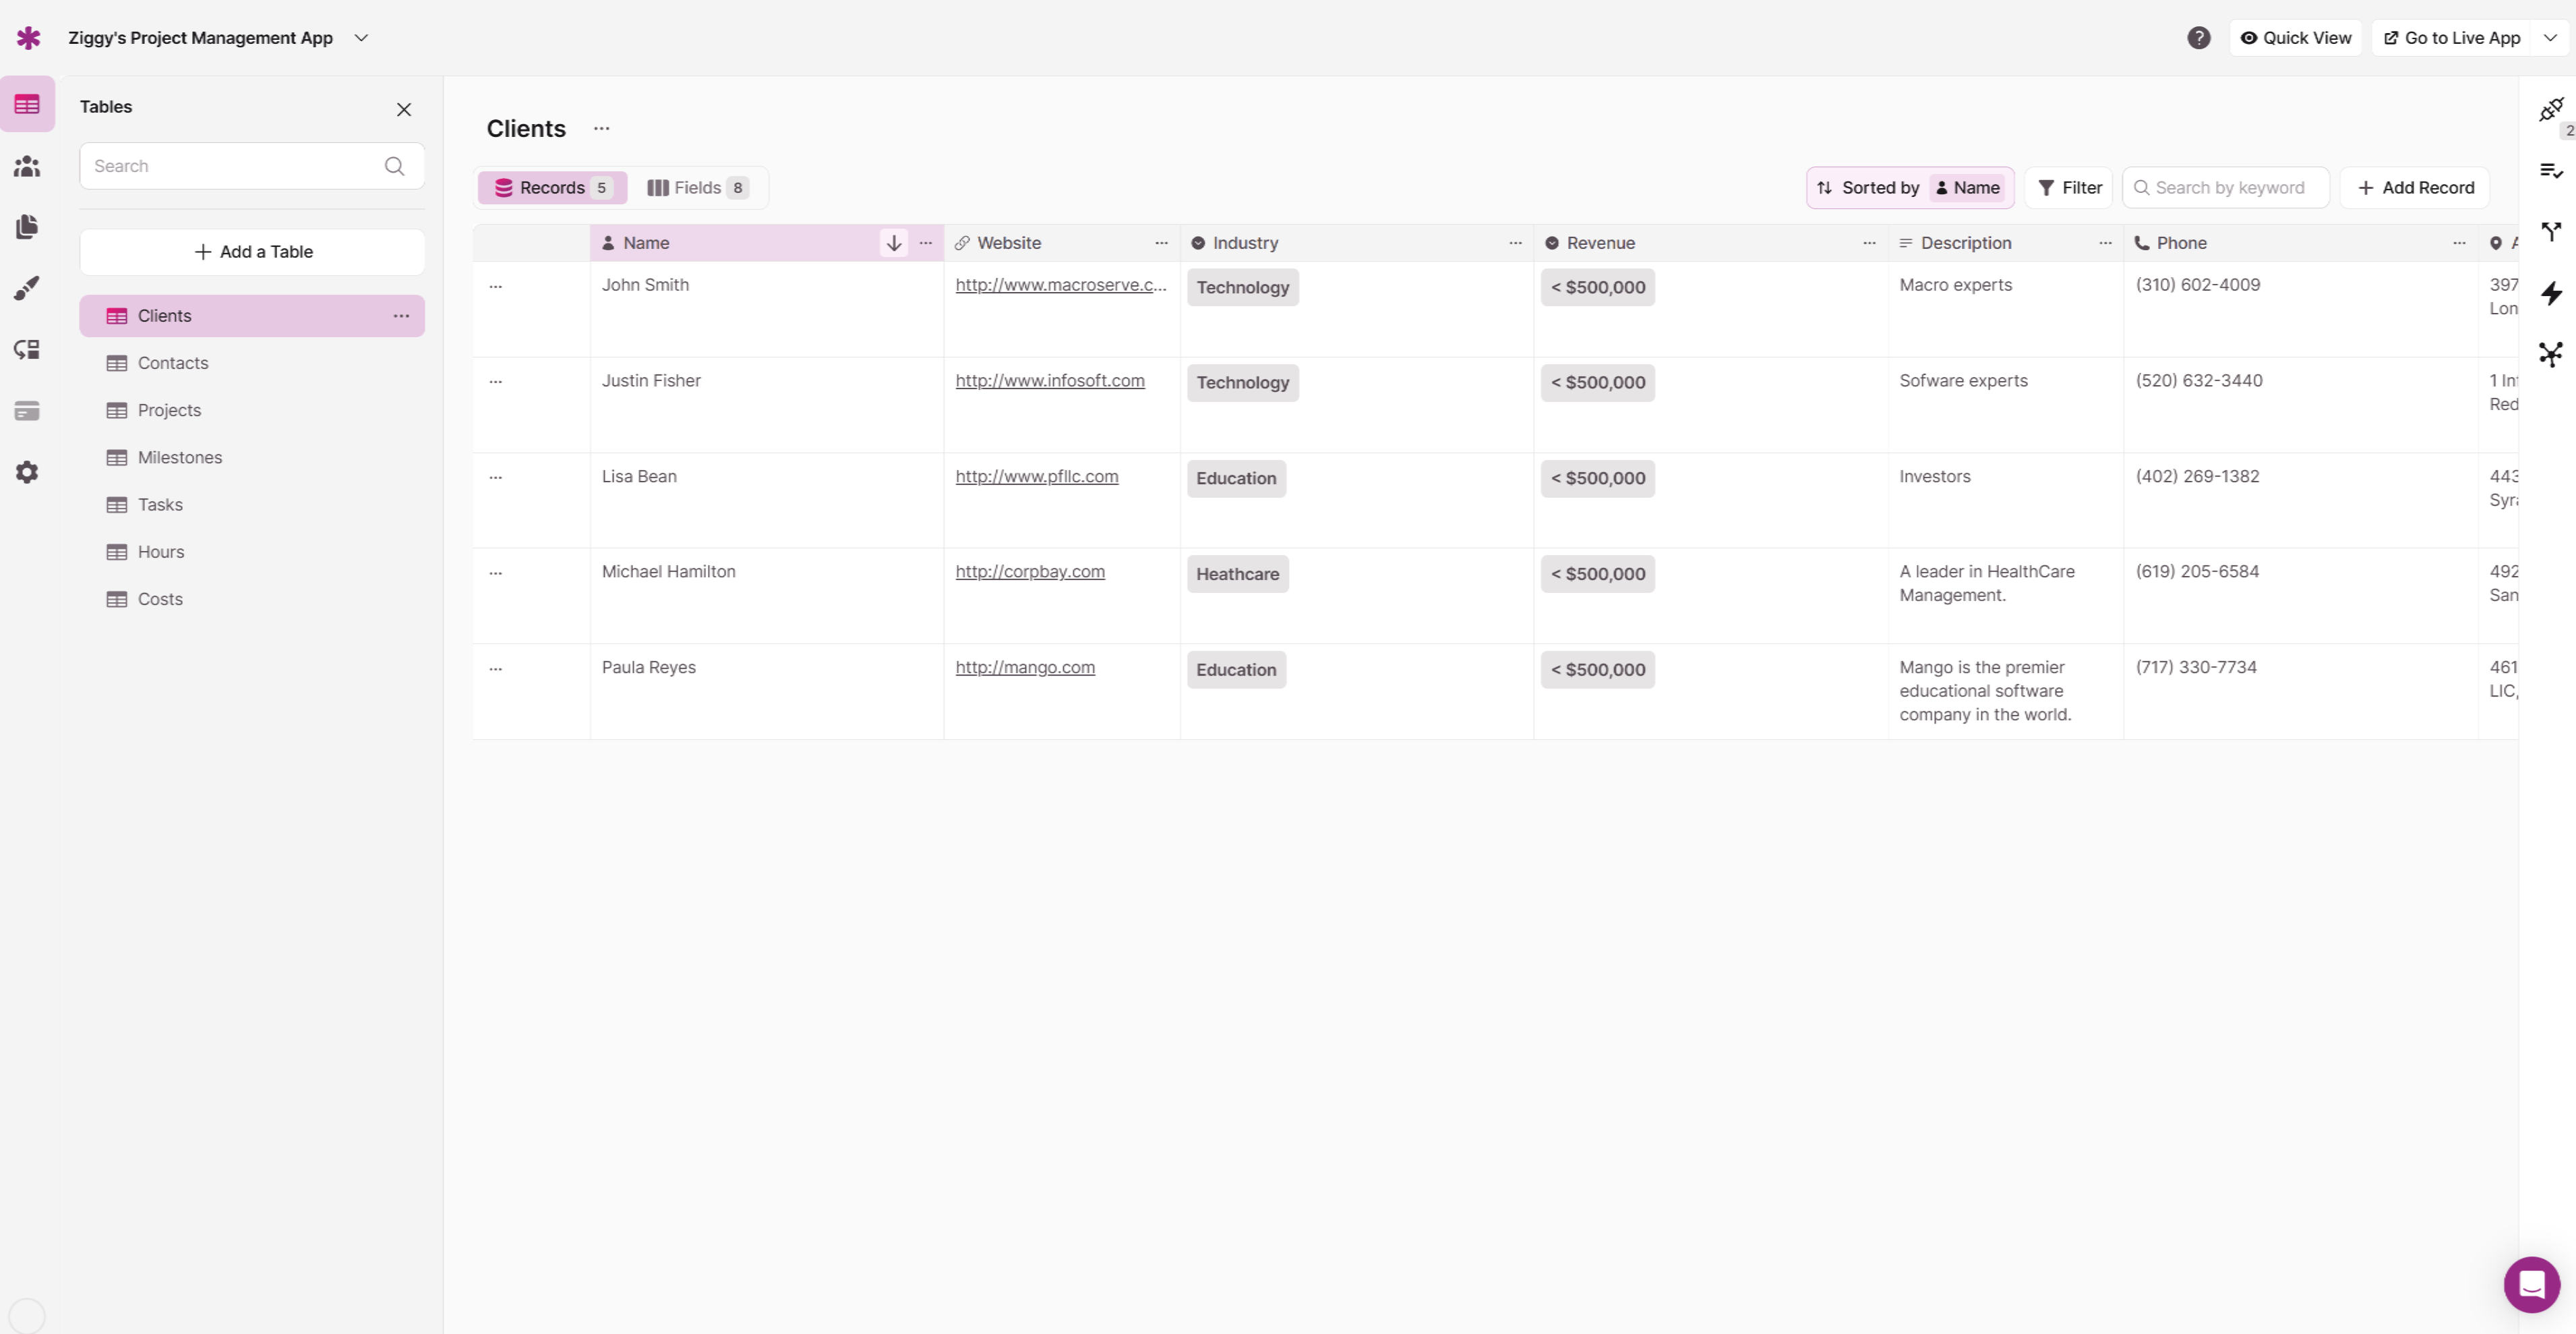
- An Clients table brings together data describing clients (name, industry, location, website)
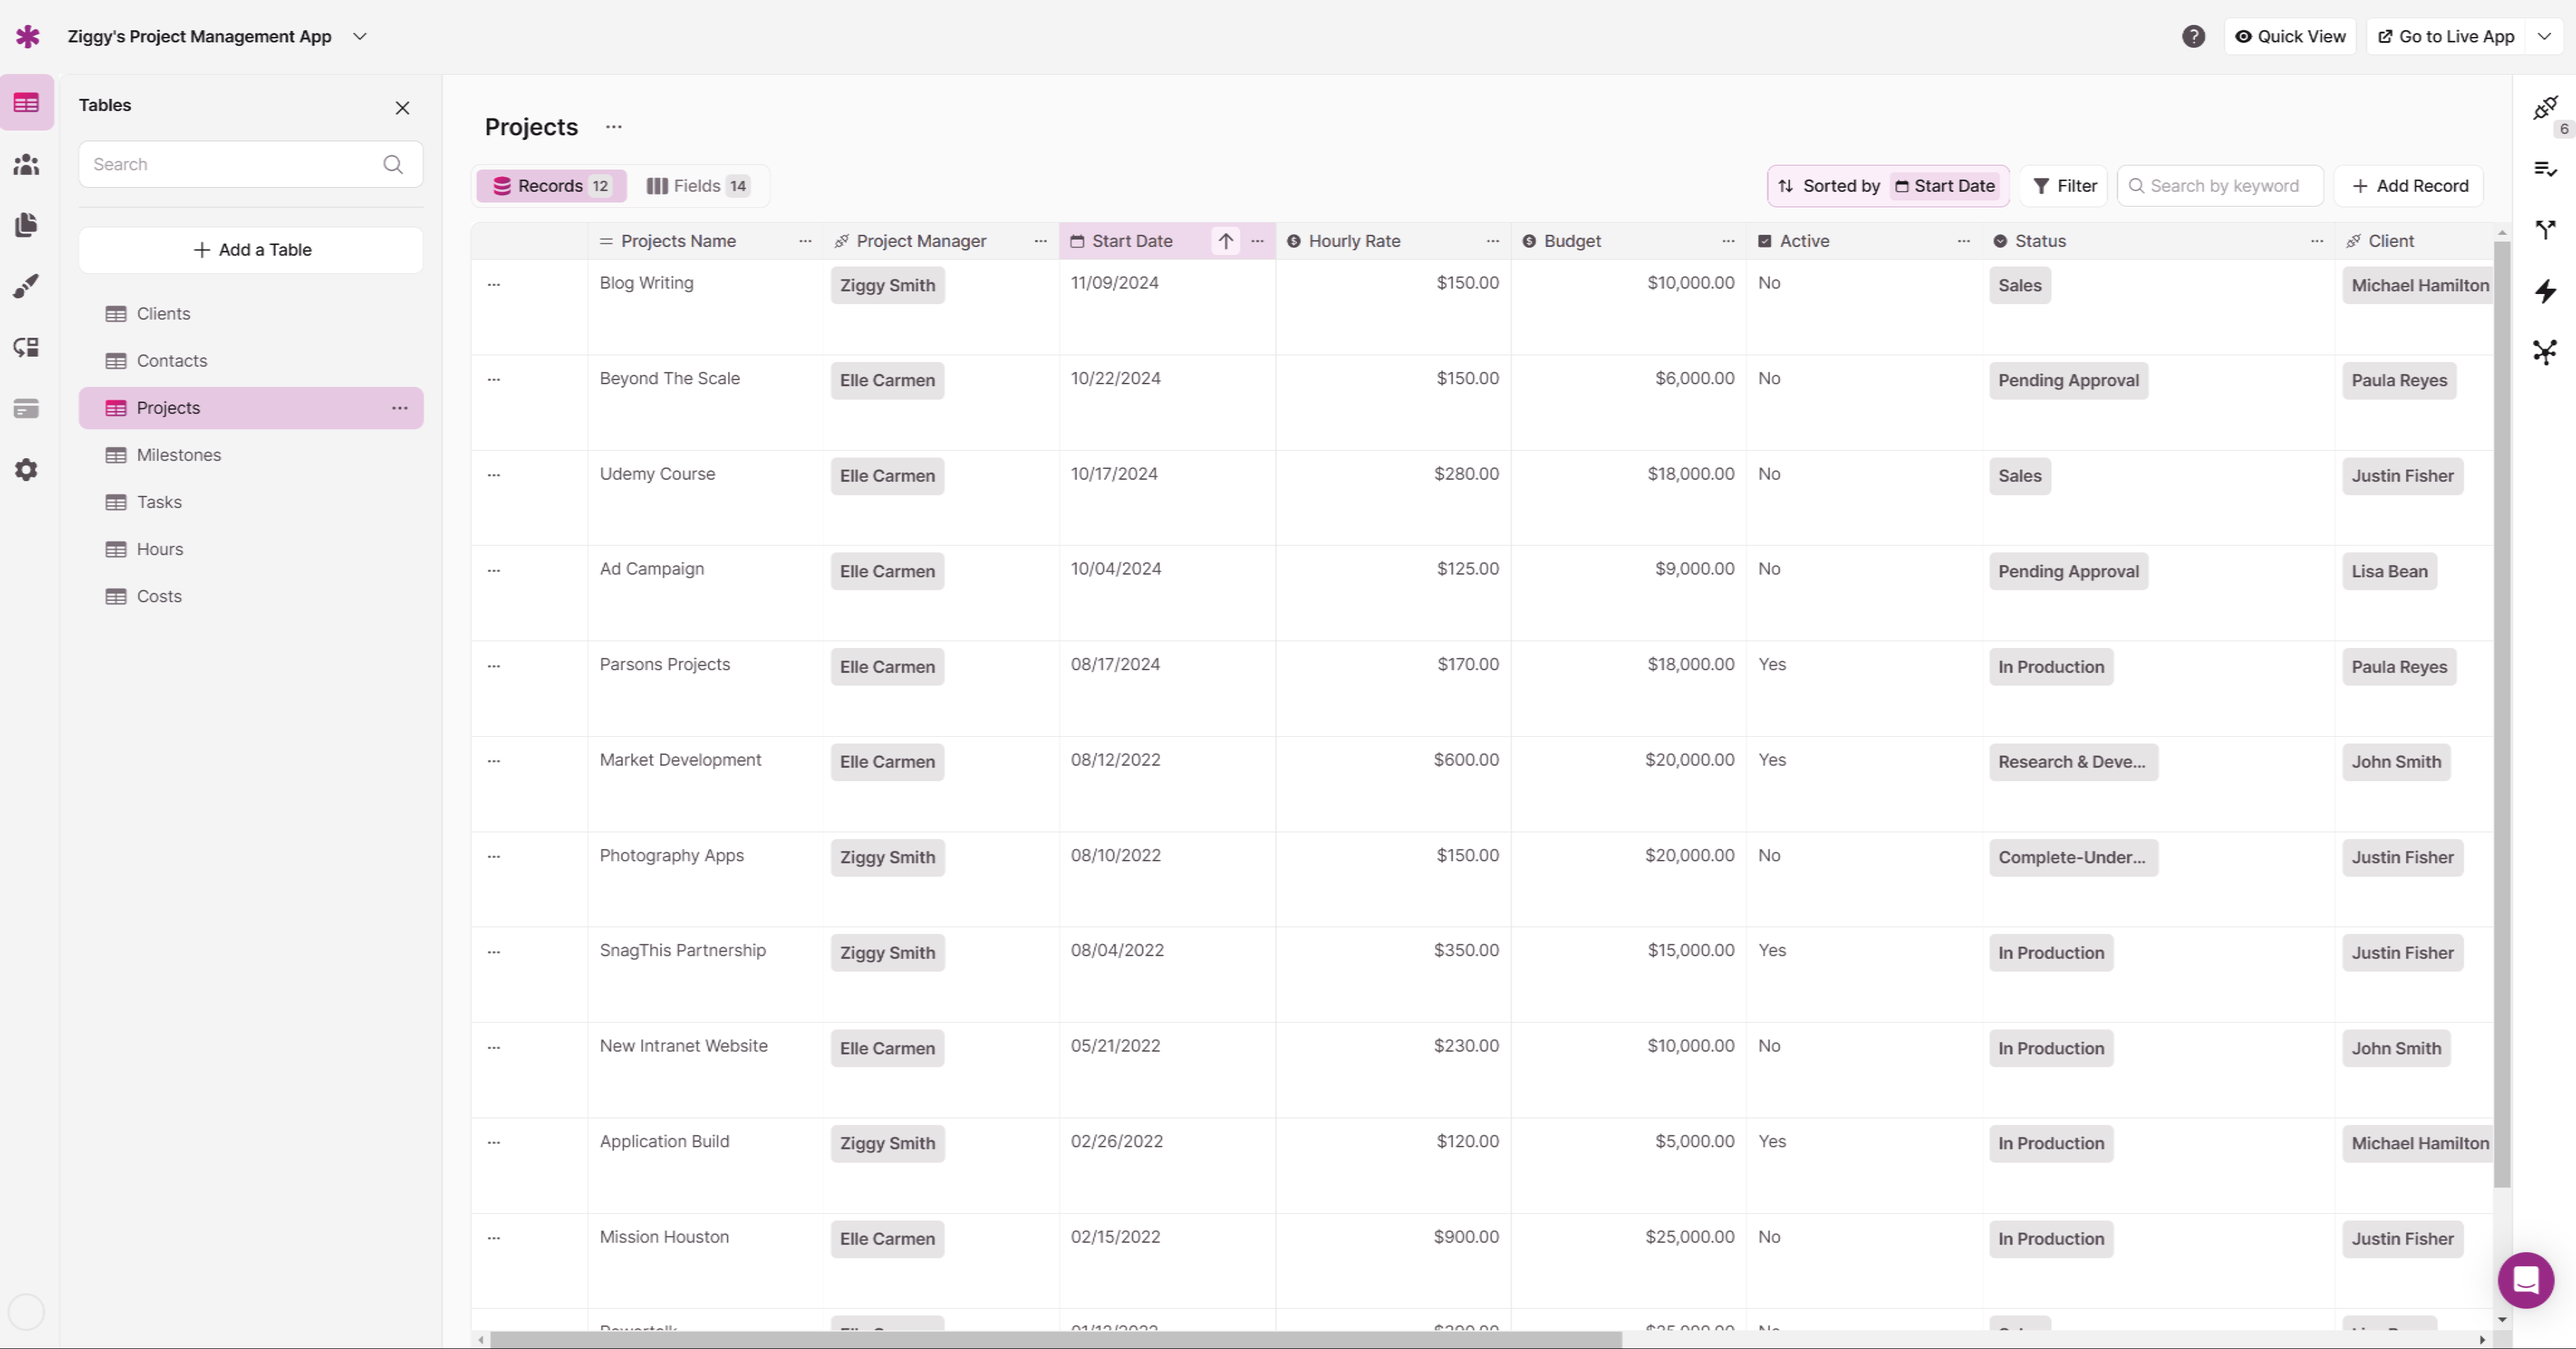
- A Projects table groups data about your project (details, project status, budget, dates)
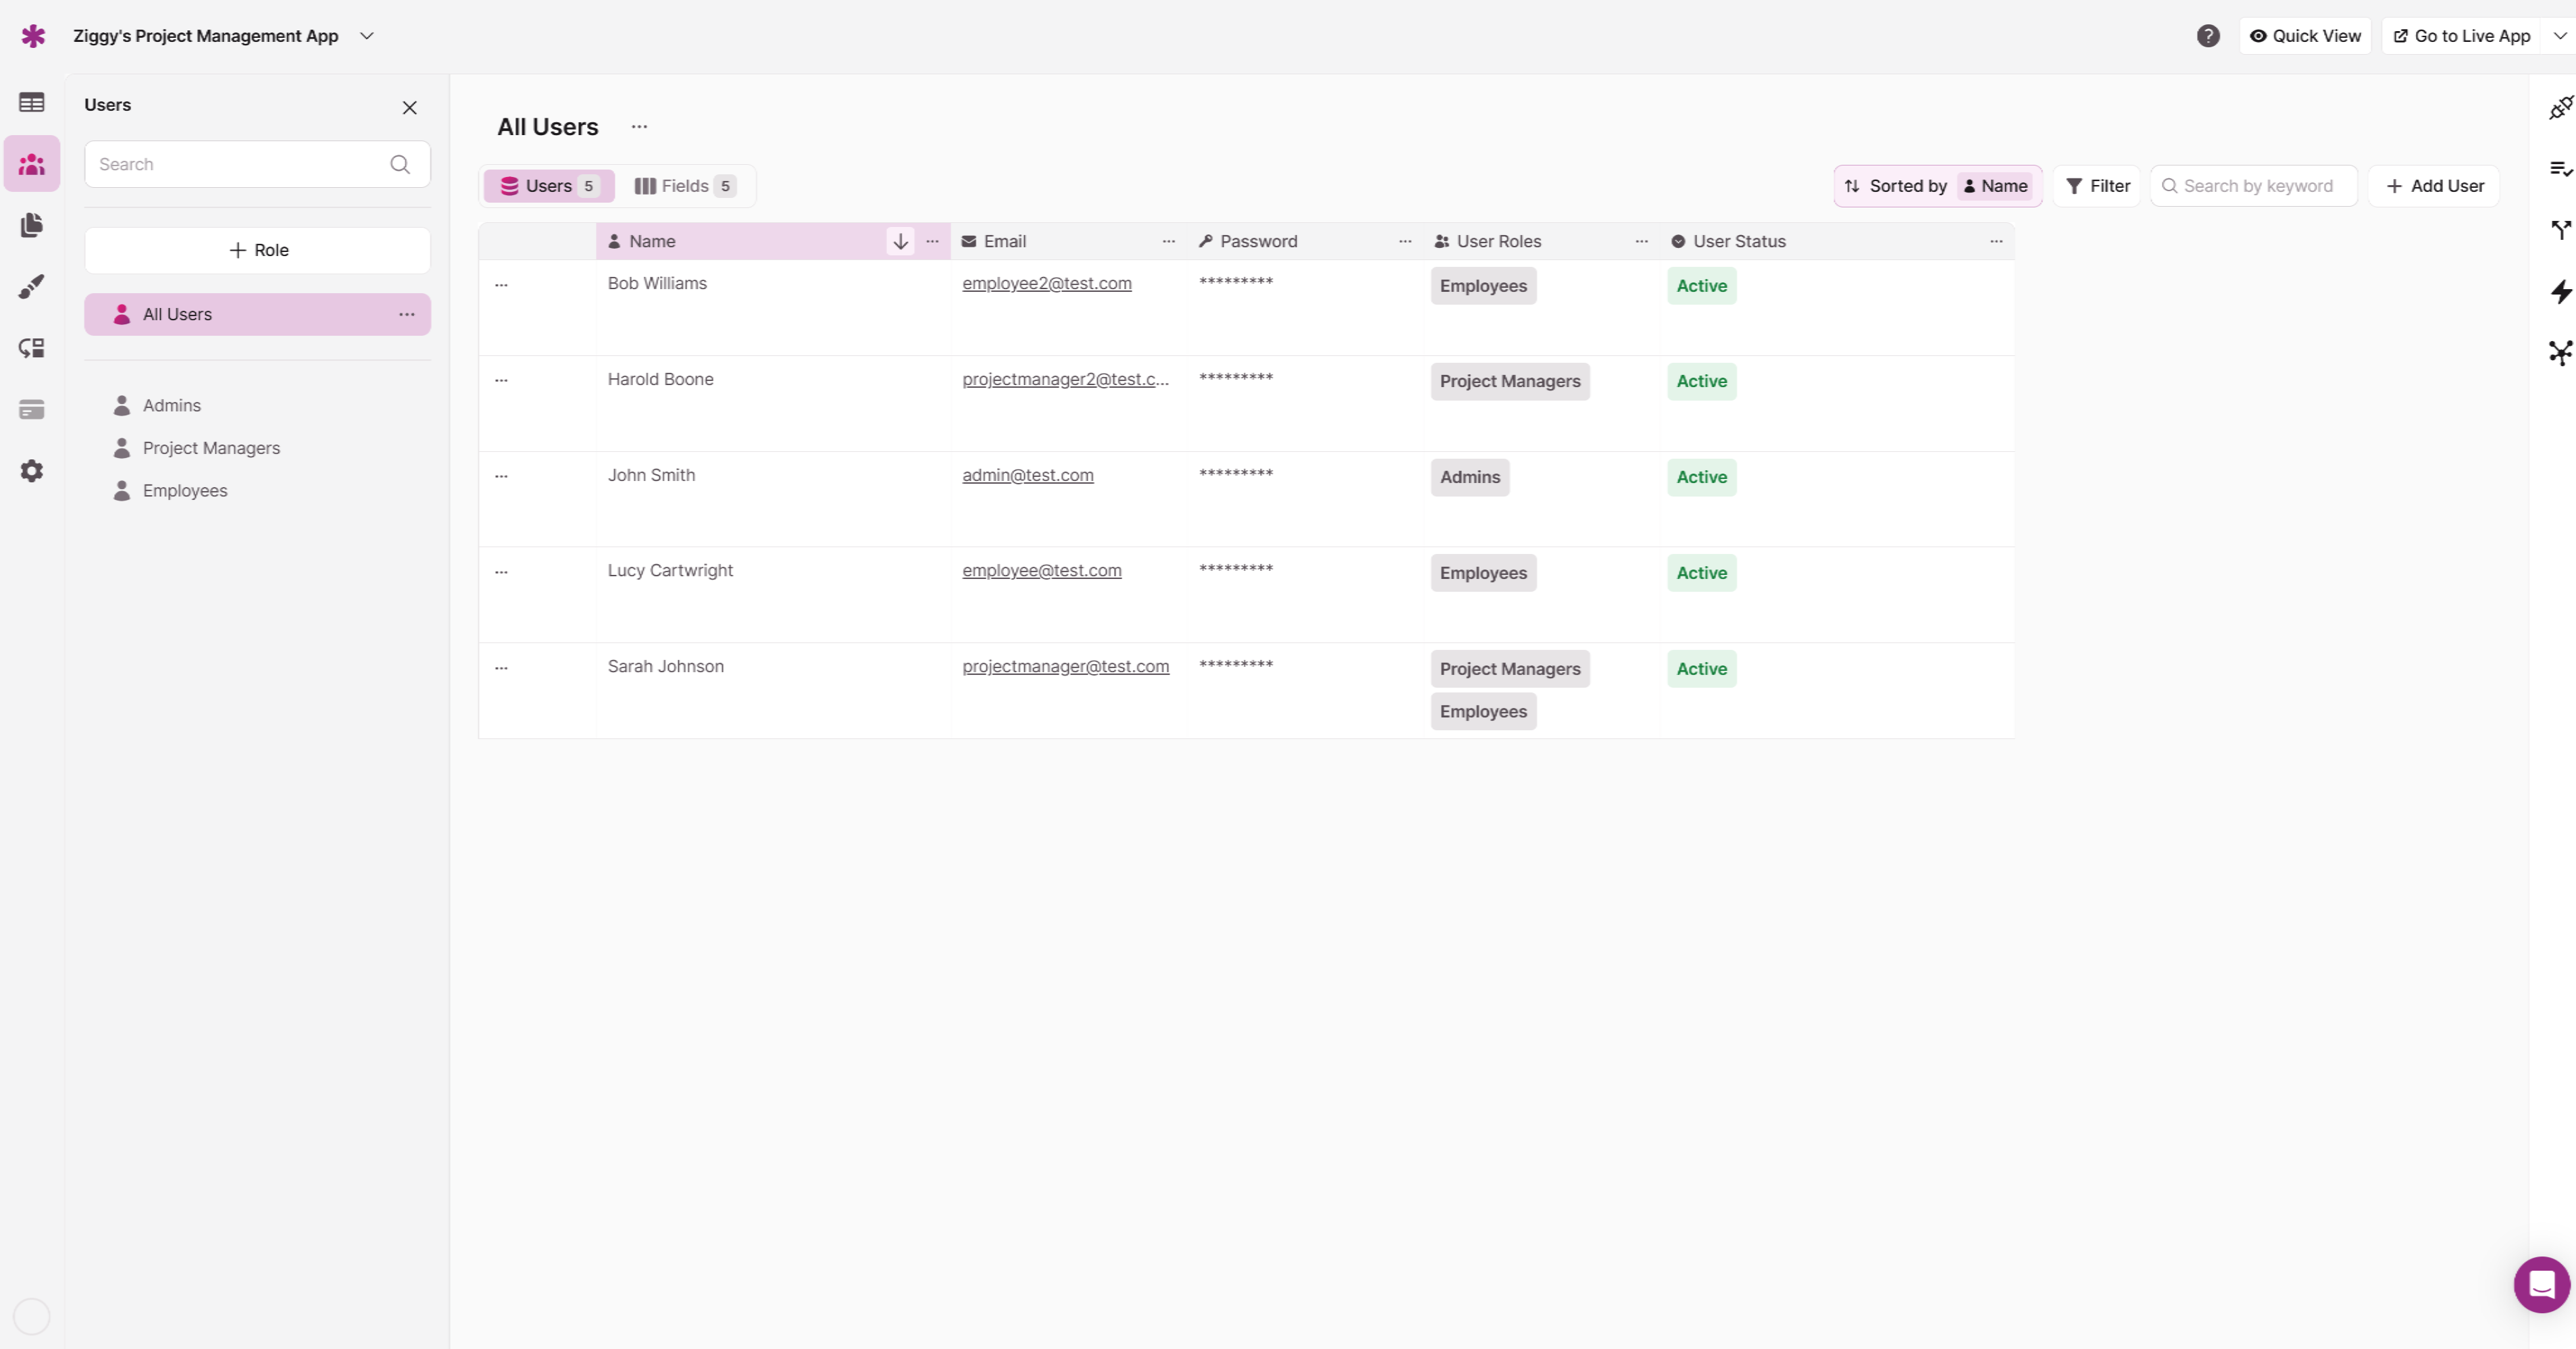
User roles are similar to tables as they group data, but they also include additional permissions for managing access in your Live App. They define different types of users who will access your app, such as Project Managers and Employees.
Tip: If you're coming from an Excel or Access/SQL background, you can think of a table like a spreadsheet or a database table.
Imagine a consulting firm's project management system with three tables: Projects, Tasks, and Project Managers.
Connection Example:
When setting up the Tasks table, you need to track which Project each Task belongs to, and which Project Managers is assigned to it. Here's where connections become crucial:
-
The Task-Project Connection:
Each Task connects to exactly one Project, but a Project can have many Tasks. This is a "one to many" connection from Tasks to Projects. This connection allows you to:- Display Project details when viewing a Task
- Filter Tasks by Project
- Generate reports on Project progress based on completed Tasks
-
The Task-Team Member Connection:
Each Task connects to one Project Manager, and each Project Manager can be assigned many Tasks. This creates another "one to many" connection from Project Manager to Tasks. This connection enables you to:- Show who's responsible for each Task
- View a Team Member's workload across all Projects
- Calculate time tracking and billing based on Team Member assignments
By keeping Projects, Tasks, and Project Manager as separate tables with proper connections, your app maintains data integrity. You avoid duplicate data entry, make updates easier (changing a Project name updates everywhere it's displayed), and enable powerful filtering and reporting capabilities that wouldn't be possible with combined tables.
Understanding Fields
Fields are the individual pieces of data that make up a table.
Tip: Fields can be thought of as similar to the columns in a spreadsheet.
Each field is specifically formatted based on the type of data it contains:
- Address fields have sub-fields for street address, city, state, and country
- File fields provide options to upload or link to documents
Every table consists of fields that define the data within it. For instance, the "Customers" user role includes fields for name, phone number, and address, in addition to the default user role fields like password, role, and status.
Connection fields are a unique field type generated when we establish a connection between two tables. This field establishes a relationship between tables, enabling you to share and associate data.
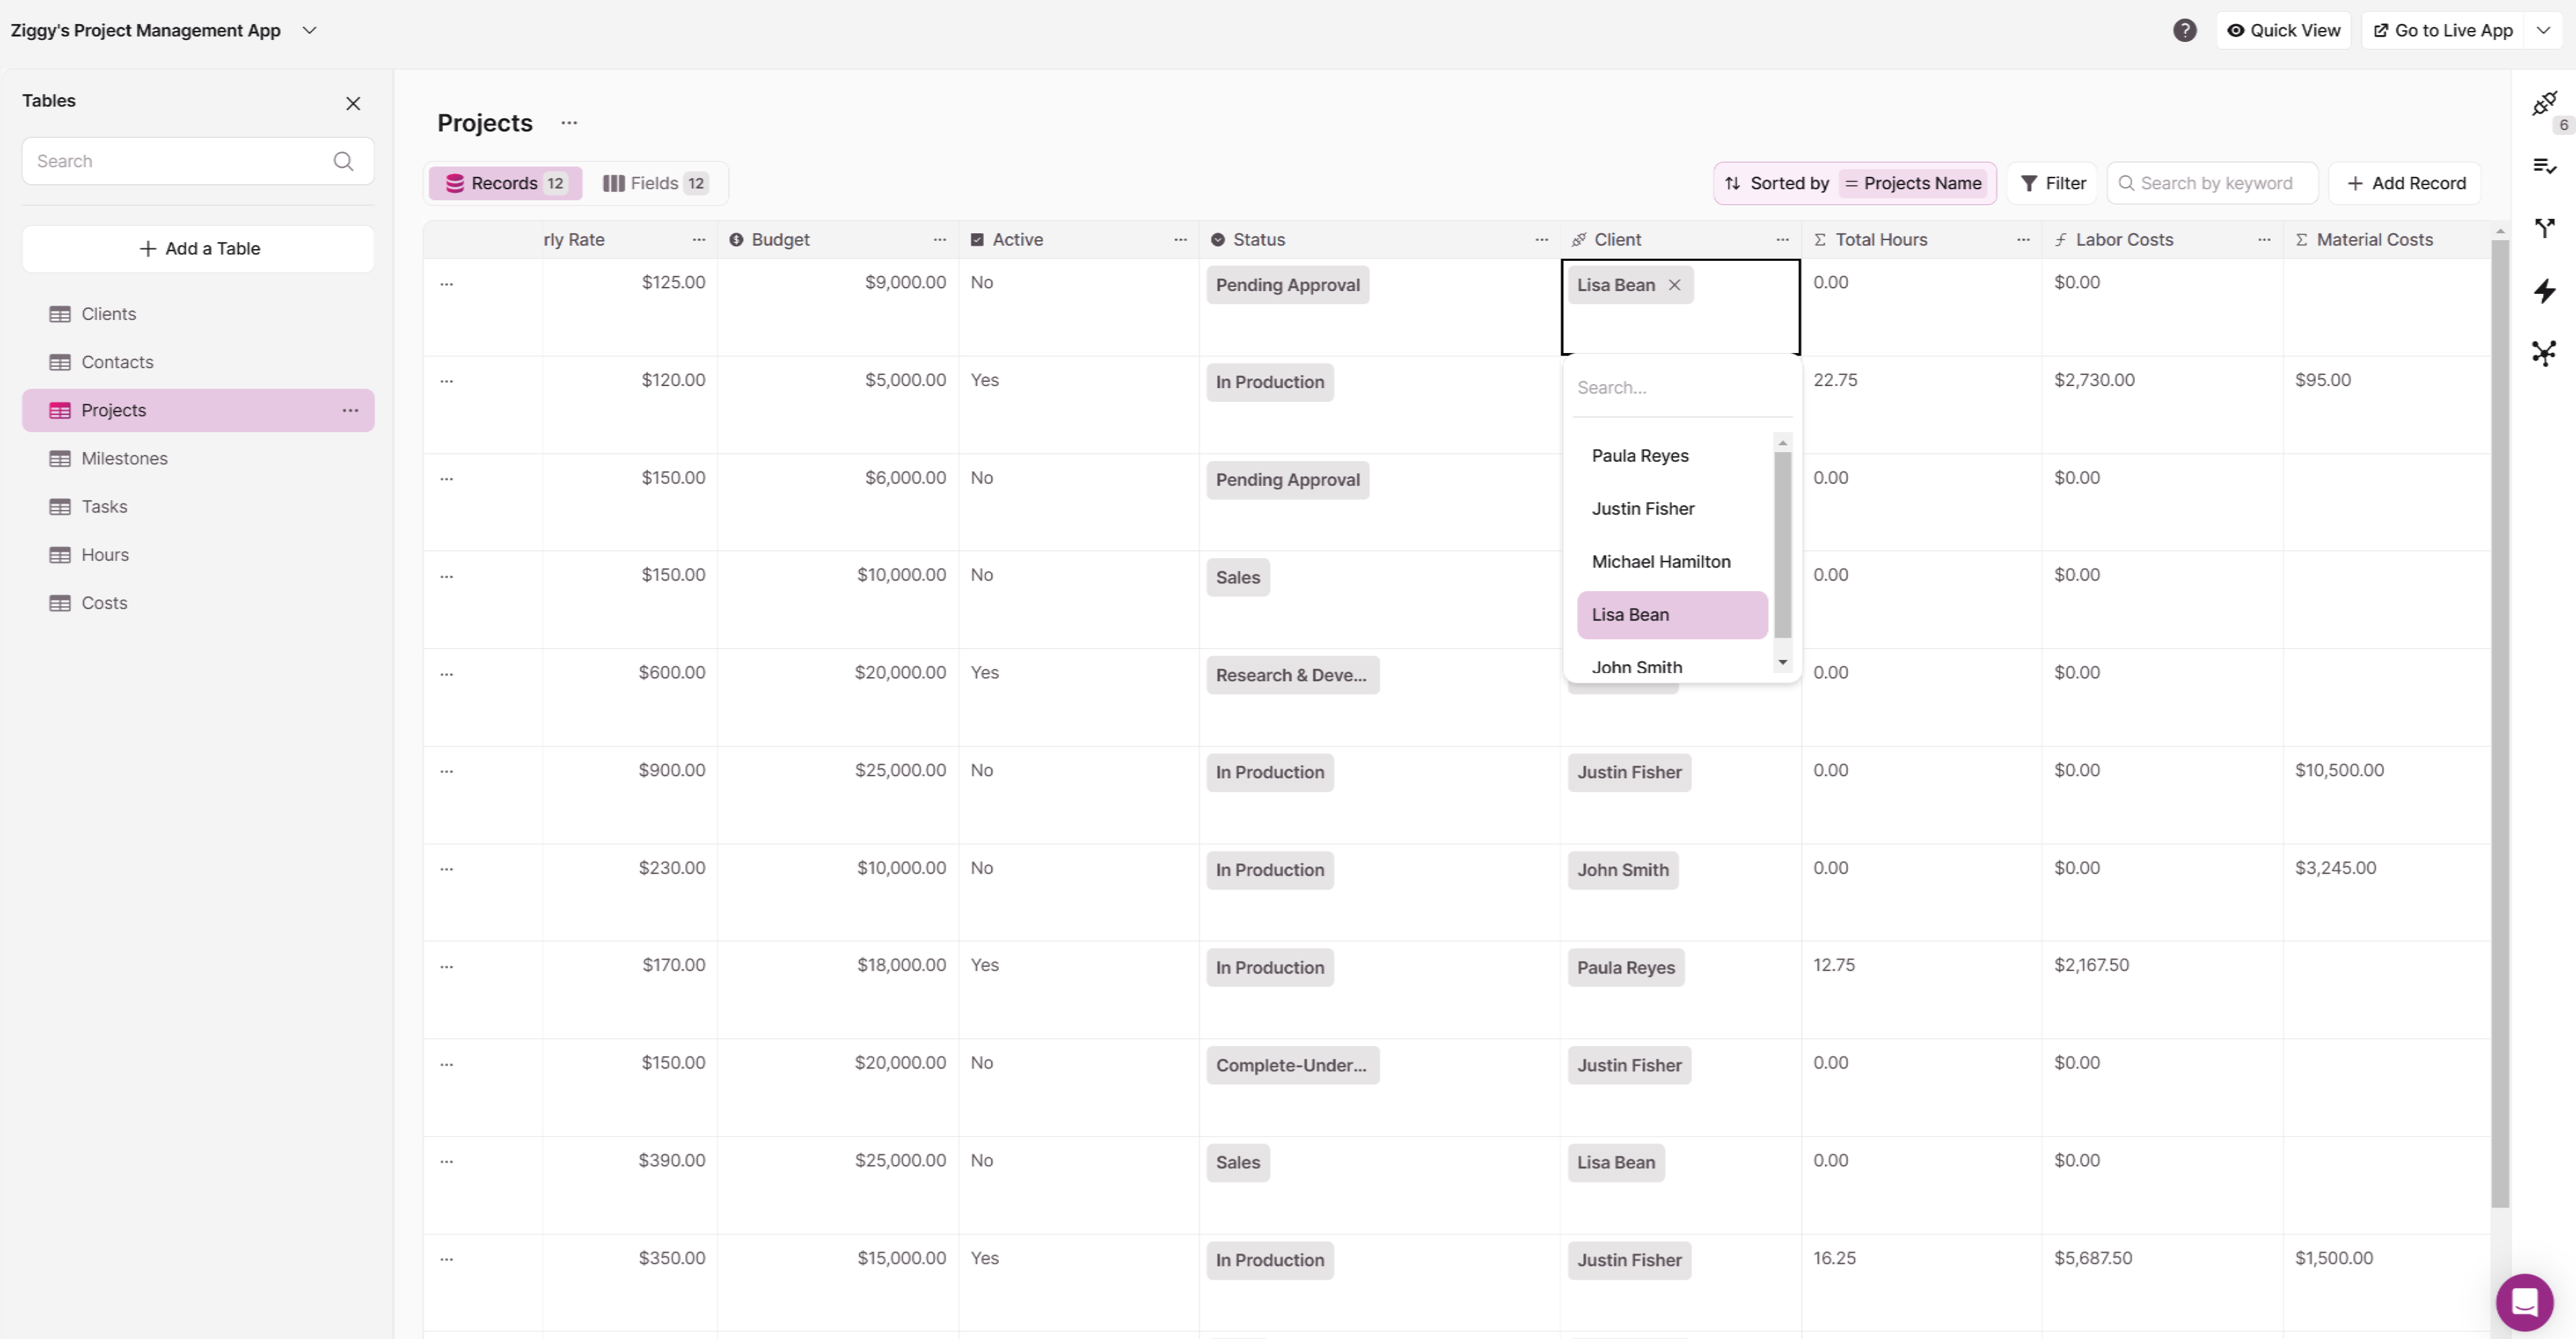
Once you connect Projects to Clients, a connection field for Clients will be added to the Projects table. This field allows you to display the "Clients" records in a searchable dropdown, showing values from the first field in the Clients table by default (though you can customize this setting).
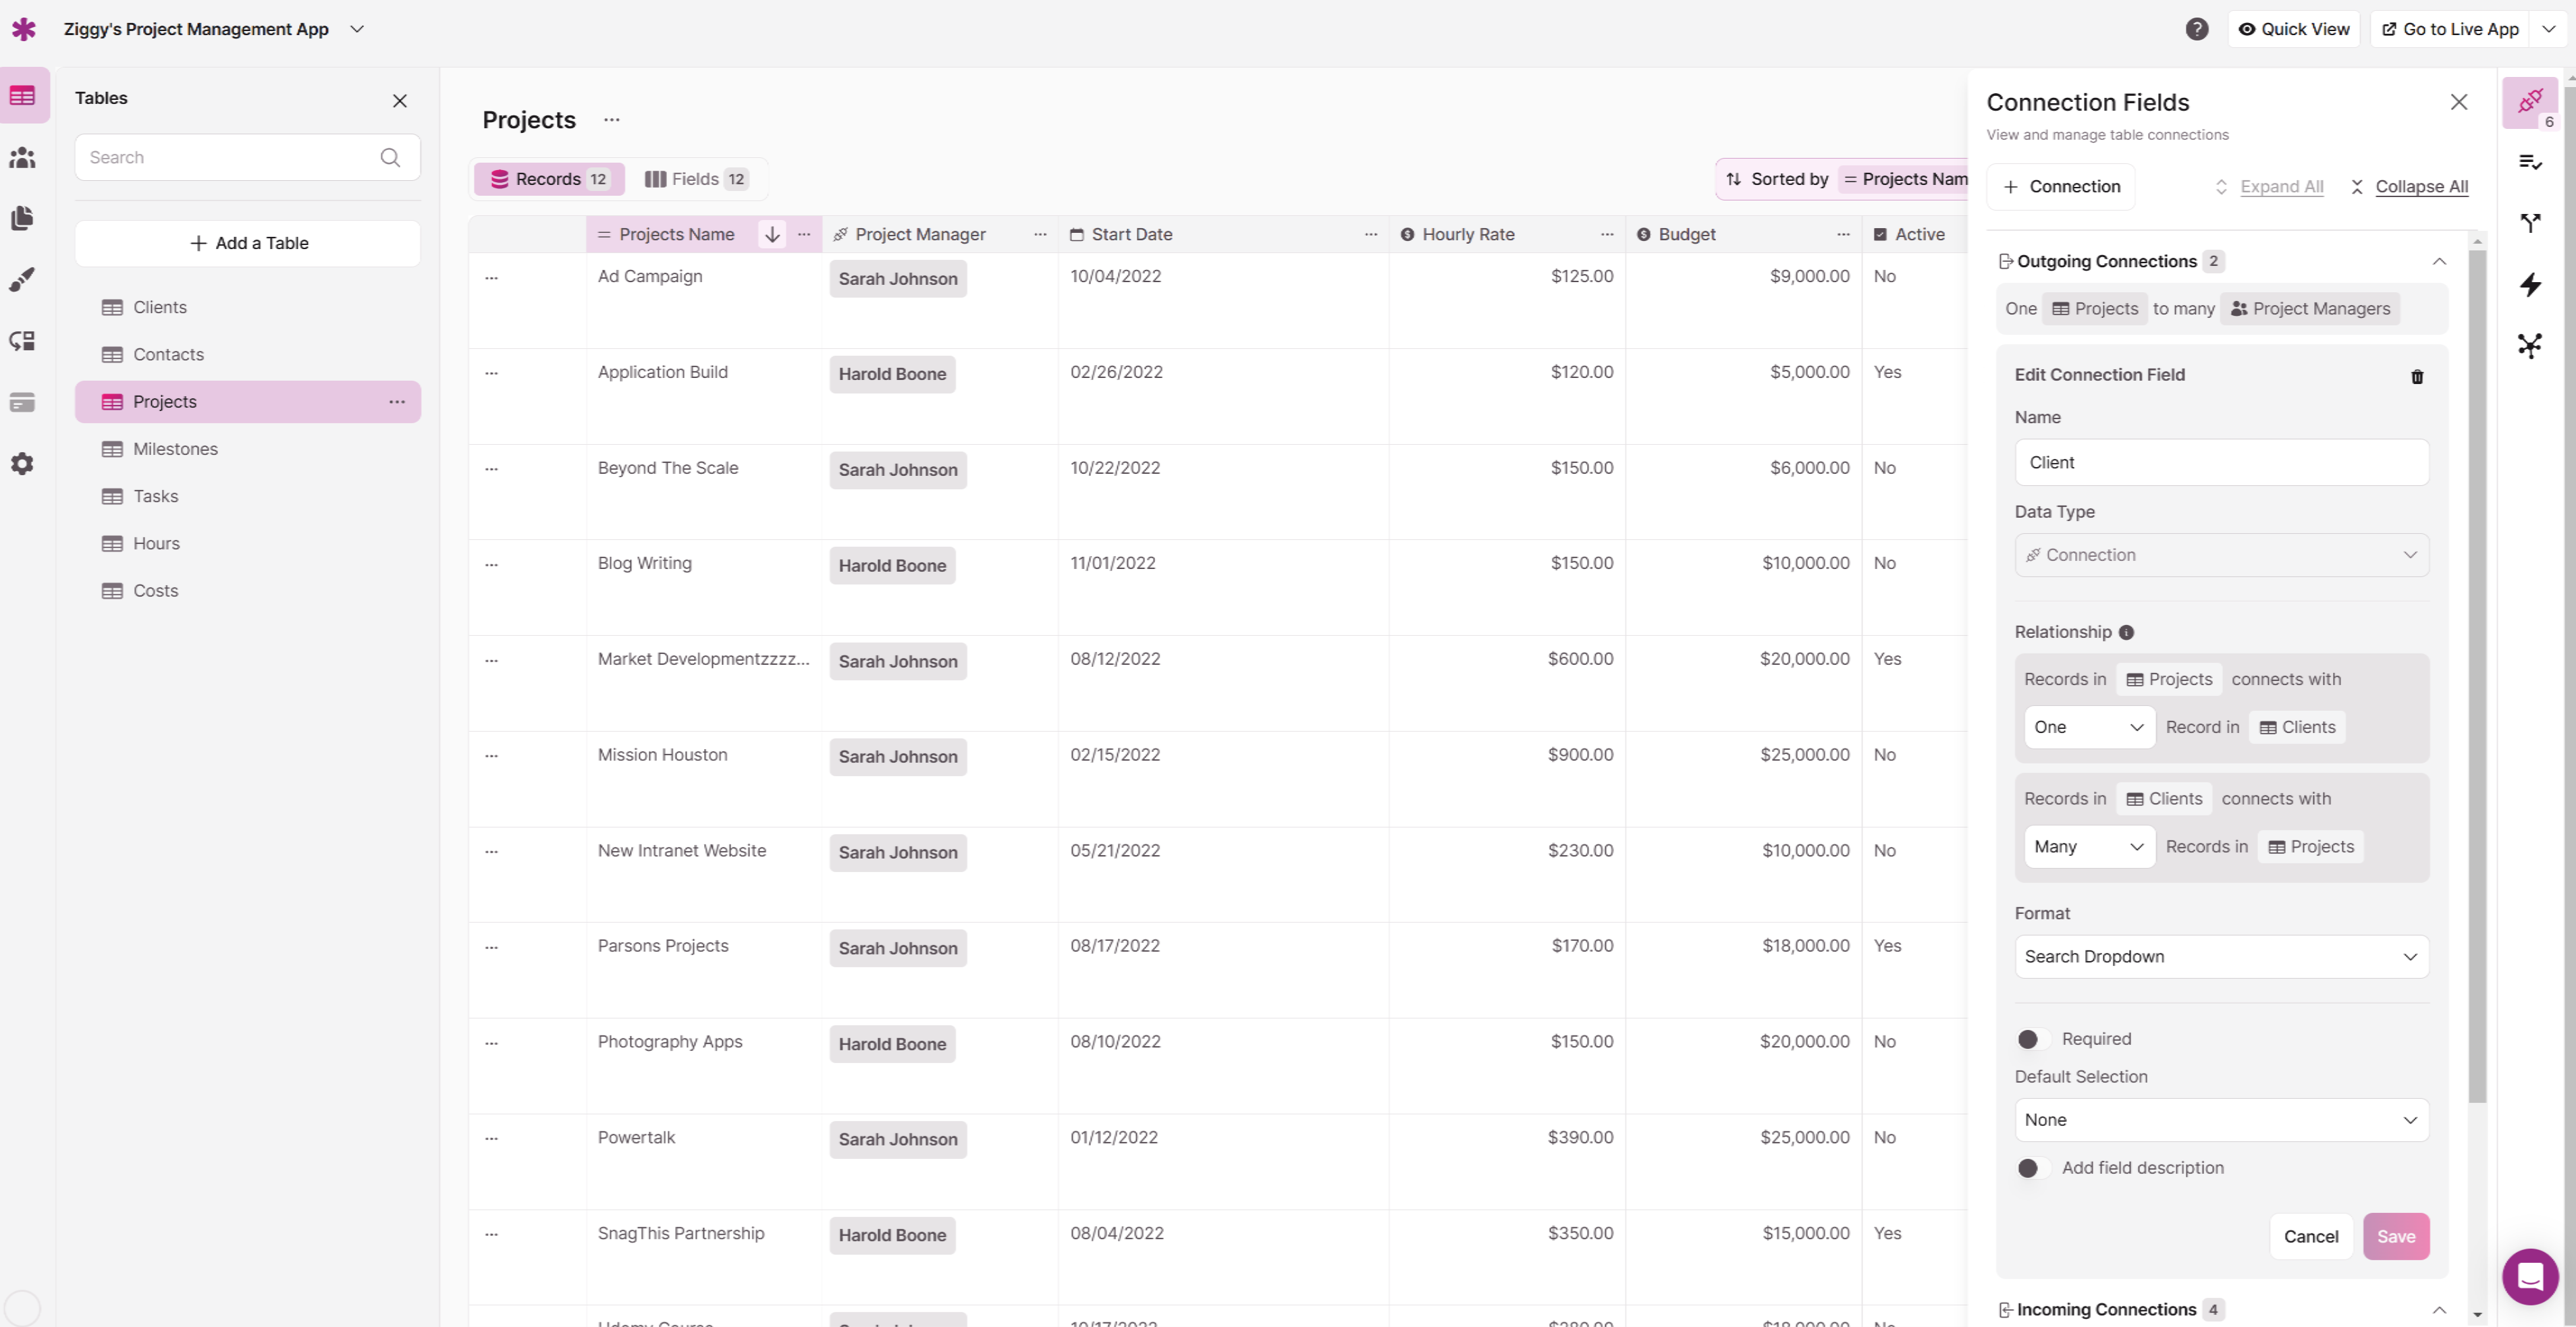
This field is known as the display field, and you can easily modify it in the settings of each table.
Understanding Records
Records are the actual data in your app. If you're familiar with spreadsheets, you can think of a record as a single row, with each column representing a field, and the entire sheet representing a table.
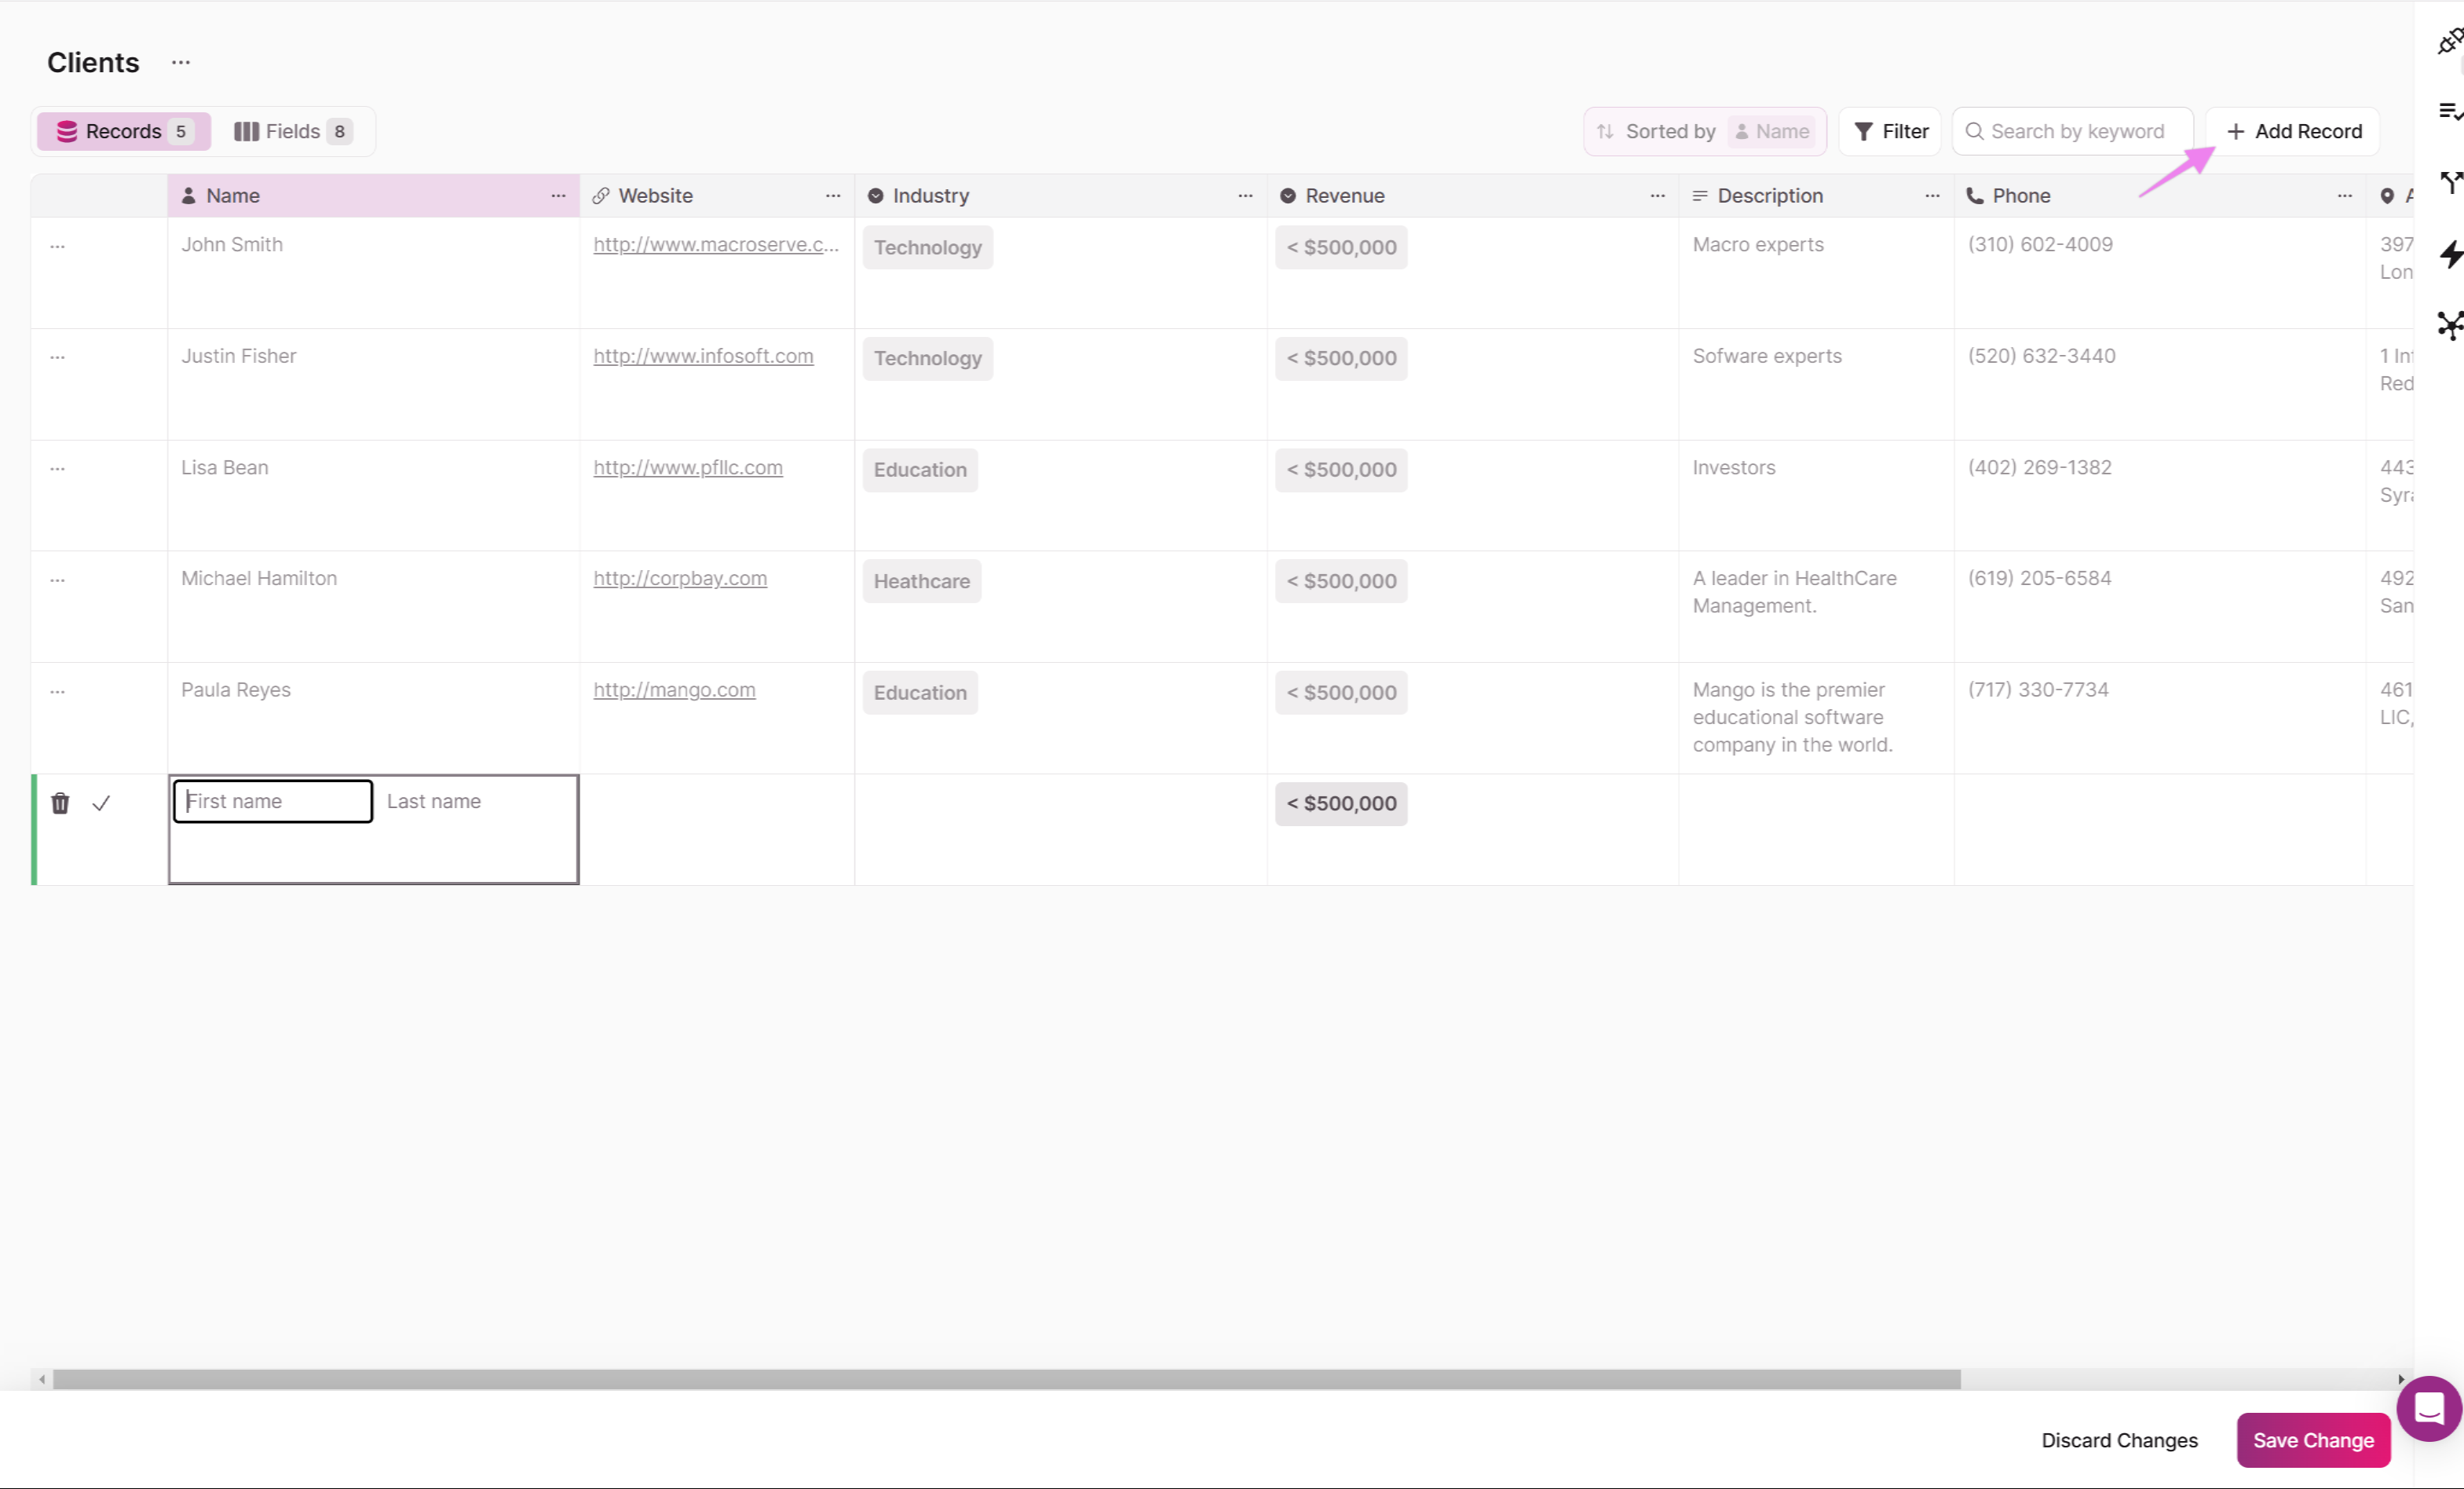
In the "Clients" table, a separate record is created for every individual customer to store all their relevant data.
Understanding Connections
Connections are represented as a unique field type in Knack. By using connection fields, you can establish relationships between tables that store different types of data in your app.
These connections enable you to create associations between records without the need to manage primary and foreign keys, links, or joins.
Note: In Knack, there is no need to handle primary and foreign keys. Instead, you can simply use the connection field to link your records together.
Connections offer powerful capabilities:
- View related data: Establish connections to easily view information about a company and its associated contacts
- Ensure users only see their own data: Restrict visible data so customers only see orders they've personally created
- Run calculations and summarize data: Generate reports showing overall sales and individual salesperson contributions
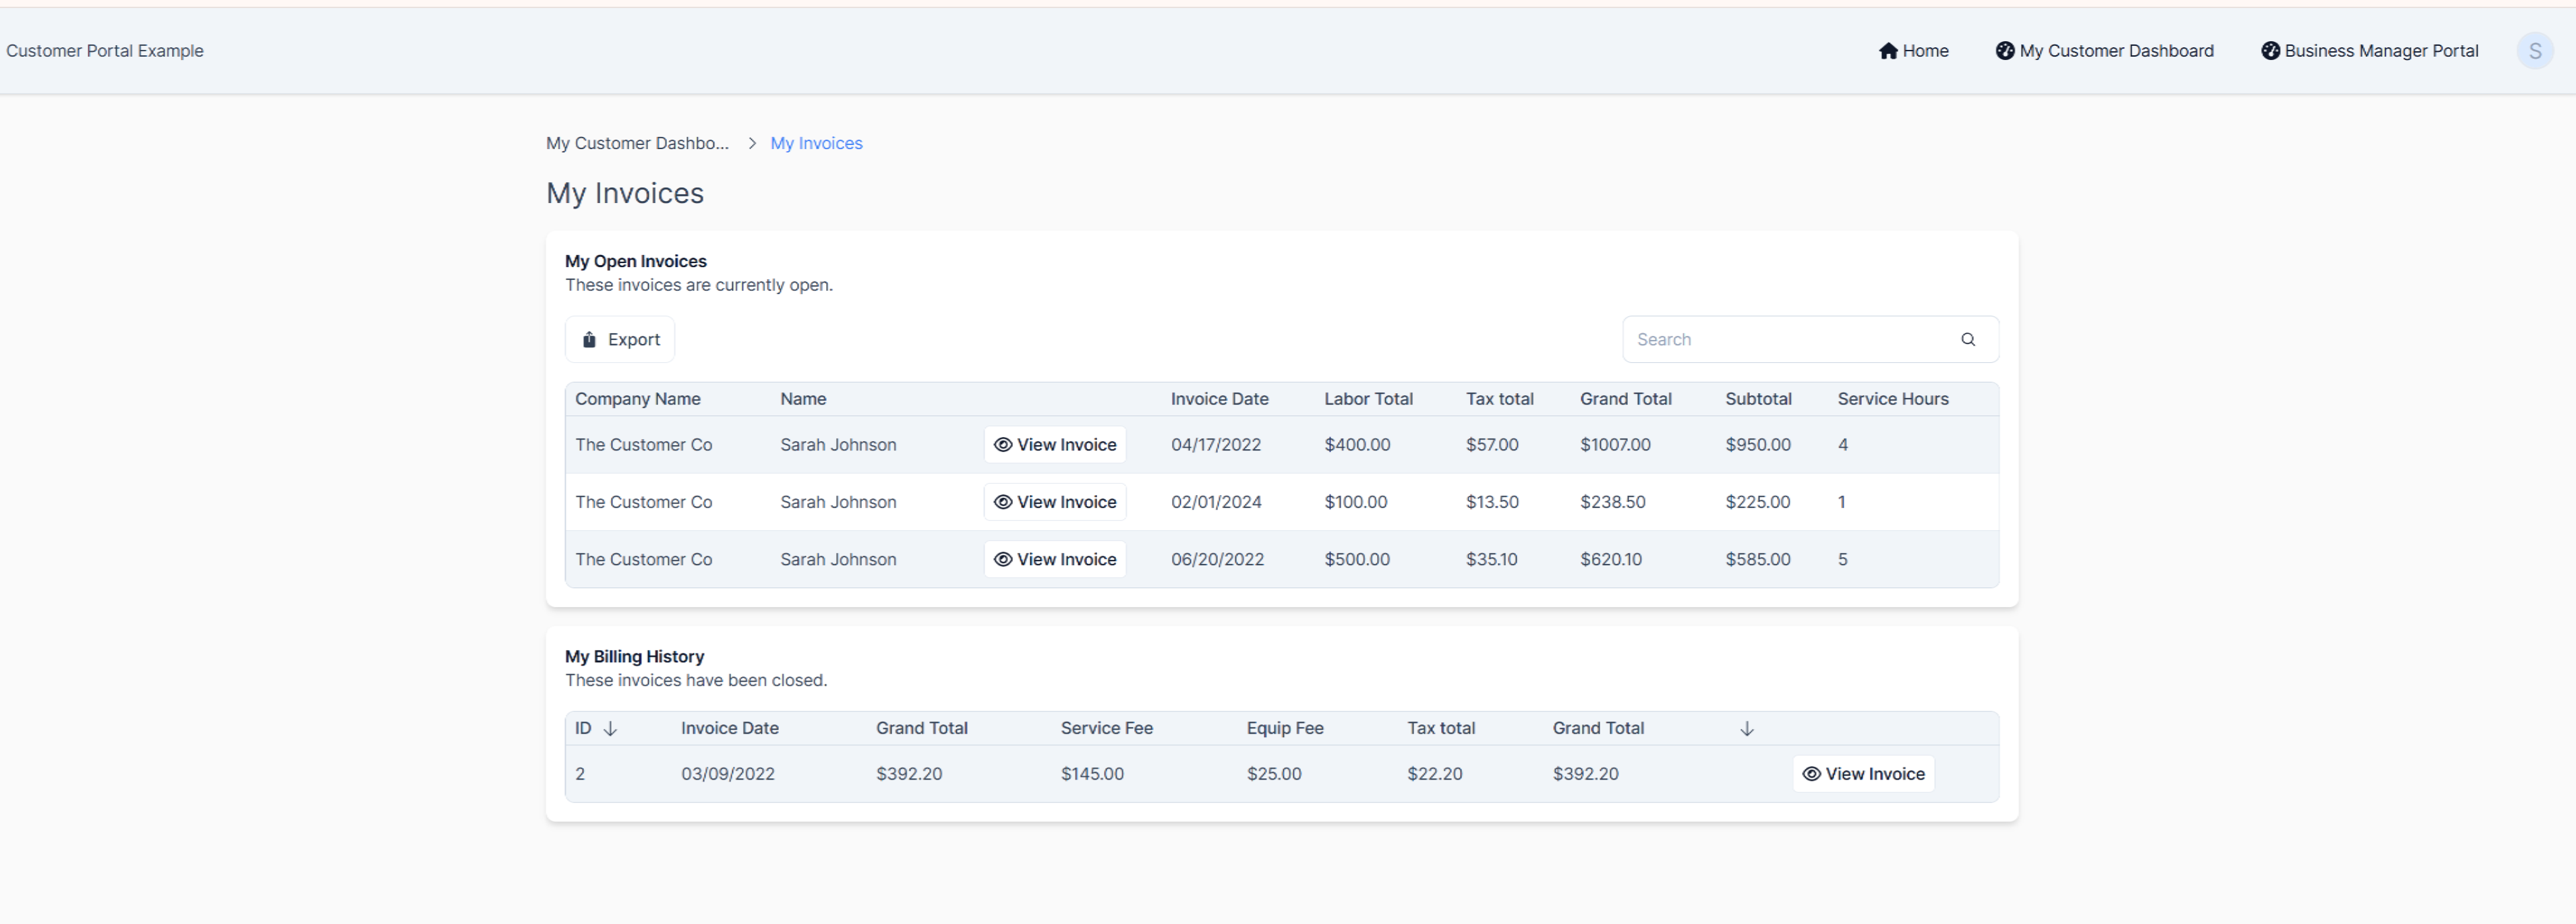
In a customer portal app, we connect our Invoices table to our "Customers" user role so each invoice is linked to the customer it belongs to. The connection field displays only one field from the connected record (typically the name), but since they're connected, we can access all data from the connected record in our Live App.
Tip: See our guide "Connect Related Data" for more examples of how connections are leveraged to create powerful Knack apps.
Thinking About Your App
Now is the time to begin documenting your application goals:
- Who will be using it?
- What will they need to access?
- Do you have different groups of users with different access levels?
- What kind of data will users enter? What data do you want to share with them?
- Do you need any special formatting or field types?
Tip: Creating an outline before you start building your app can save a lot of time! You don't need a fancy proposal or detailed flowchart - simply writing everything out can be incredibly helpful.
Mapping Out Your Fields, Tables, and User Roles
Now that you understand the fundamentals and have a vision for your application's functionality, let's plan and organize your data.
Let's say we want to create a project management application tracking:
- Project details (goals, project manager, client, budget)
- Time spent and expenses for cost analysis and billing
- Tasks and milestones with different deadlines and assignees
- Client details and contacts
We also have several distinct user groups:
- Admins: Manage client database, add projects, assign project managers
- Project Managers: Access their projects, create tasks, manage costs
- Employees: View assigned tasks, track time spent
Now, let's break down this outline into individual tables and user roles.
Tip: Use easy-to-understand, plural names for your tables. Rather than technical names like "invoice_tbl," use human-readable names like "Invoices" that work better in the Live App.
Tables
First, let's focus on Client data. We need to collect information about client companies and record multiple contacts for each client - two distinct types of data.
By creating separate tables for Clients and Contacts, we effectively segregate different data types. By connecting Contacts to Clients, we enable access to Client data from each Contact record.

Next, let's examine Project data. Projects consist of:
- Project definition details (name, client, project manager, description)
- Work-related data (tasks, expenses, milestones)
We'll create tables to track this information:
- Projects: Essential project data
- Tasks: Assigned to employees, connected to milestones
- Milestones: Critical points with deadlines set by project managers
- Hours: Time tracking for assigned tasks
- Costs: Material expenses tracked by project managers
Besides easier data management, using separate tables enables powerful functionality:
- Automatic calculation of task duration as new time entries are recorded
- Real-time project cost calculations including labor and materials
- Task assignments that allow employees to access only their assigned items
Tip: Before building your app, write down your tables, user roles, and fields. Note any special field formats to streamline your work once you start using the Builder.
User Roles
Based on our app plan, we have three distinct user groups:
- Administrators
- Project Managers
- Employees
Each user group will have different abilities and access levels. When building your Live App, you'll create separate pages for each role with elements that enable users to efficiently complete their specific tasks.

Note: Users can belong to multiple roles simultaneously. While all users might be assigned to the Employees role, some may also have Admin and Project Manager roles.
Adding Your Tables, User Roles, and Fields
Finally, it's time to start building! Put your planning into action by adding your tables, user roles, and fields to your app.
To add tables and user roles, click the "+" button in the respective Data/User sections of the Builder.
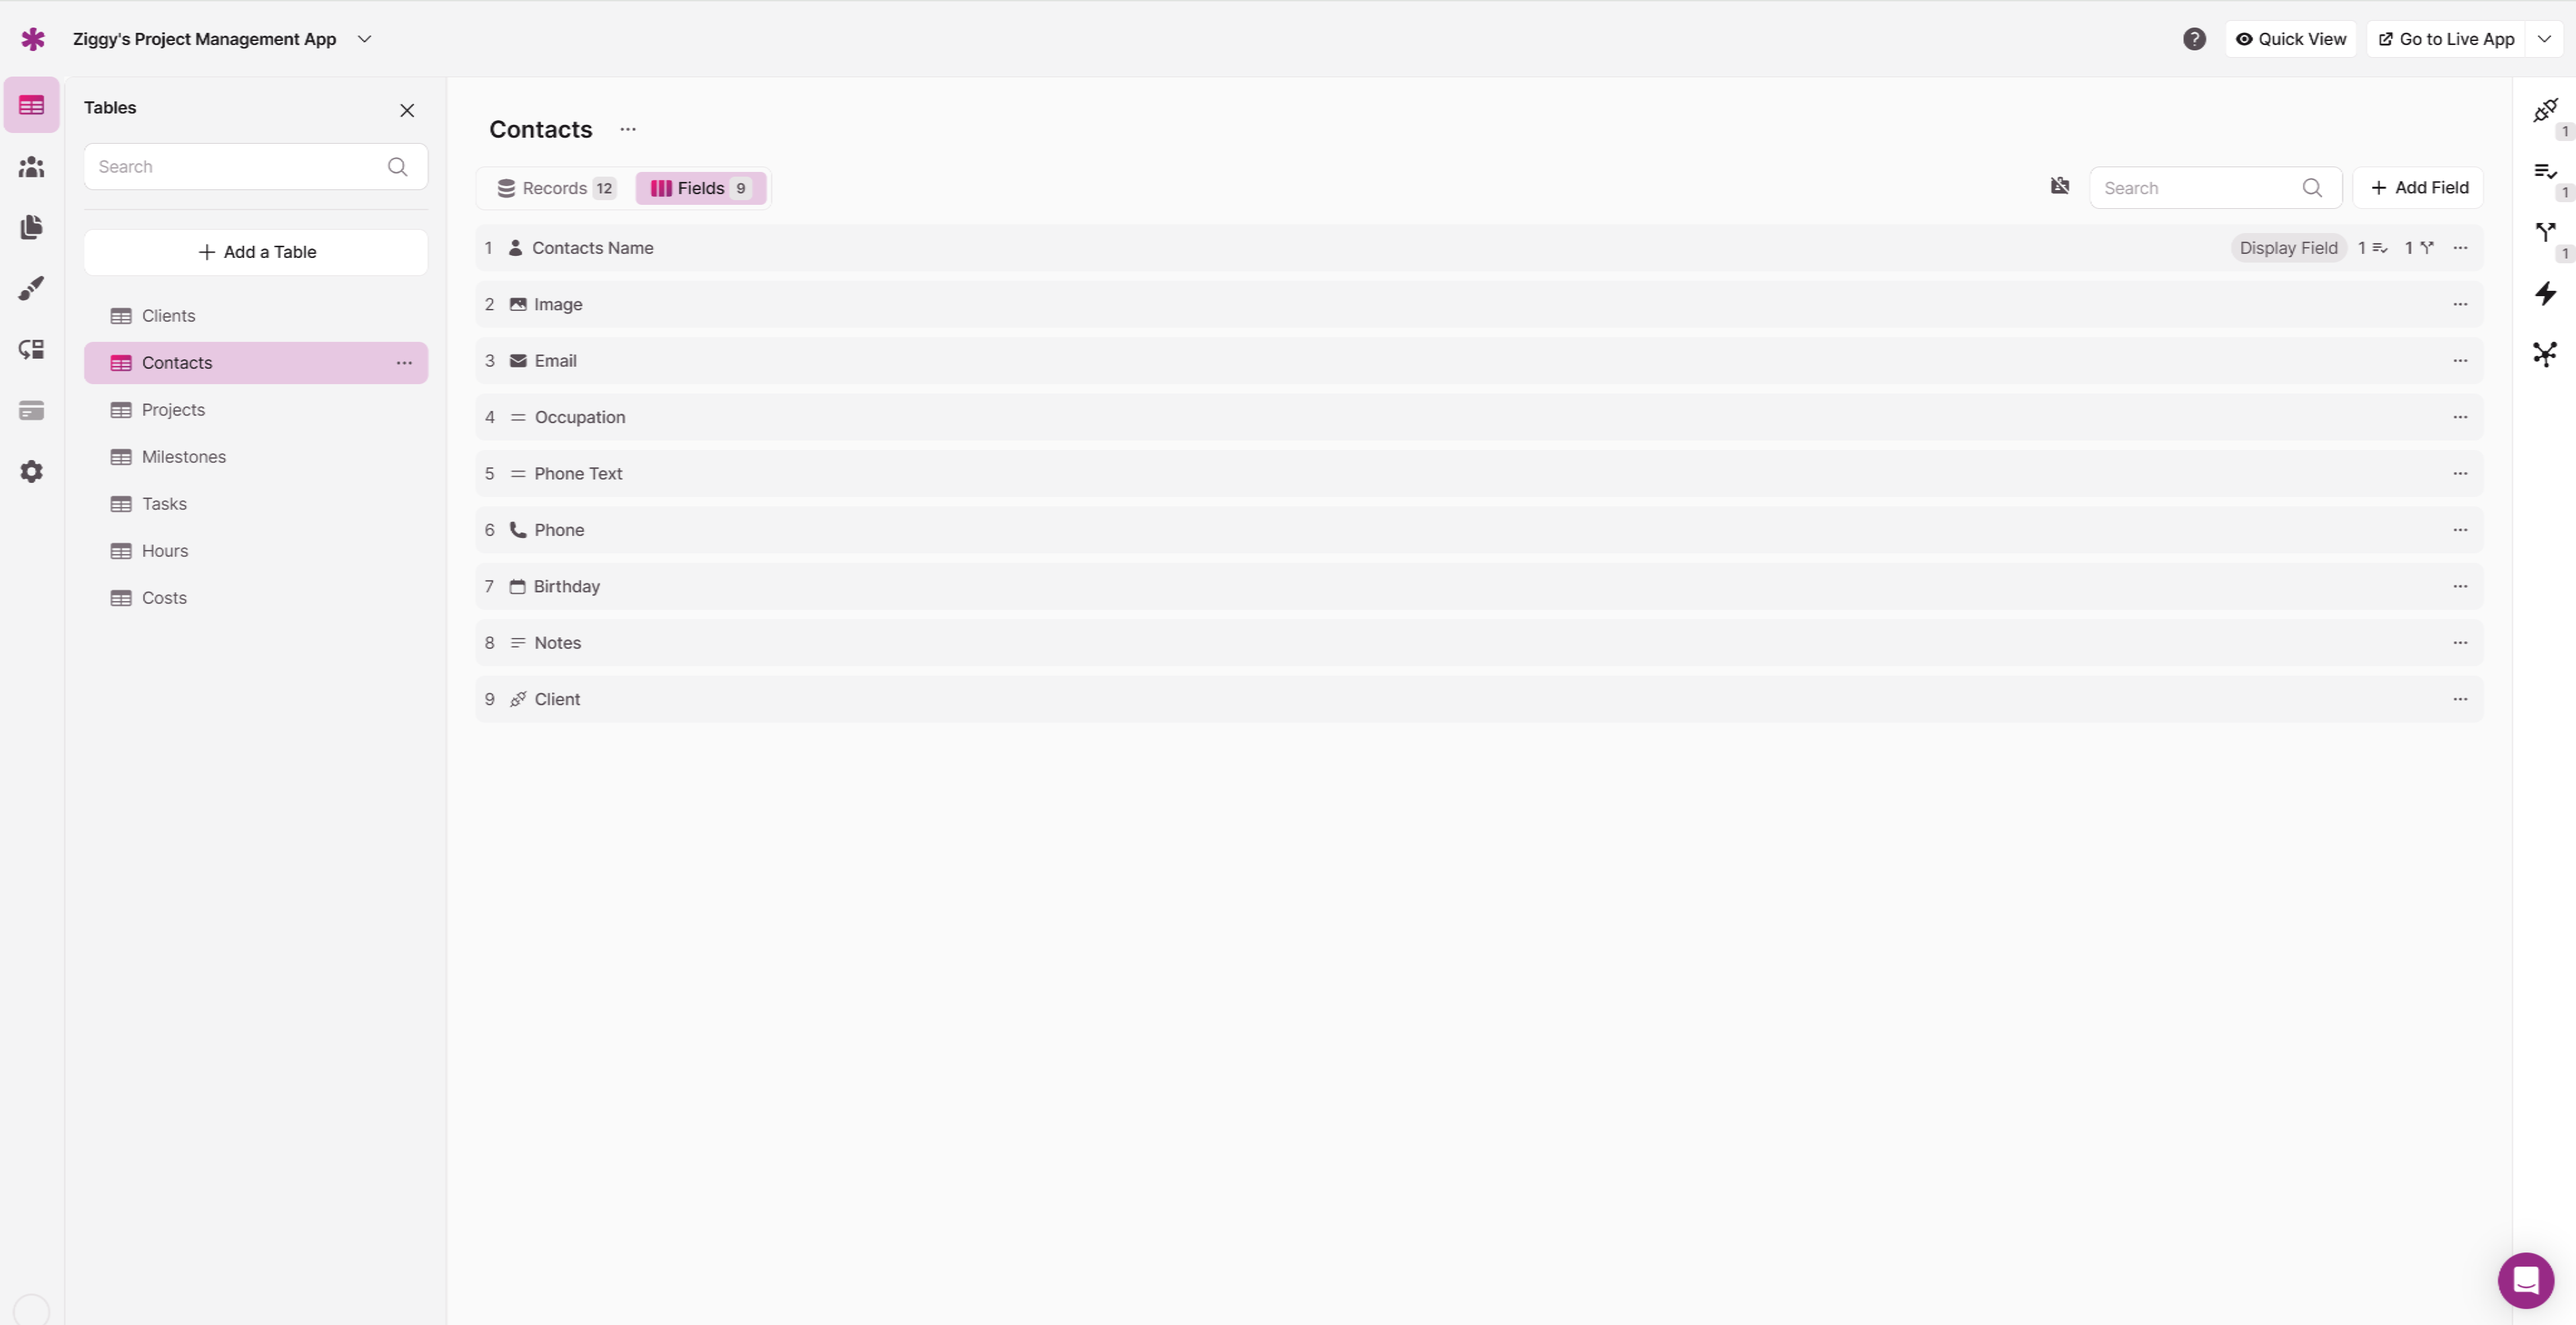
To add new fields, navigate to the table in the Fields section and click the "Add Field" button in the top menu. This opens a dropdown with various field options to choose from. You can also add fields while in the Records tab of the DataTable by right clicking a field header and selecting Add Left or Add Right.
After adding your tables and user roles, establish connections between them. For assistance determining how to connect your tables, refer to our connections guide.
DataTables vs. User Roles
In many applications, user roles enable users to log in and access data, controlling page permissions and managing app access.
When developing something like a customer portal, should you create a customer table or define a user role? The answer depends on your business model:
-
B2C (Business-to-Consumer): Your customers are individuals who need to log in to view orders and update information. Create a user role for customers.
-
B2B (Business-to-Business): Your customers are companies, with individuals who work there. Create a table for Customers (company data) and a user role for Contacts (individuals who need to log in).
Note: If developing an app for internal use only, you may not need customer user roles. However, if you might open the app to customers later as a portal, establish user roles from the start, as tables cannot be converted into user roles.
Updated about 1 year ago