Elements Overview
Elements are the visual components that showcase data within your app. These building blocks make up your Live App pages - like grids, maps, calendars, forms, and more - handling everything from displaying records to collecting user input.
What You'll Learn
In this overview, you'll discover the various element types available in Knack and how they function as the building blocks of your application. You'll learn how to add, edit, and manage elements effectively, giving you the skills to create dynamic pages that display your data exactly how you want it. Understanding elements is fundamental to creating an engaging and functional Knack application.
What are Elements?
Elements are the visual components that showcase data within your app. Think of elements as the building blocks that make up your Live App pages - like grids, maps, calendars, forms, and more. These components handle everything from displaying records to collecting user input.
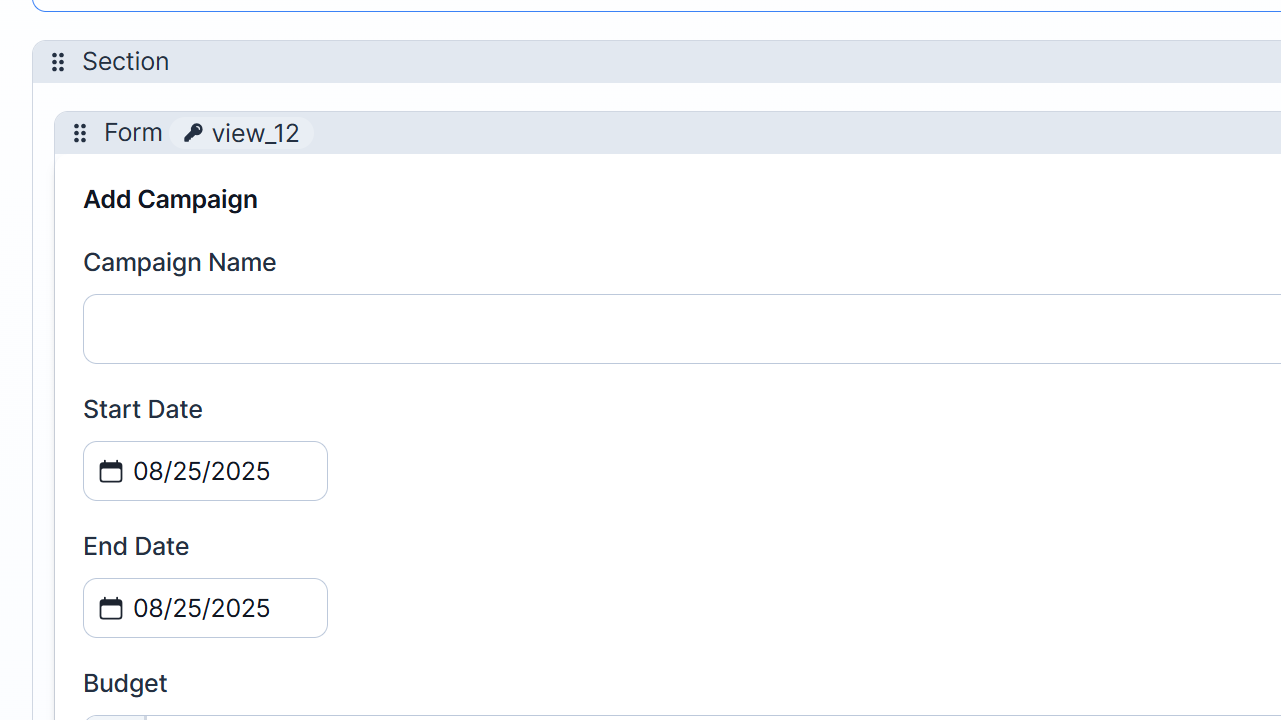
When you're building your app, you'll work with element options in the Builder:
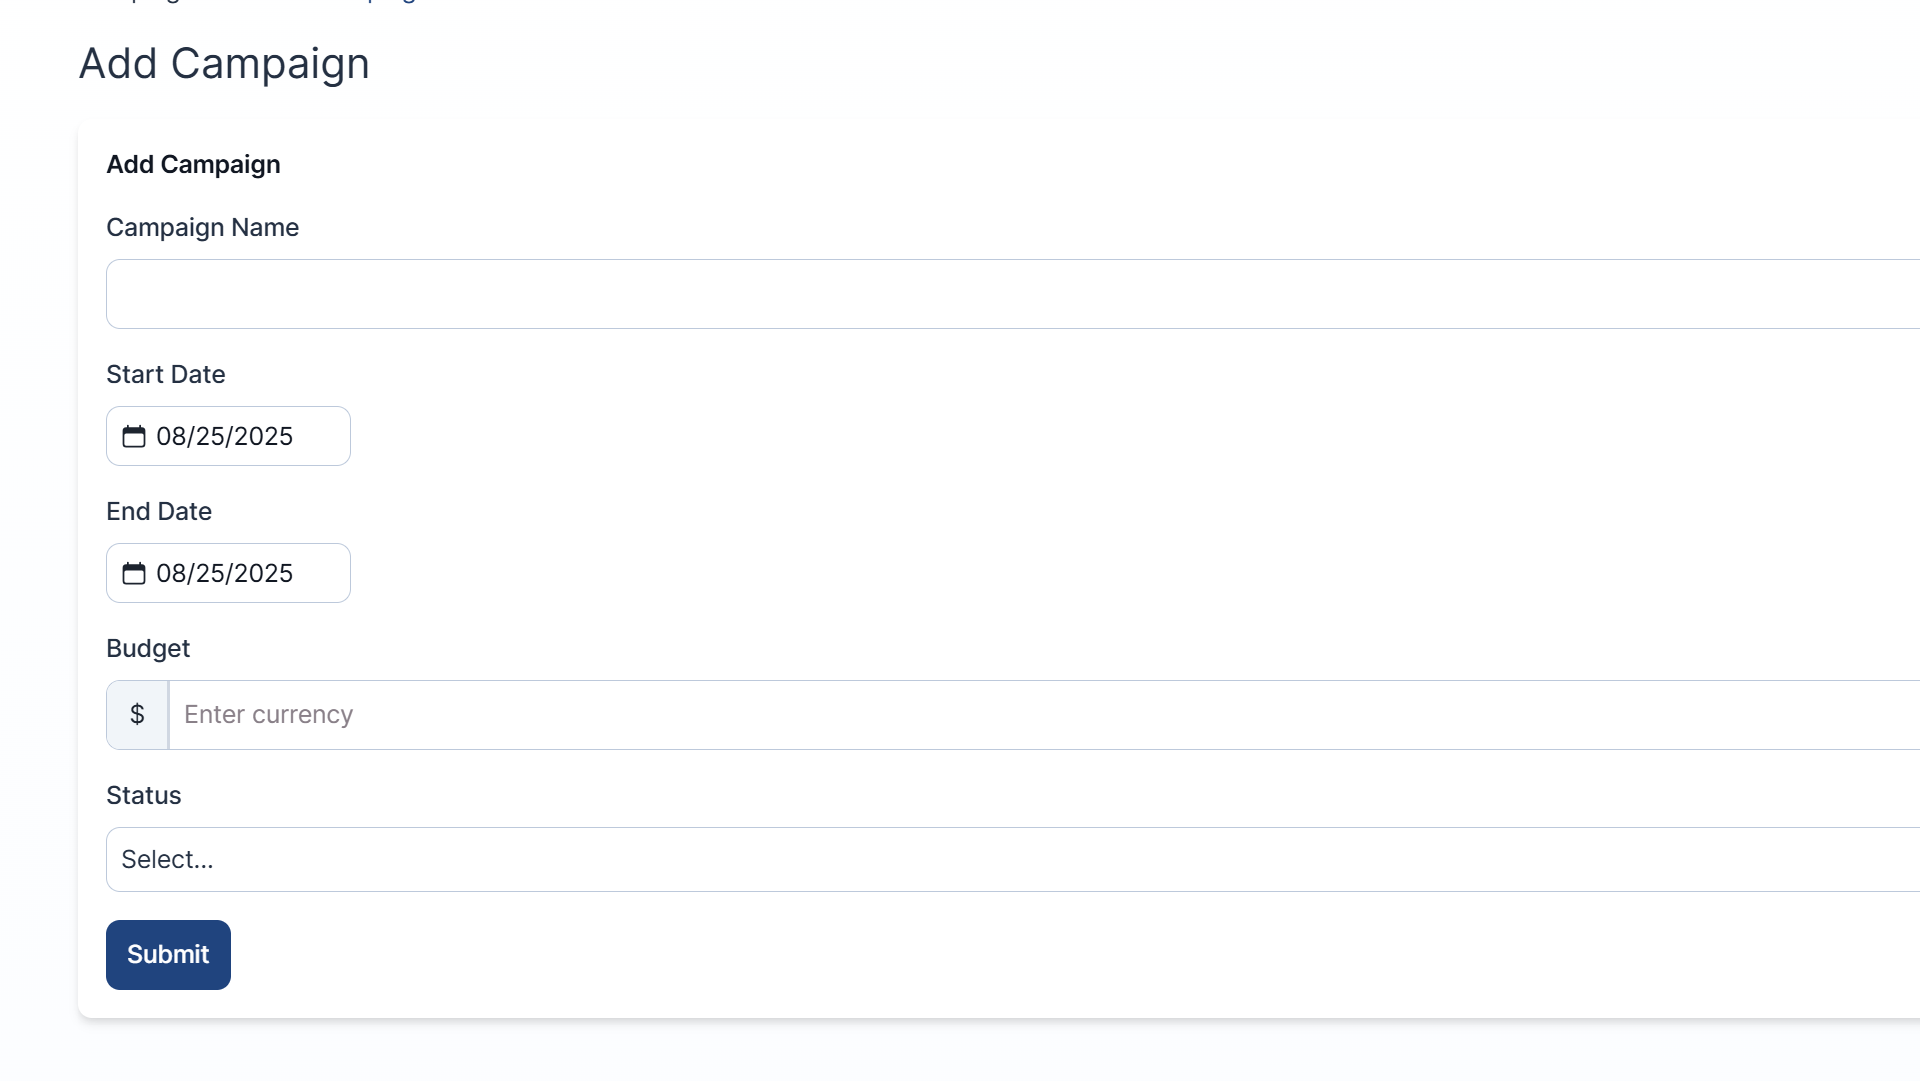
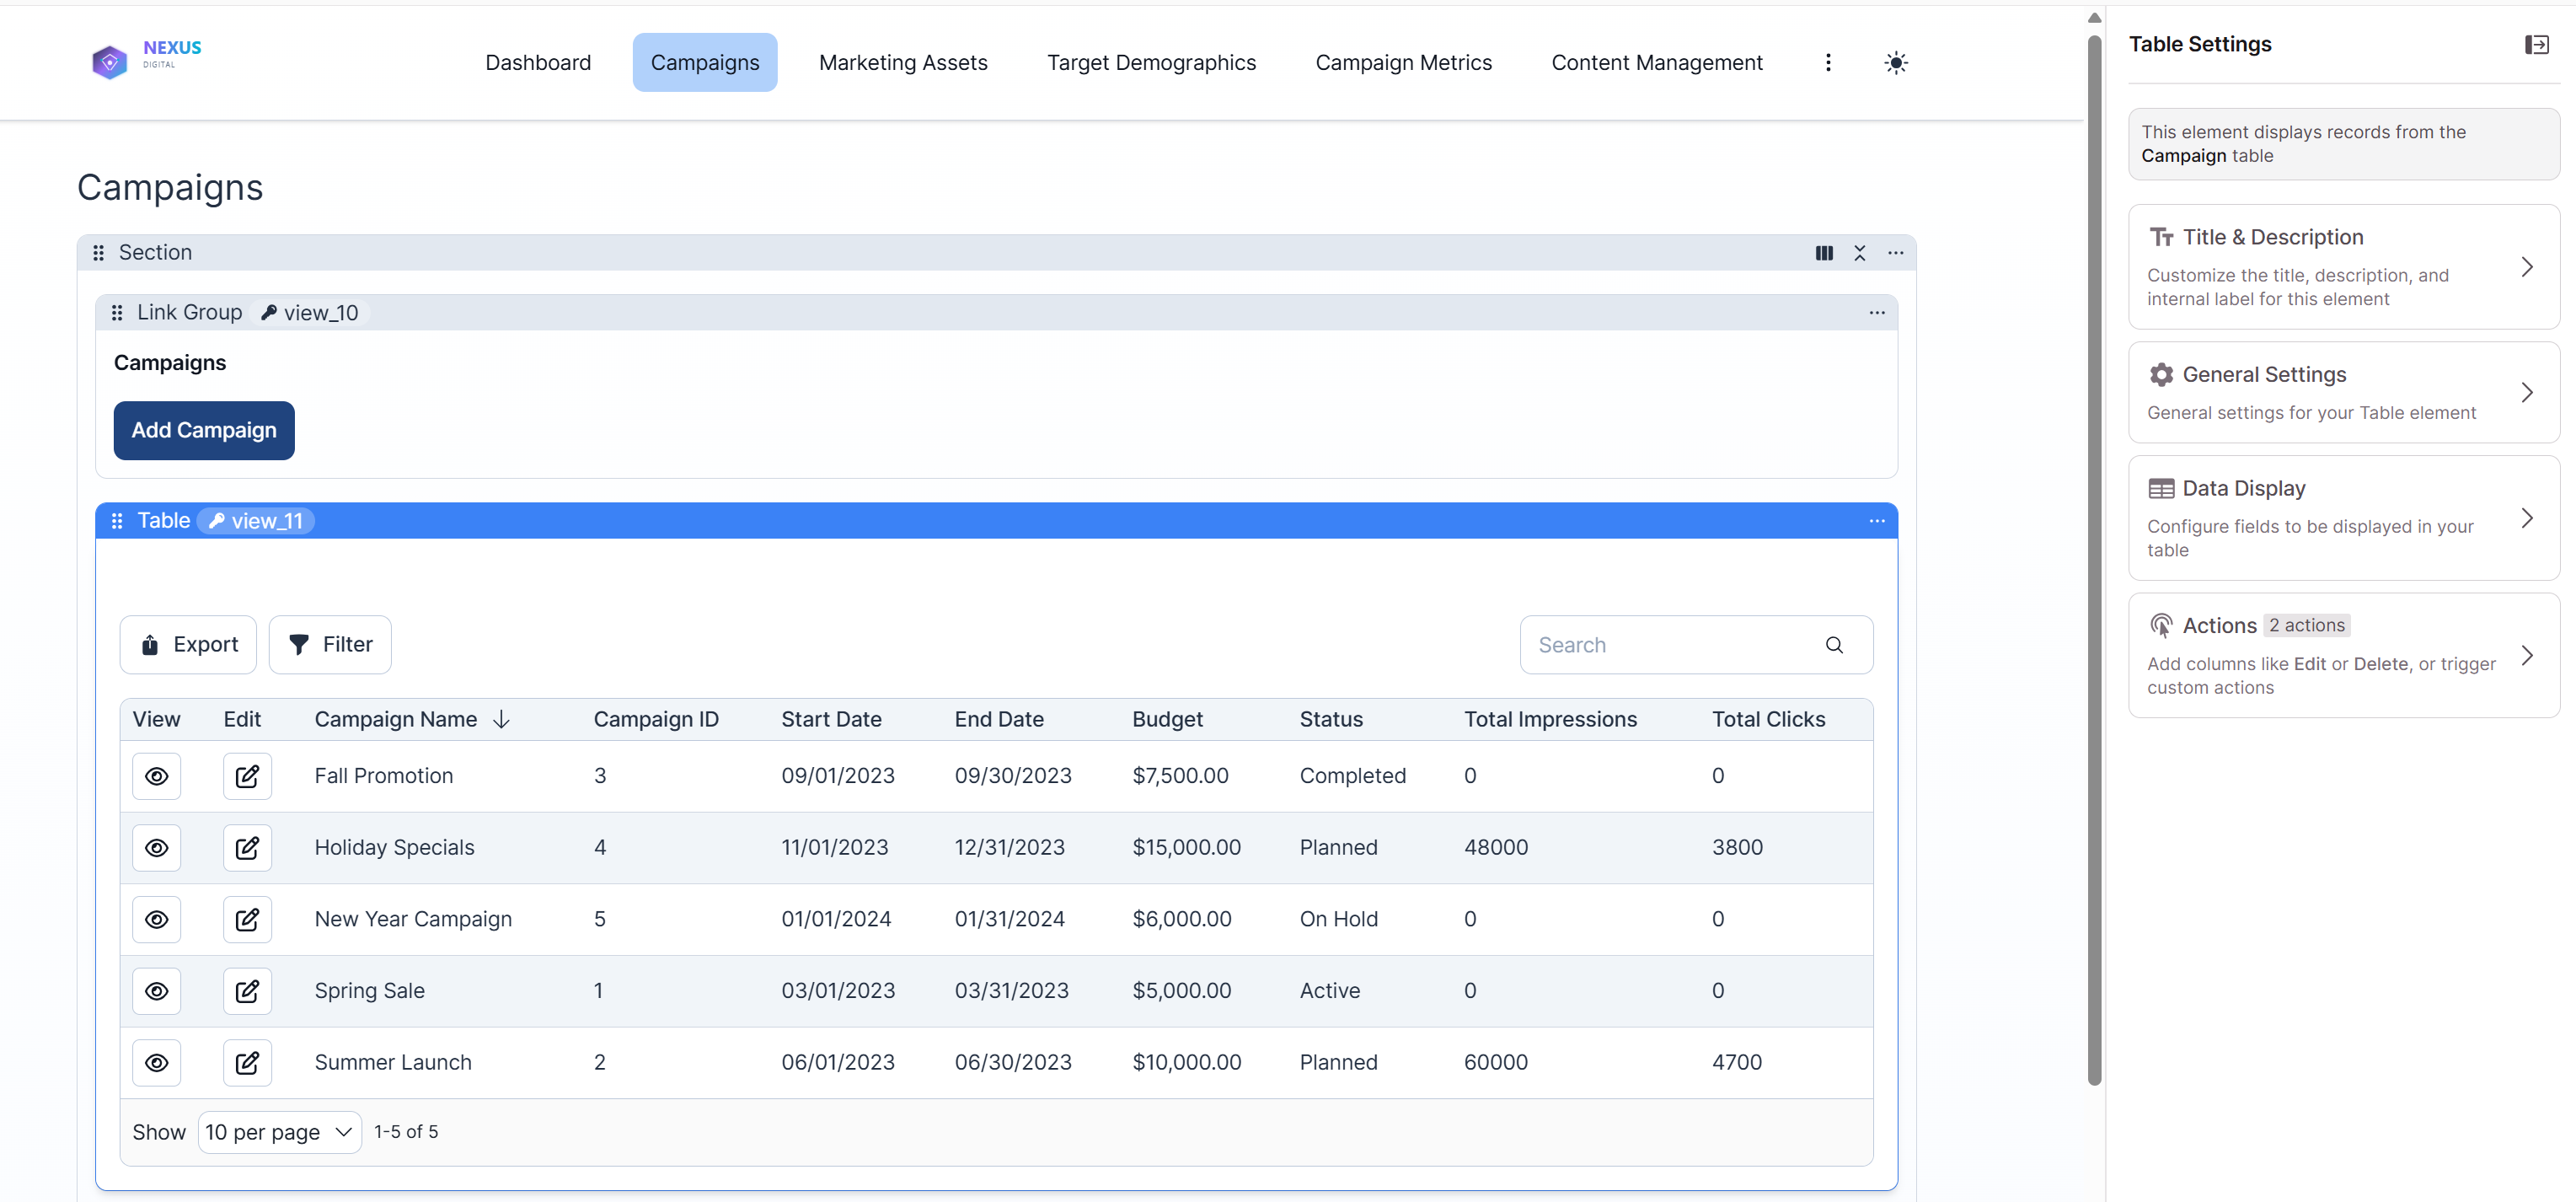
And your users will see fully rendered elements like this grid in the Live App:
Accessing Elements
You can access, edit, and add new elements by navigating to the "Pages" section in your Builder and select a page, or create a new page.

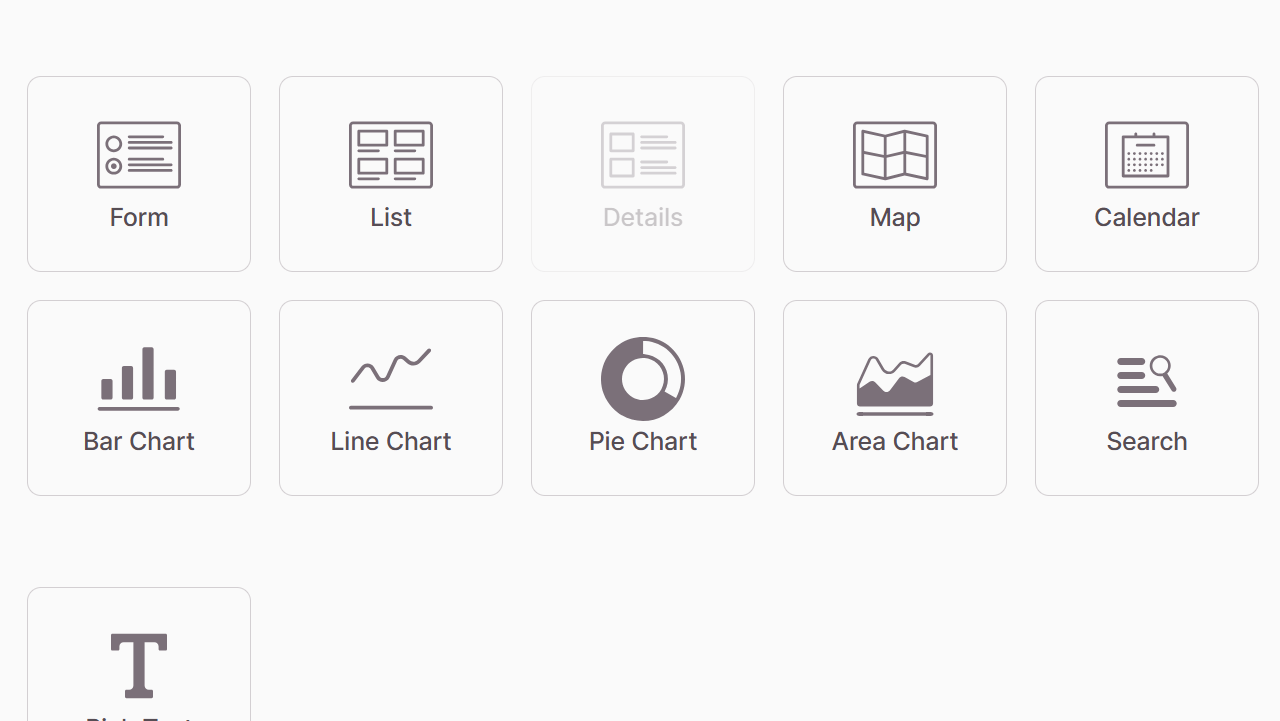
Element Types
Let's explore the various types of elements you can add to your pages, each serving a unique purpose:
Record Elements
Most elements work with specific tables from your database. When adding an element, you'll first select the element type, then choose which table you want to work with:
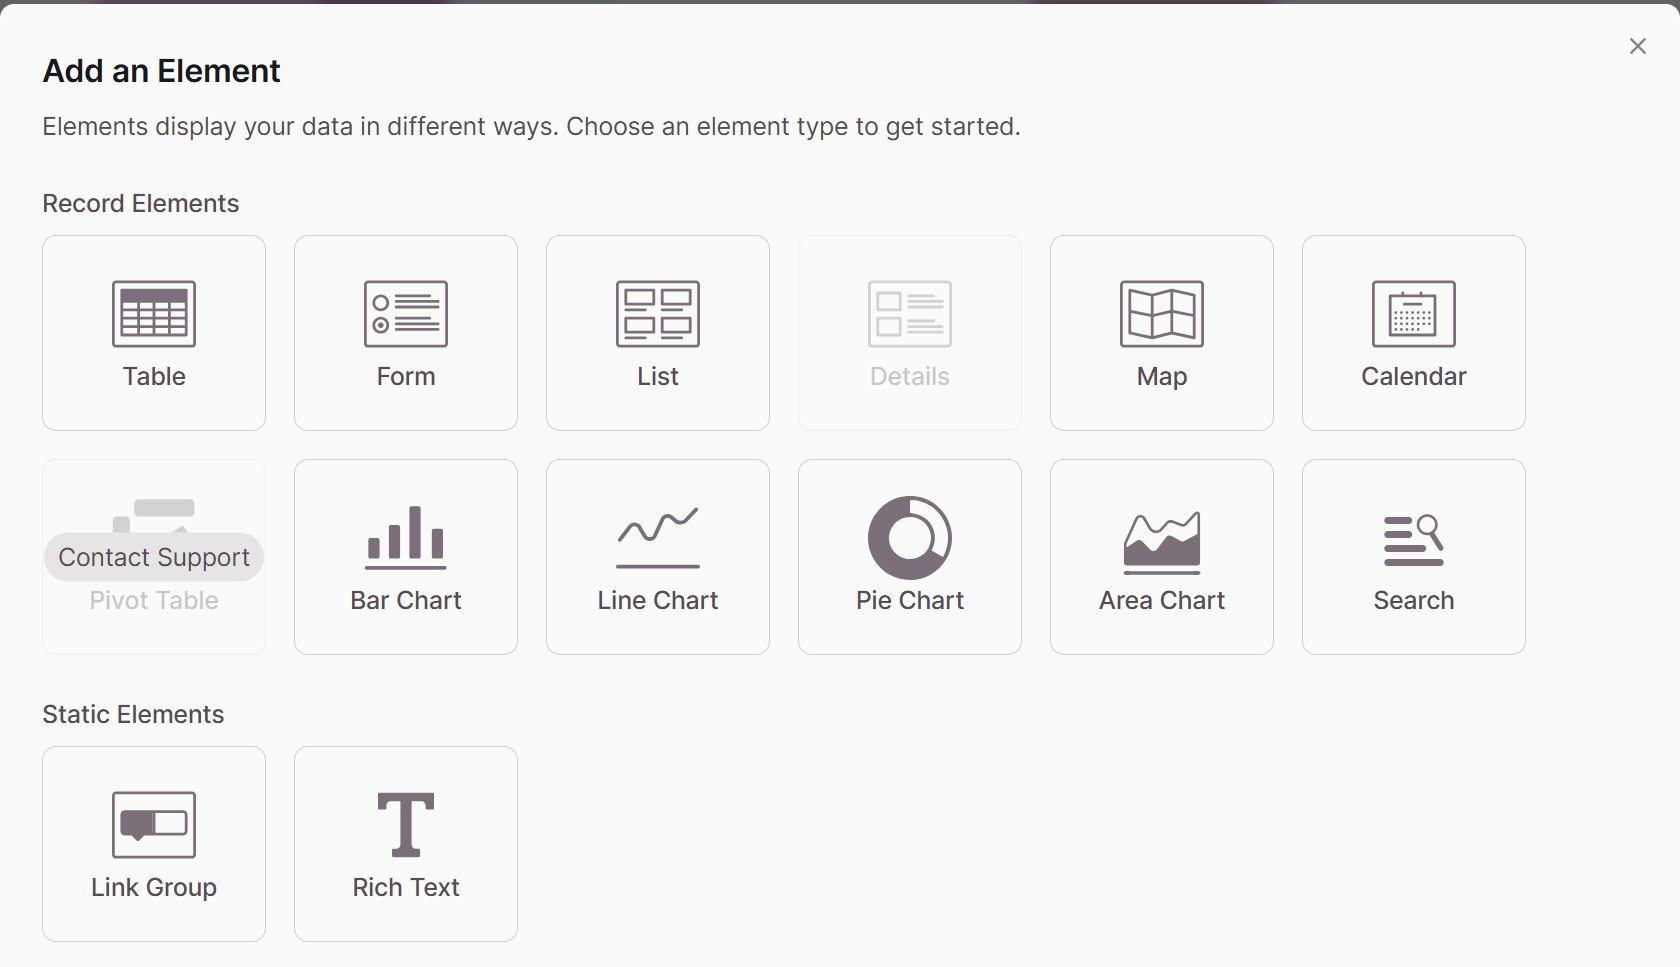
Record elements come in two main categories:
Single Record Elements
These elements focus on one record at a time:
- Form: Insert or edit a single record
- Details: Display a single record in a flexible layout
Multiple Record Elements
These elements display many records at once:
- Table: Shows records in rows and columns - perfect for structured data
- List: Displays records in a more flexible layout - great for showing images
- Search: Shows records that match search criteria
- Calendar: Displays records with dates in a calendar view
- Map: Plots records with addresses on a map
- Charts: Displays visual information and calculations
Many elements can be configured to show connected records. For example, on a Project details page, you might want to display "Tasks connected to this Project," or in a client portal, you could show "Invoices connected to the logged-in Client."
Static Elements
Unlike record elements, static elements don't work with a specific table. They include:
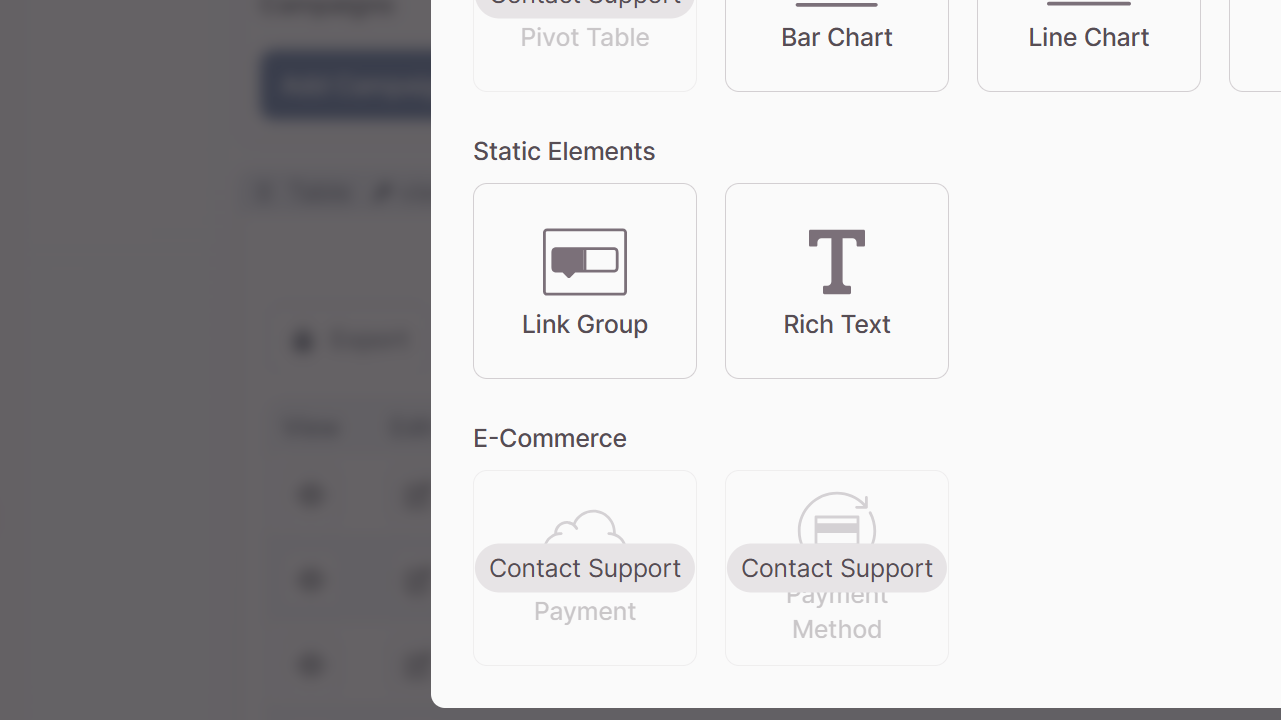
- Rich Text: Displays formatted text, images, and other content
- Link Group: Creates buttons or tabs that link to pages in your app or external sites
Charts
Chart elements help you visualize data and perform calculations on groups of records:
Options include:
- Bar charts: Show calculations as bars based on a single grouping
- Pie charts: Display calculations as percentages of a whole
- Line charts: Plot calculations as lines over time or categories
- Area charts: Similar to line charts but with filled areas beneath the lines
Managing Elements
Let's look at how to work with elements in your app:
Adding Elements
To add a new element, go to the Pages section, select your page, and click "Add Element"
This opens the element selector in a modal
For record elements, you'll need to choose which table's records the element will work with. If you're working on a page with a login, you can display records connected to the logged-in user.
Tip: If you don't see options like calendar or map check if your table has the required field types. Calendars need date fields and maps need address fields.
Editing Elements
To edit an element simply click on it.
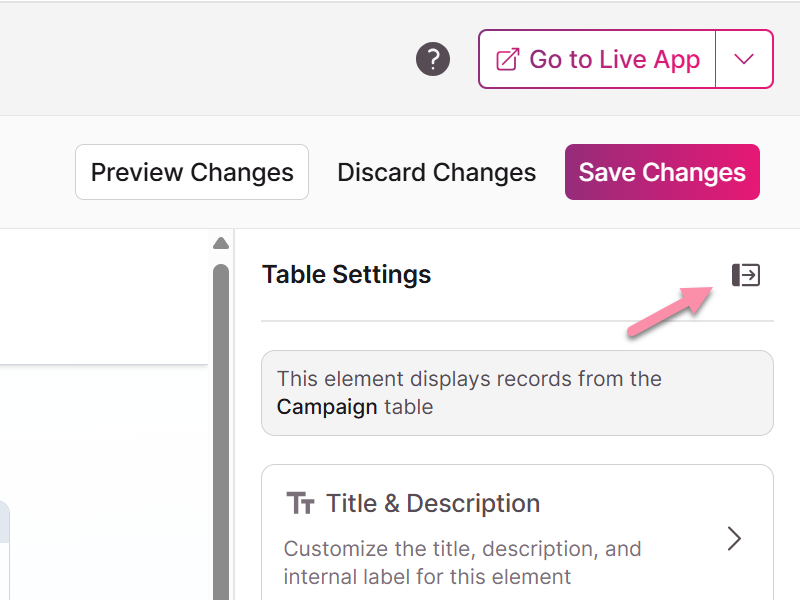
This opens the element editor in the right panel where you'll find various settings sections:
Note: If the right panel does not open, click the Show/Hide icon in the top right corner
Copying & Moving Elements
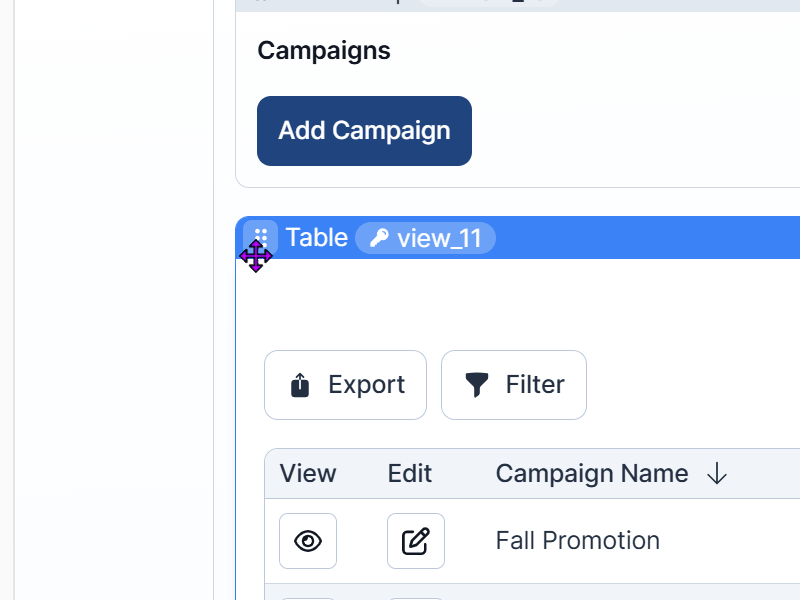
You can reorganize elements on a page by dragging them using the handle icon at the top left of each element.
To copy or move an element to a different page, click the ellipsis (...) icon and select "Duplicate Element" or "Move Element":
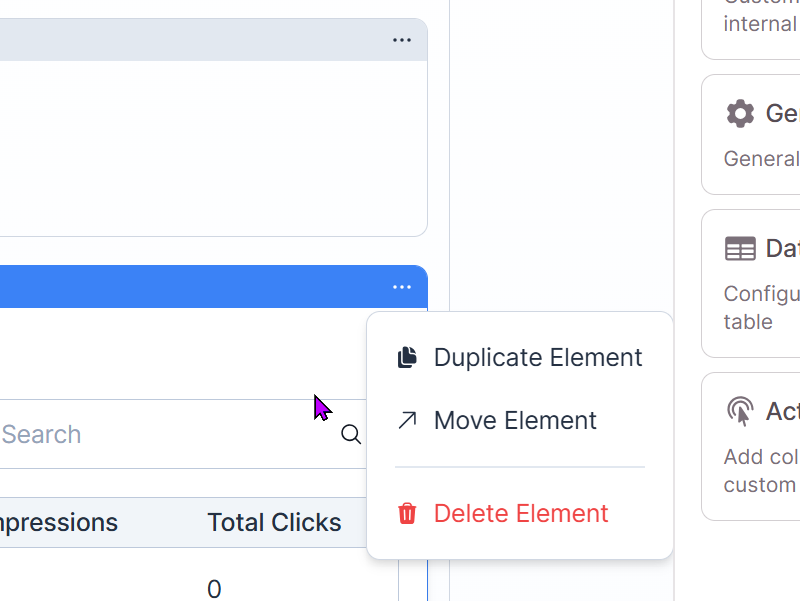
Note: Elements can only be moved or duplicated to compatible pages that work with the same table or connected tables.
Deleting Elements
To remove an element, select the ellipses in the top right corner and select Delete Element
Caution: Deleting an element also removes any child pages connected to it.
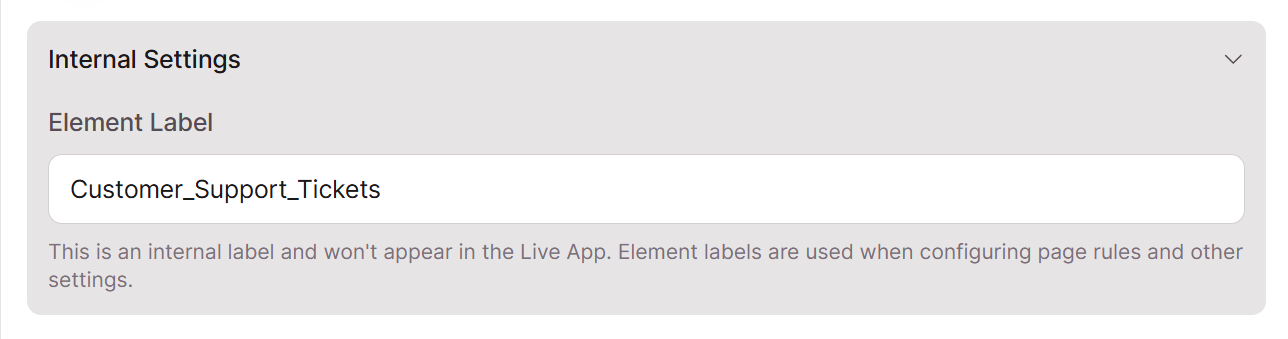
Element Names and Display
Elements have internal names in the Builder to help you identify them when configuring page rules. By default, the label is the page name, but this can be customized.
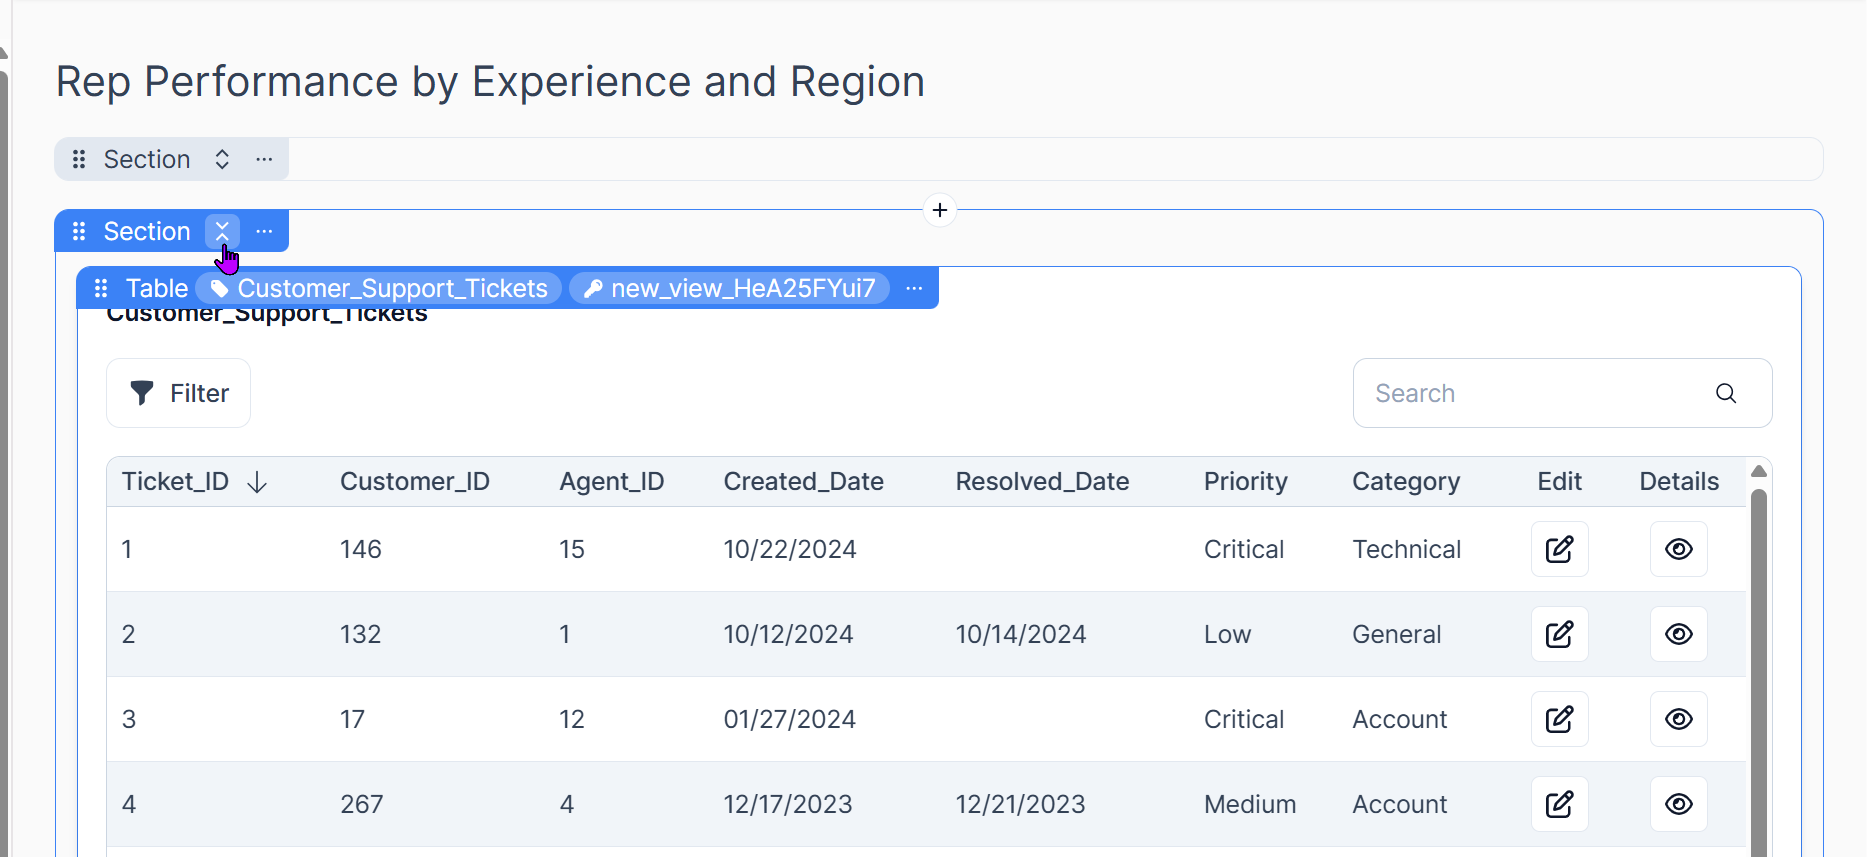
You can also collapse or expand all elements or individual elements using the expand/collapse icon - helpful when working with pages that have many elements:

How to Display a Page as a Modal
In Knack, you can choose to display a page as a modal instead of loading it as a full page. This is useful when you want users to stay on the current screen and complete a quick task, like submitting a form or adding a record, without navigating away. This option is available for child pages.
Enabling Modal Display
To turn a page into a modal:
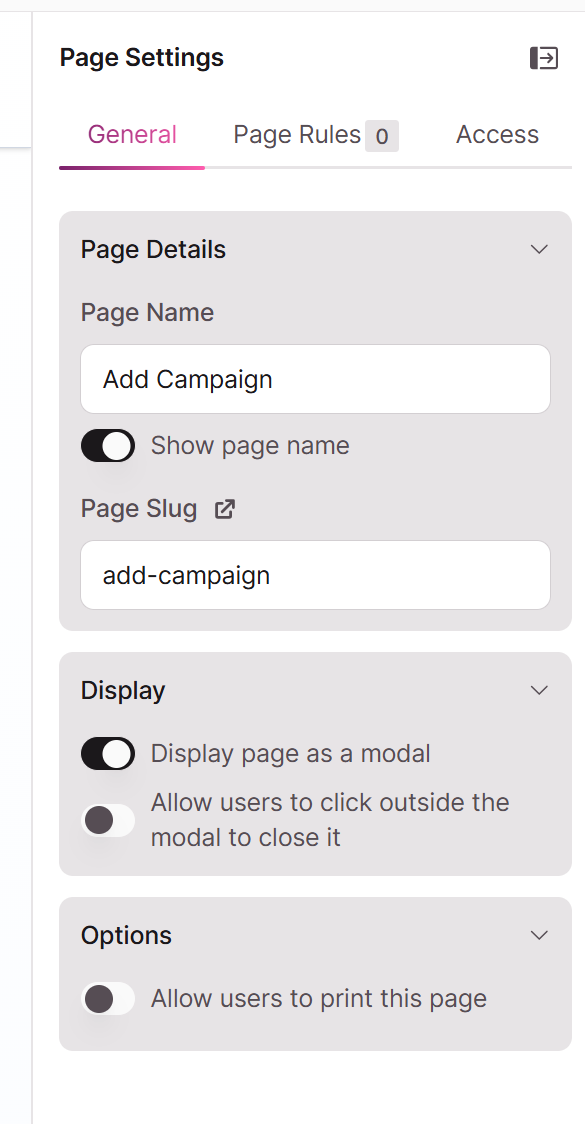
- Go to the Page Settings for your desired page.
- Under the General tab, scroll to the Display section.
- Toggle “Display page as a modal” to ON.
Once enabled, this page will open in a popup-style window rather than taking users to a new screen.
Allow Click Outside to Close
You’ll also see an option to “Allow users to click outside the modal to close it.”
- When this is enabled, users can click anywhere outside the modal to dismiss it.
- When this is disabled, users must take an action within the modal (like submitting or canceling) to close it.
This gives you more control over how users interact with modal content, especially if you want to prevent accidental closures.
When Should You Use Modals?
Modals are great for:
- Adding or editing a record quickly.
- Showing a short form or set of options.
- Keeping users in context without leaving the page.
Avoid using modals for:
- Long, scroll-heavy pages.
- Complex multi-step processes.
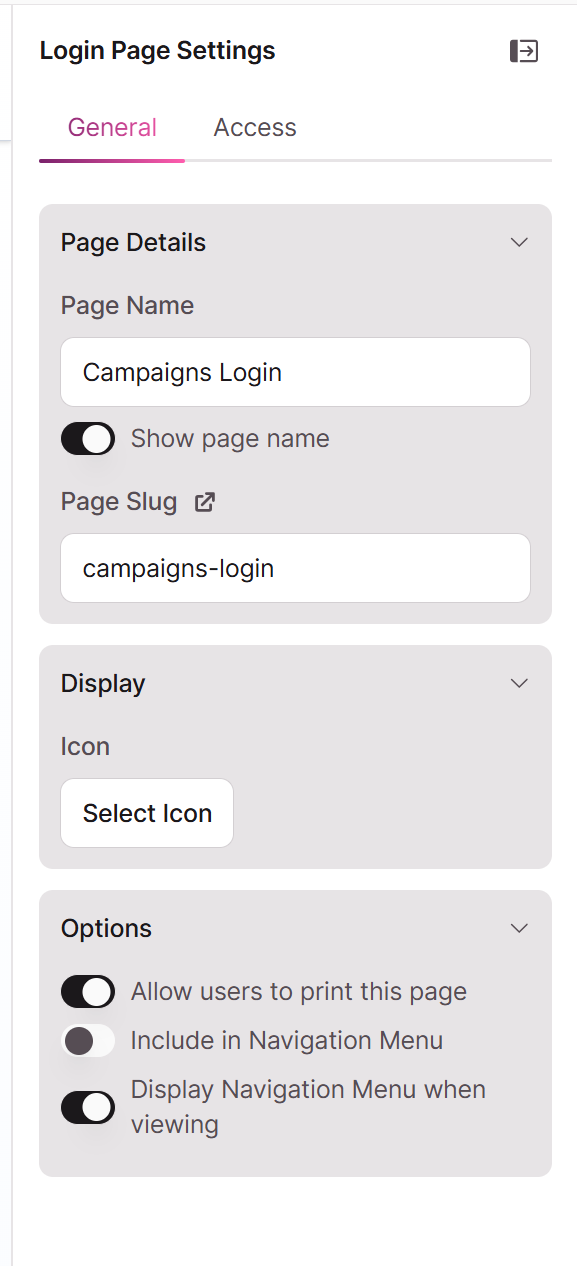
Other Page Settings Overview
| Setting | Description |
|---|---|
| Show page name | Toggles whether the page name is shown in the app. |
| Page slug | Customize the URL path of the page or click the link to to open that page |
| Allow users to print | Lets users print the current page view. |
| Include in Navigation Menu | Toggle off if you do not want to this page to be included in the page menu |
| Display Navigation Menu when viewing | Even if the page is not included in the Navigation menu, you can display it when viewing a particular page. |
Troubleshooting
What fields can I add to my elements?
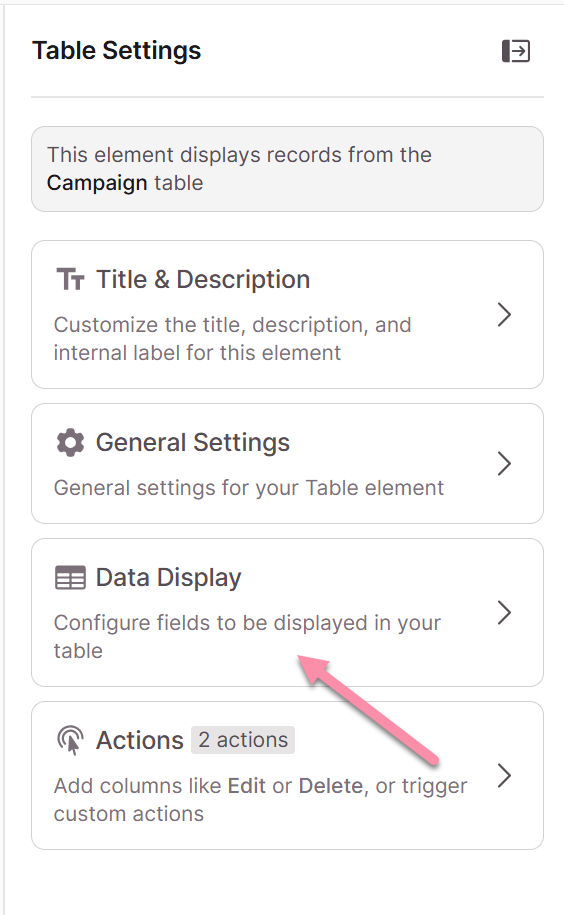
Each element lets you incorporate fields through the Data Display tab in the right panel.
I can't copy/move my element to another page
Elements can only be moved to compatible pages that work with the same table or connected tables.
Why can't I see all my fields in a new element?
By default, multiple record elements only show the first six fields from your table. Edit the element to add more fields.
Why can't I add a calendar or map element?
These special elements require specific field types in your table:
- Calendars need date/time fields
- Maps need address fields