User Management Fundamentals
User management forms the foundation of any Knack application that requires login functionality. This section covers the fundamental concepts and techniques needed to set up and manage users in your application.
Managing User Records
Learn how to add, edit, and manage user accounts in your Knack app, including handling user statuses, roles, and email communications.
What You'll Learn
Understanding how to effectively manage user records will help you maintain organized user accounts, control access to your app, and communicate with users through automated emails. You'll discover how user records work similarly to regular records while offering special user-specific features like role assignments, status management, and built-in email templates for account communications.
Understanding User Records
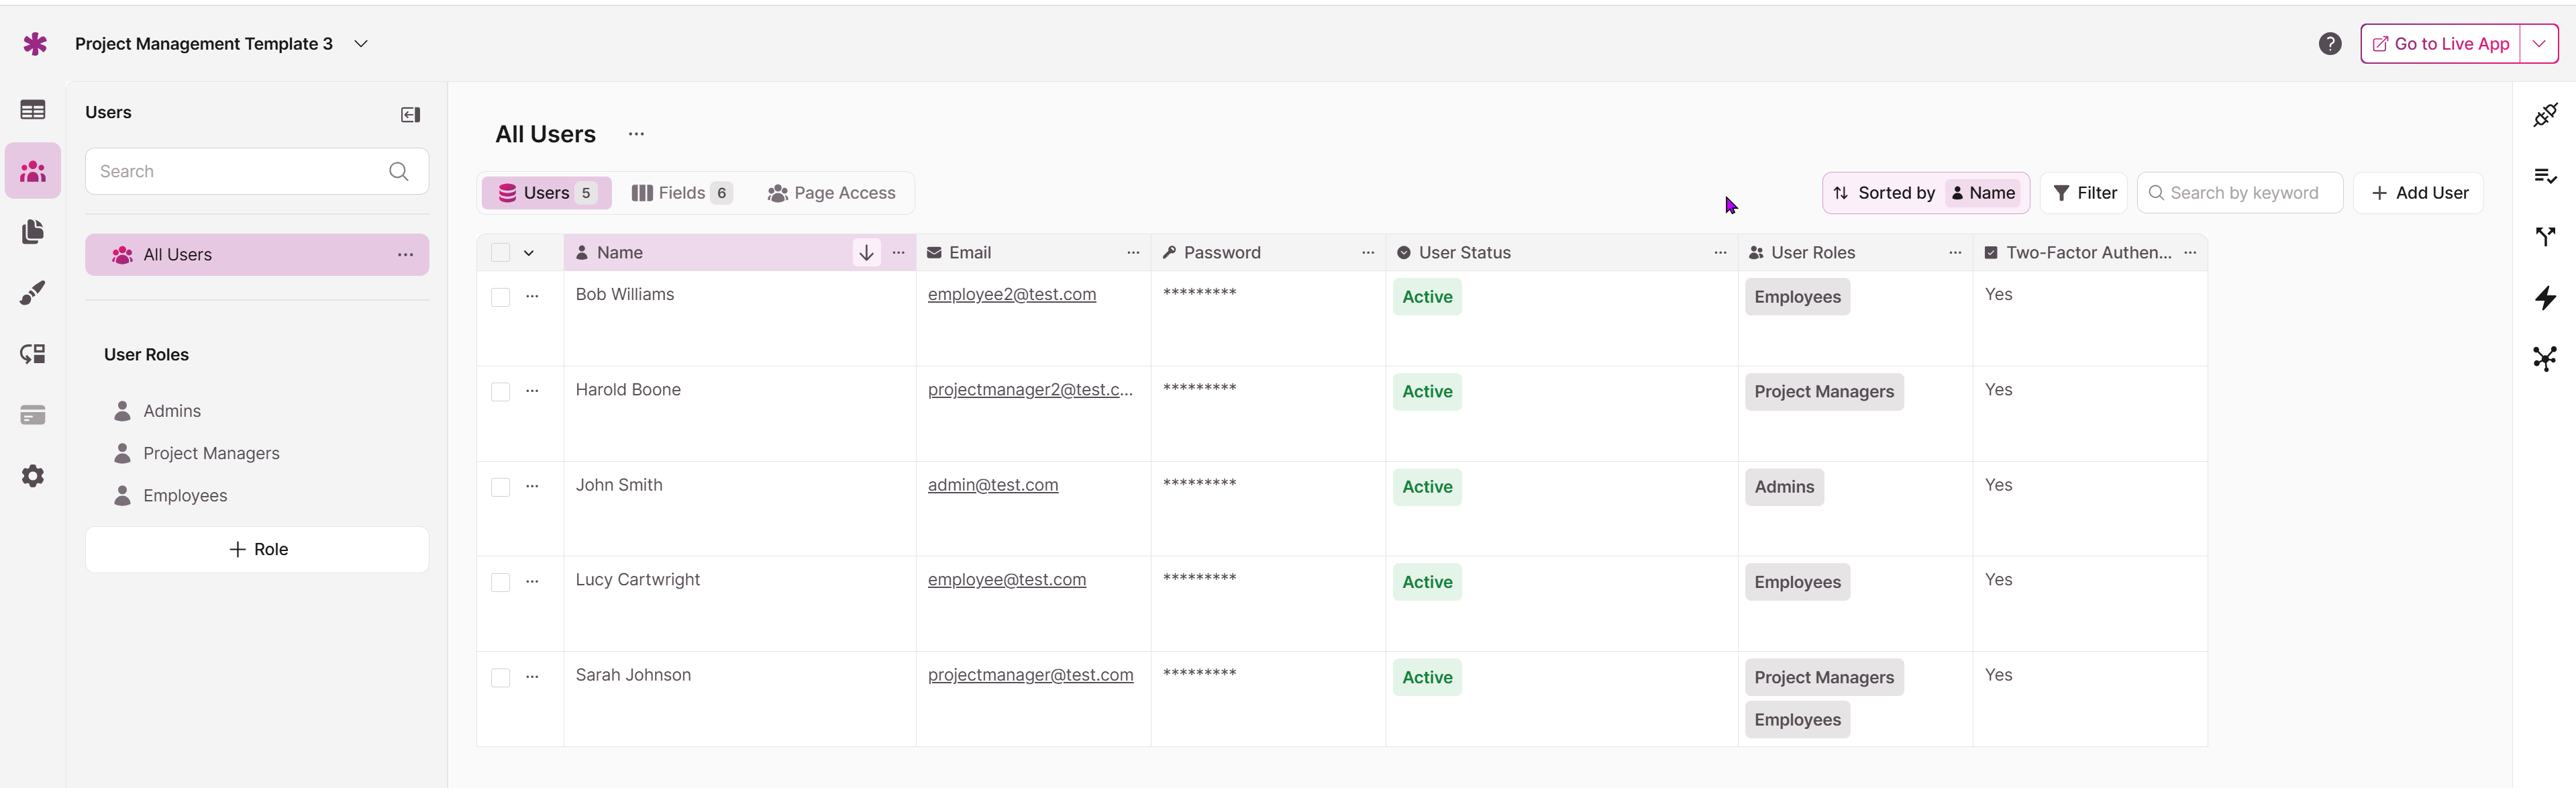
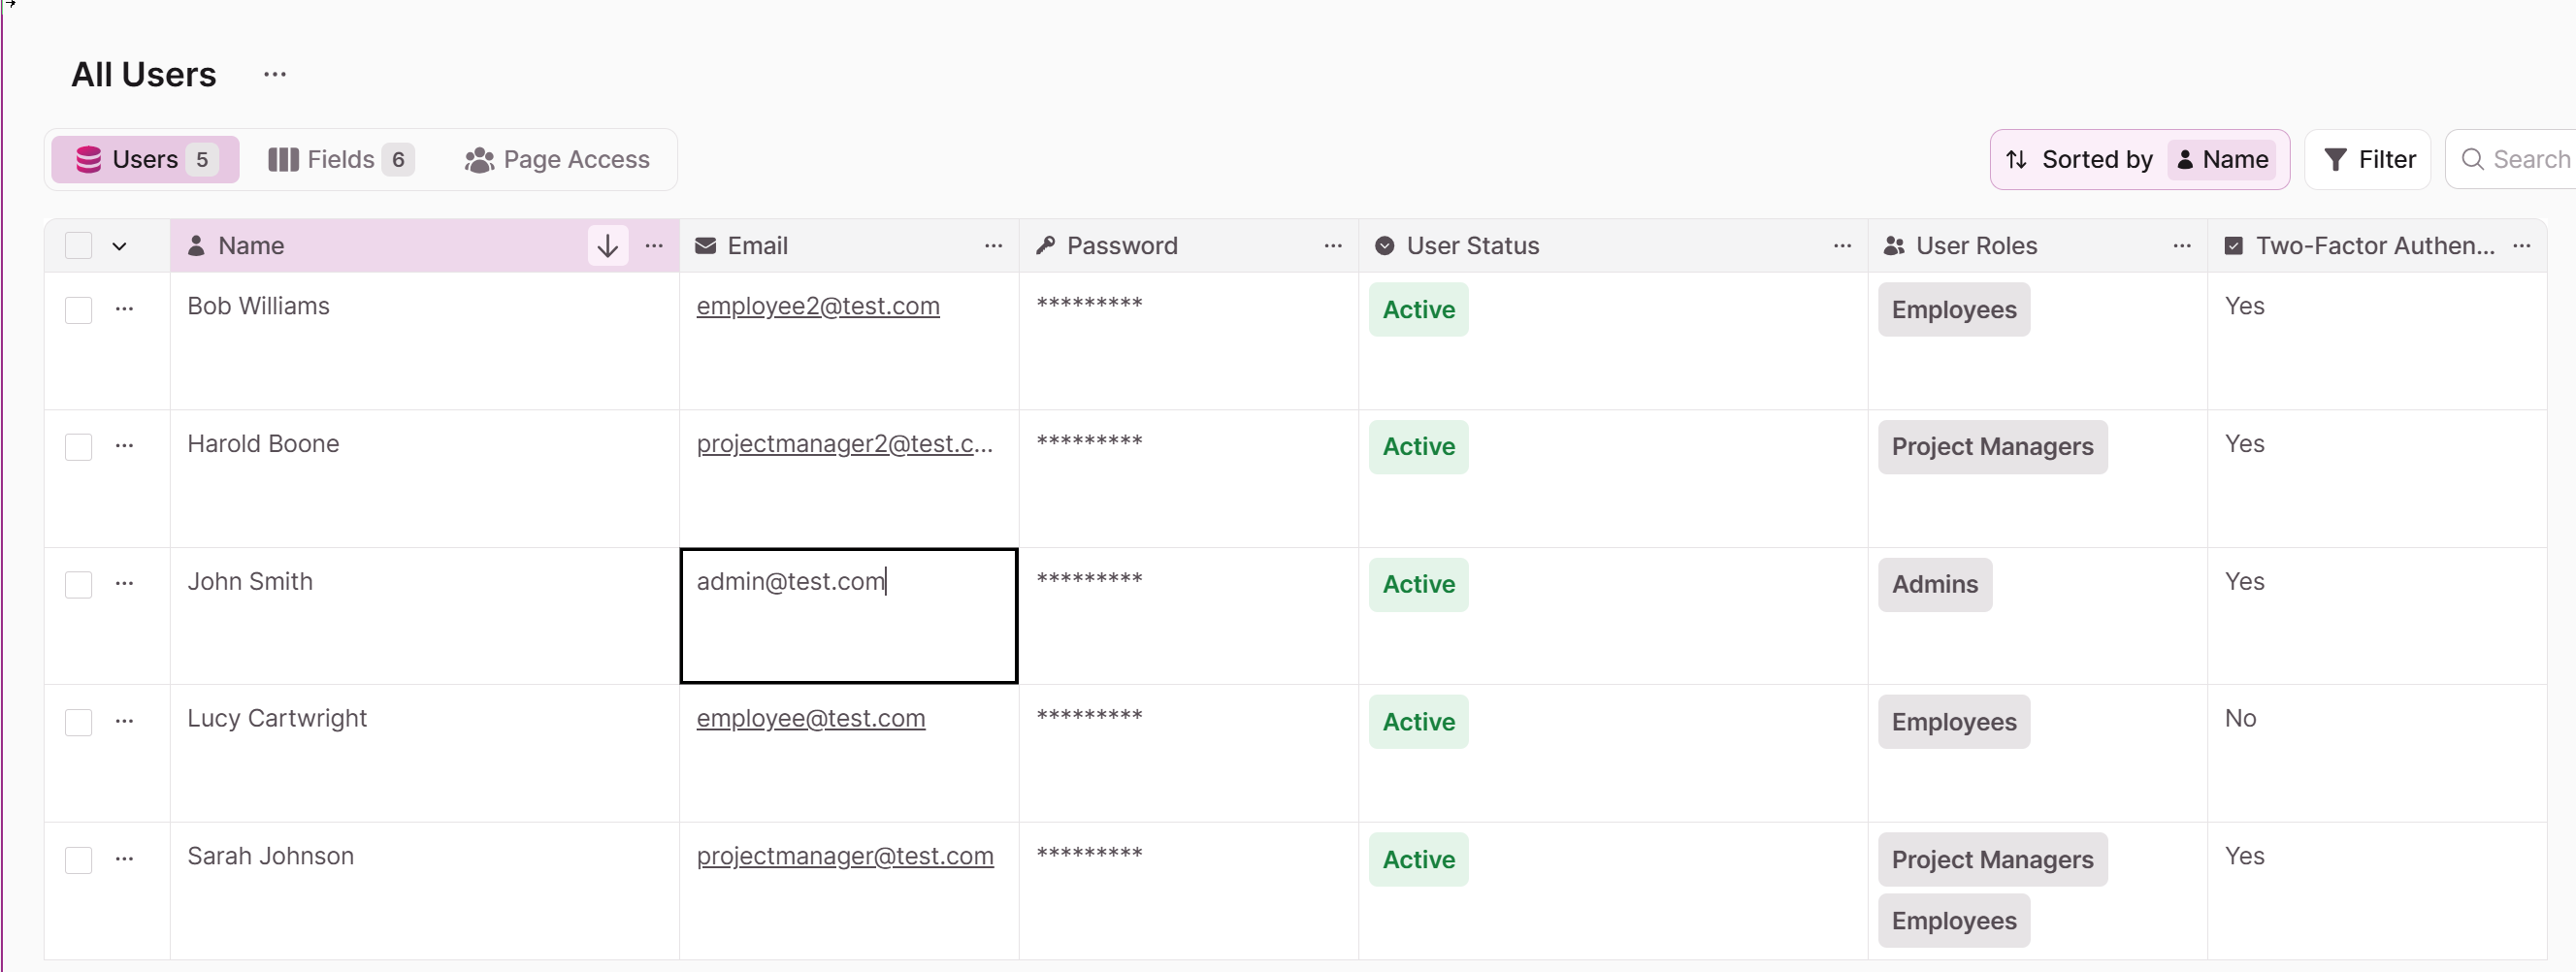
User records function similarly to regular records in your Knack database but contain special user fields that help manage user accounts and logins. These user fields are indicated by a user icon to the right of the field name:
- Name: The name of the account the user logs in as
- Email: The email address used to login
- Password: The password used to login (passwords are immediately encrypted and cannot be displayed)
- User Status: Determines if the user's login will allow them access to pages or not
- User Roles: Any user roles assigned to this user for defining permissions to specific pages
- 2 Factor Authentication (if enabled): Shows if the user is required to log into the Live App with 2FAEach user's user role record counts as an additional record toward your record limit, in addition to their record in the Accounts table. For example, a user in the Employees user role counts as two records: one for the Accounts table and one for the Employees table. If the user also has the HR user role, they count as three records total.
Note: The special user fields can be edited but not deleted.
Adding User Records
User records can be added in several ways, just like regular records:
-
Adding them individually in the User Role Table
-
Importing from a spreadsheet
-
Through forms in your Live App
-
Using specialized registration forms with "sign up" links
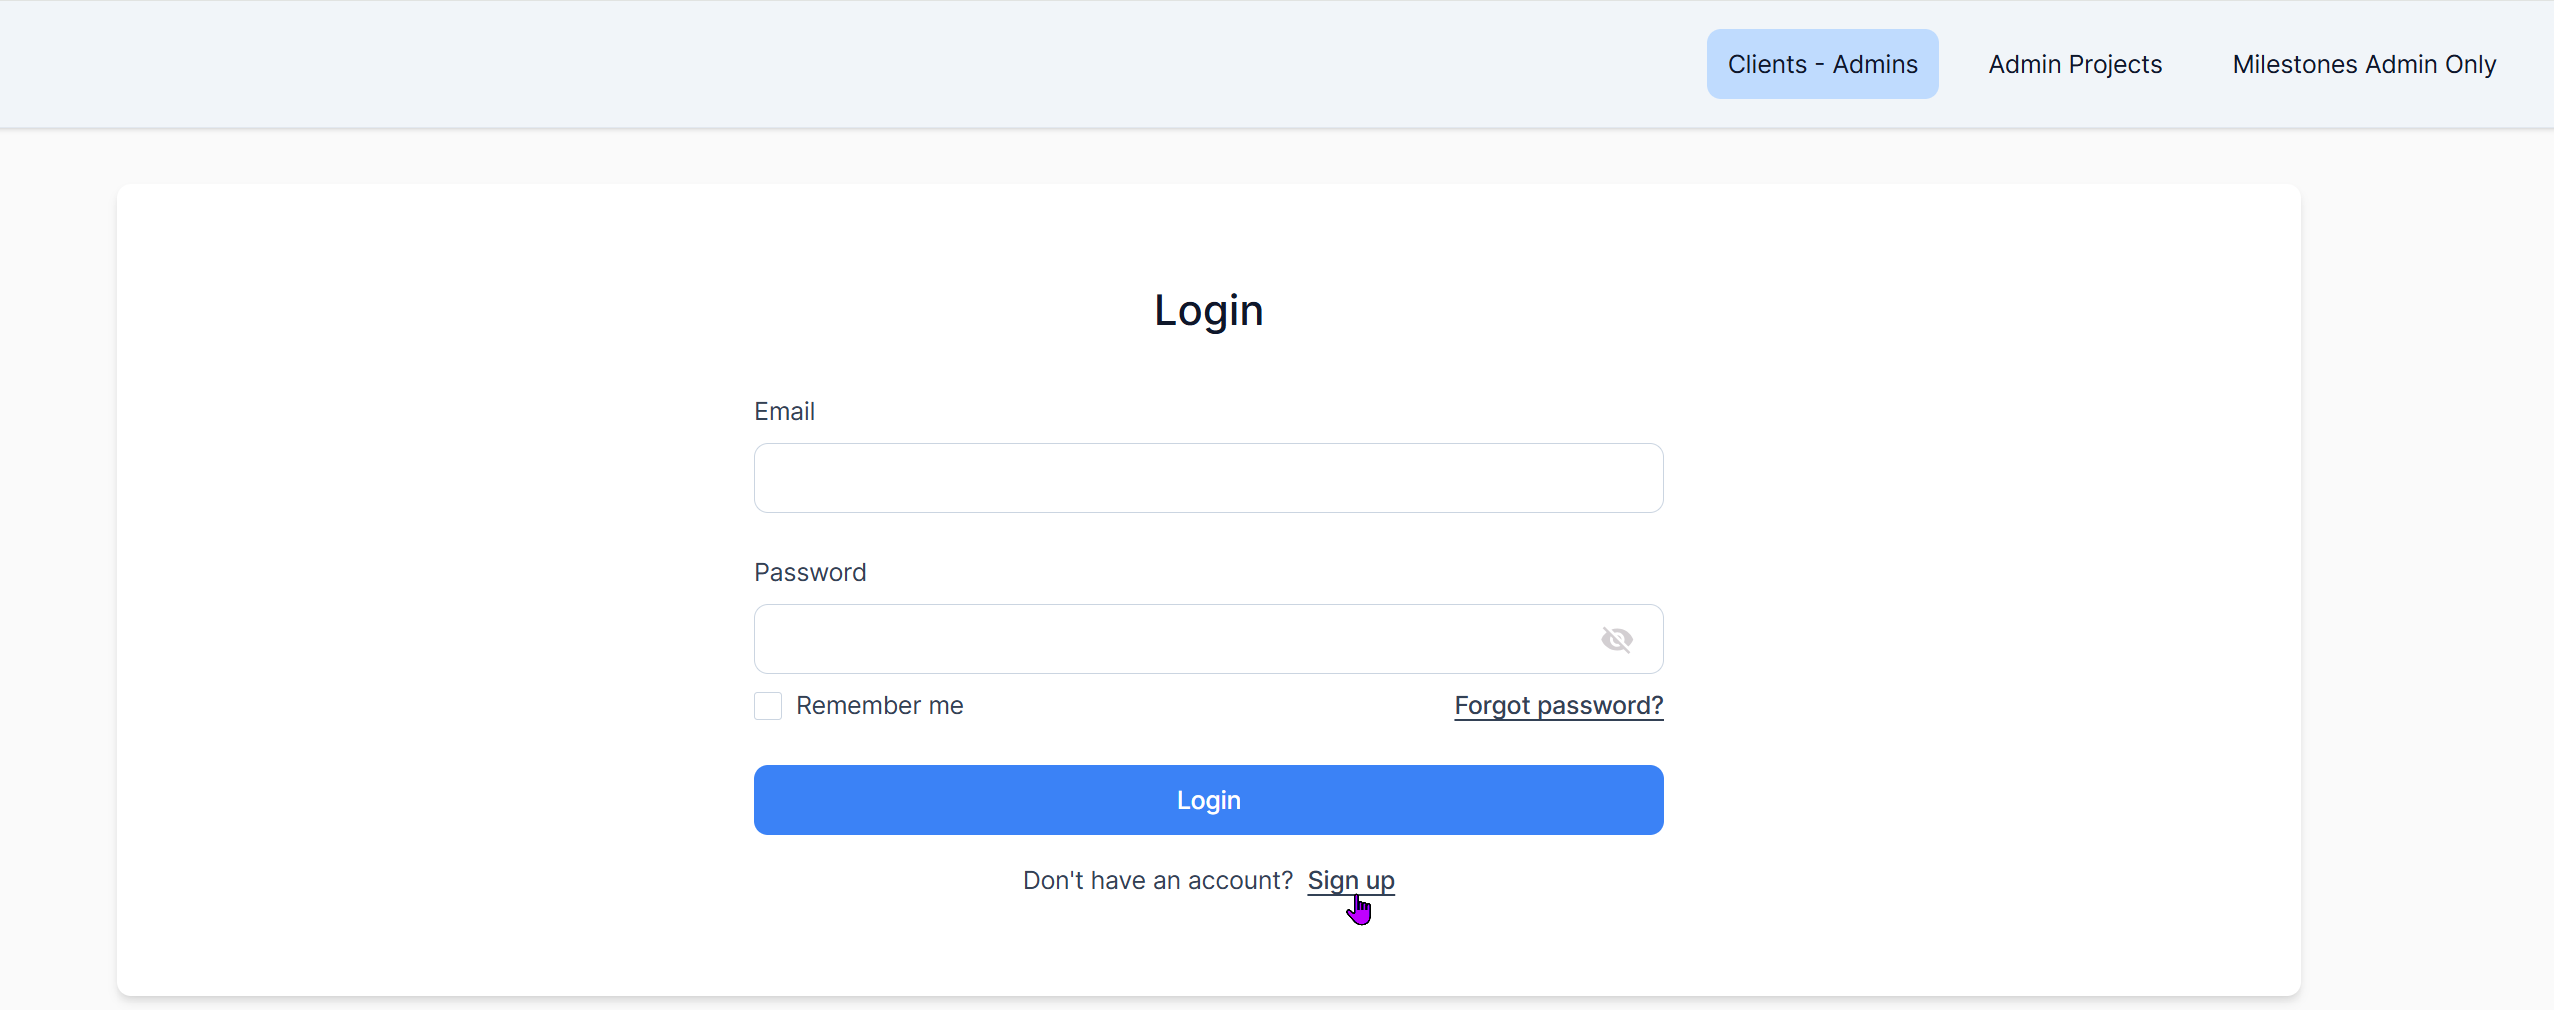
When a page allows new users to register for access to the page, a "sign up" link will be shown, and when selected, the user will be redirected to a registration form where they can create a new account.
Page Editor
Live App
Editing User Records
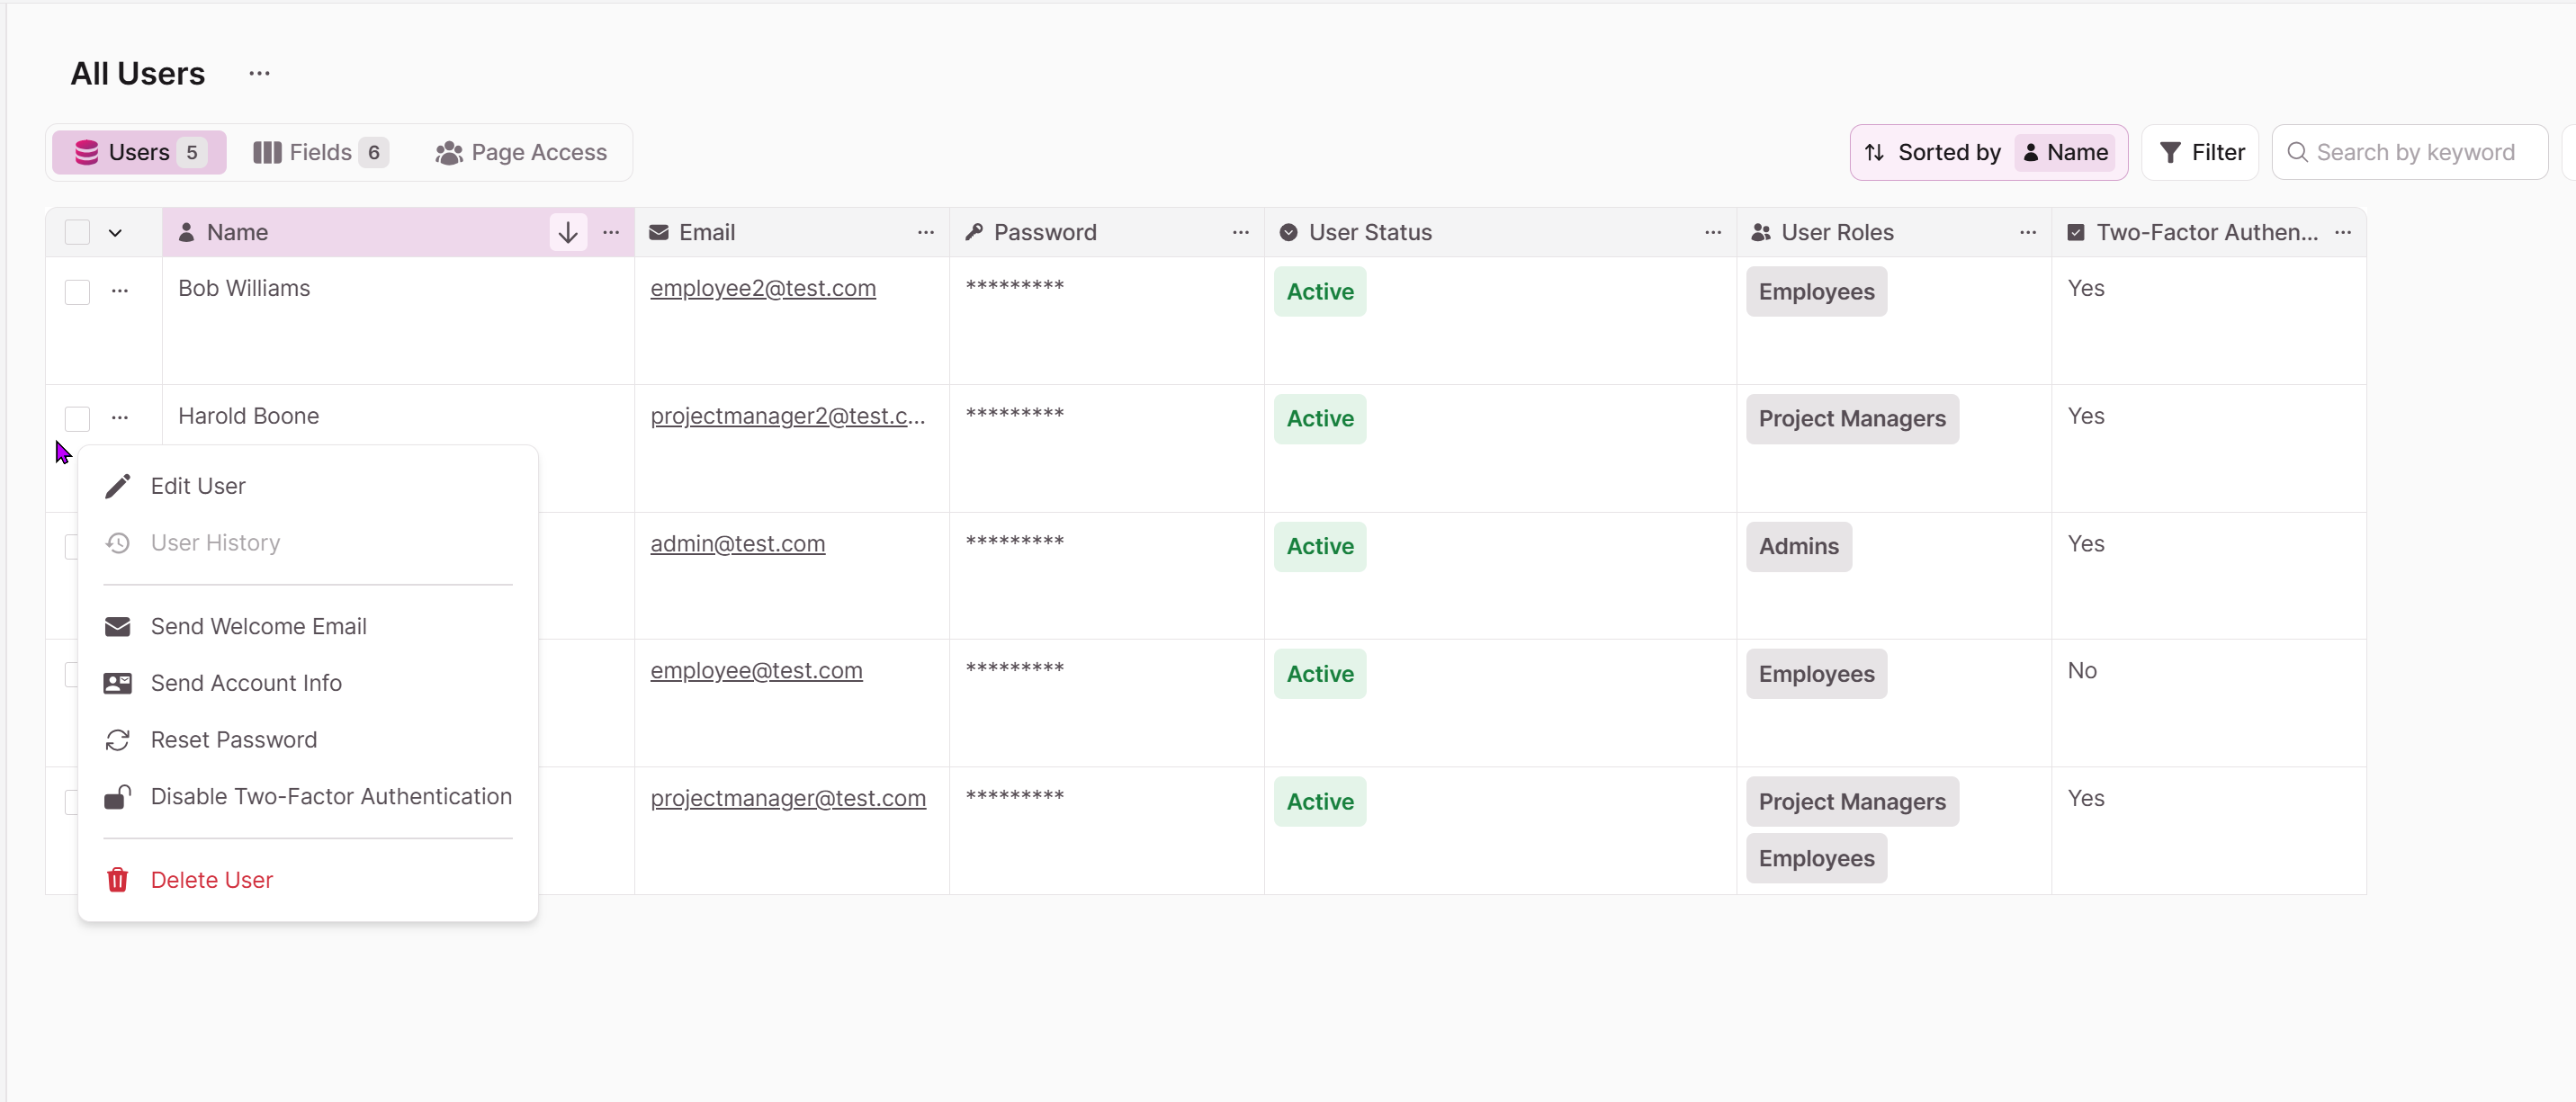
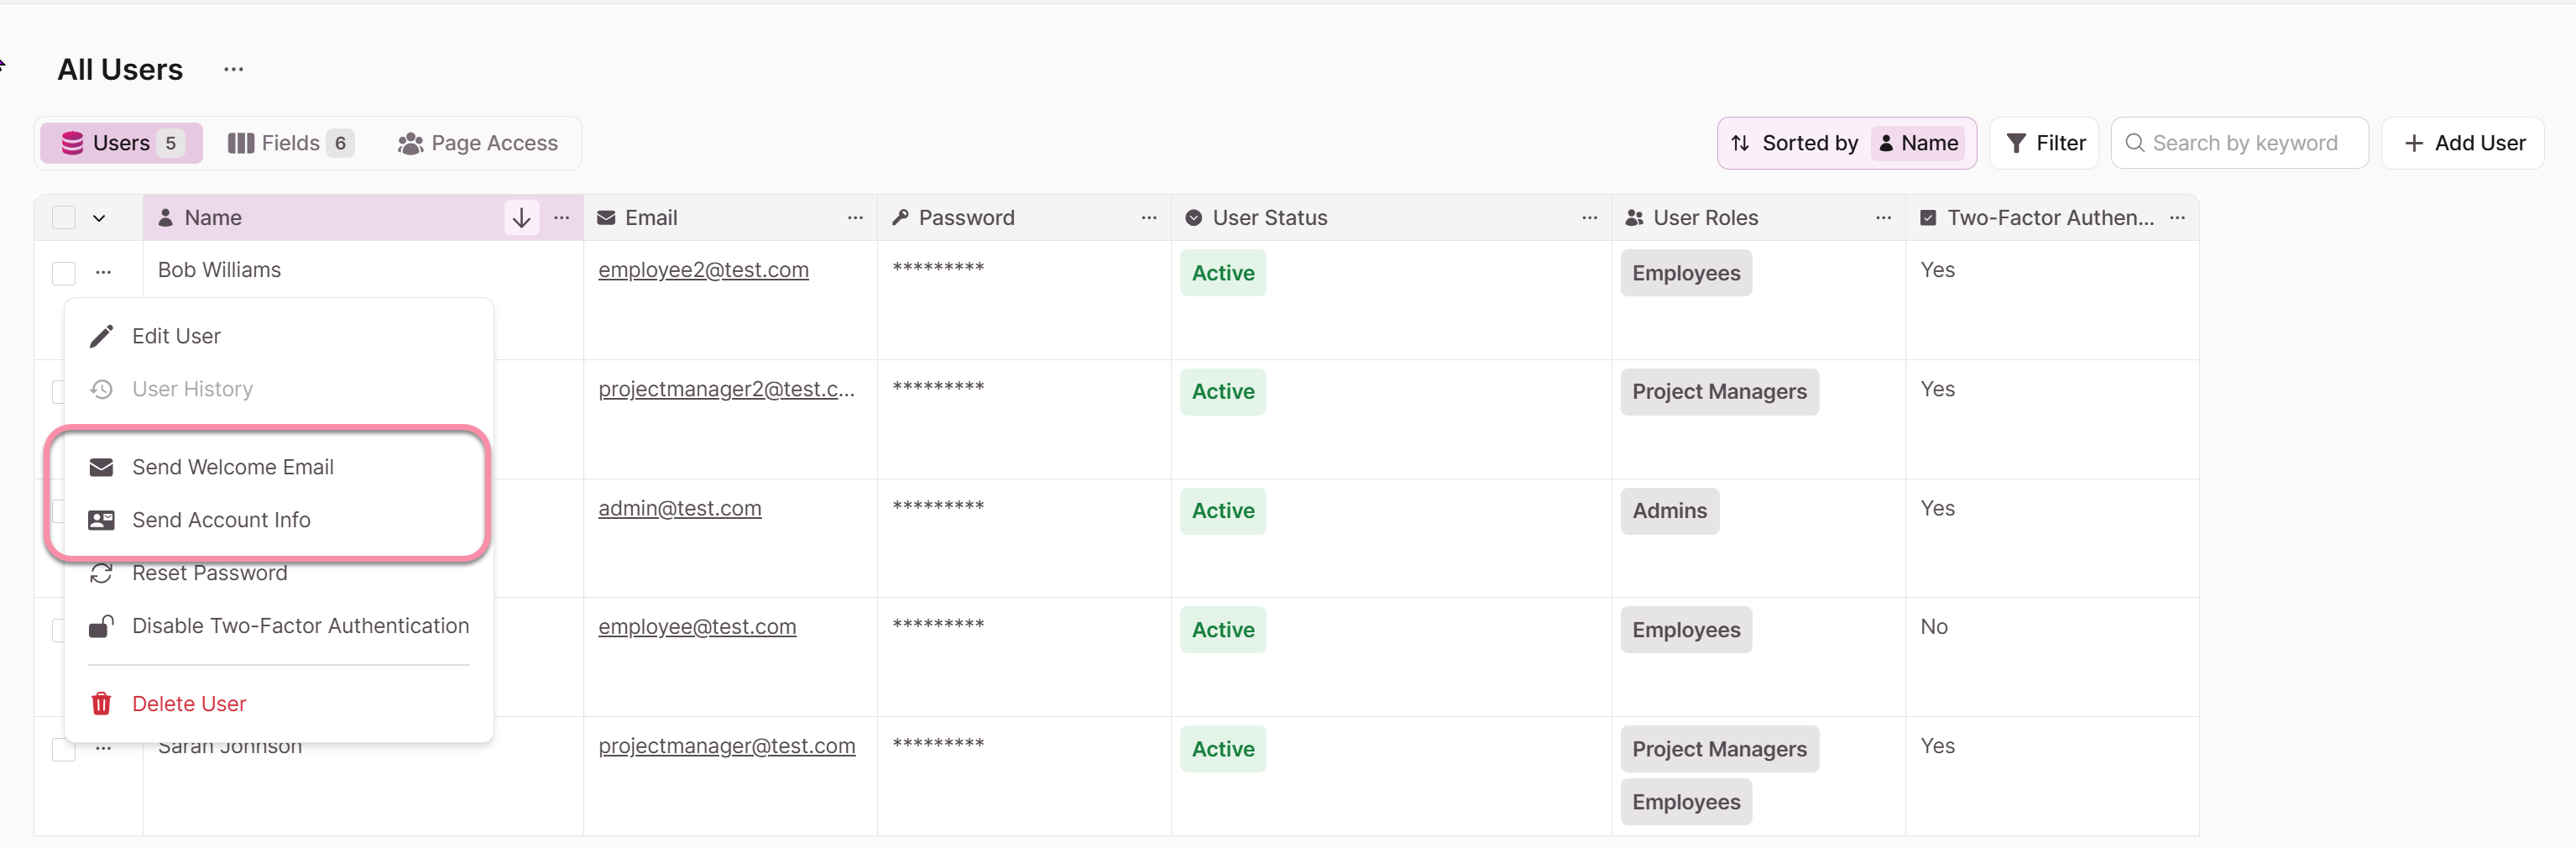
To edit user records, click on the ellipses next to the record, or edit the record directly inline:
You can also configure your app to allow users to edit their own records in the Live App.
Deleting User Records
To remove user records, click on the ellipses next to the record and click the delete from the menu:
Important: Deleting a user record from a user role table will not delete the record from the Accounts table. To completely delete a user's account, you must delete it from the Accounts table.
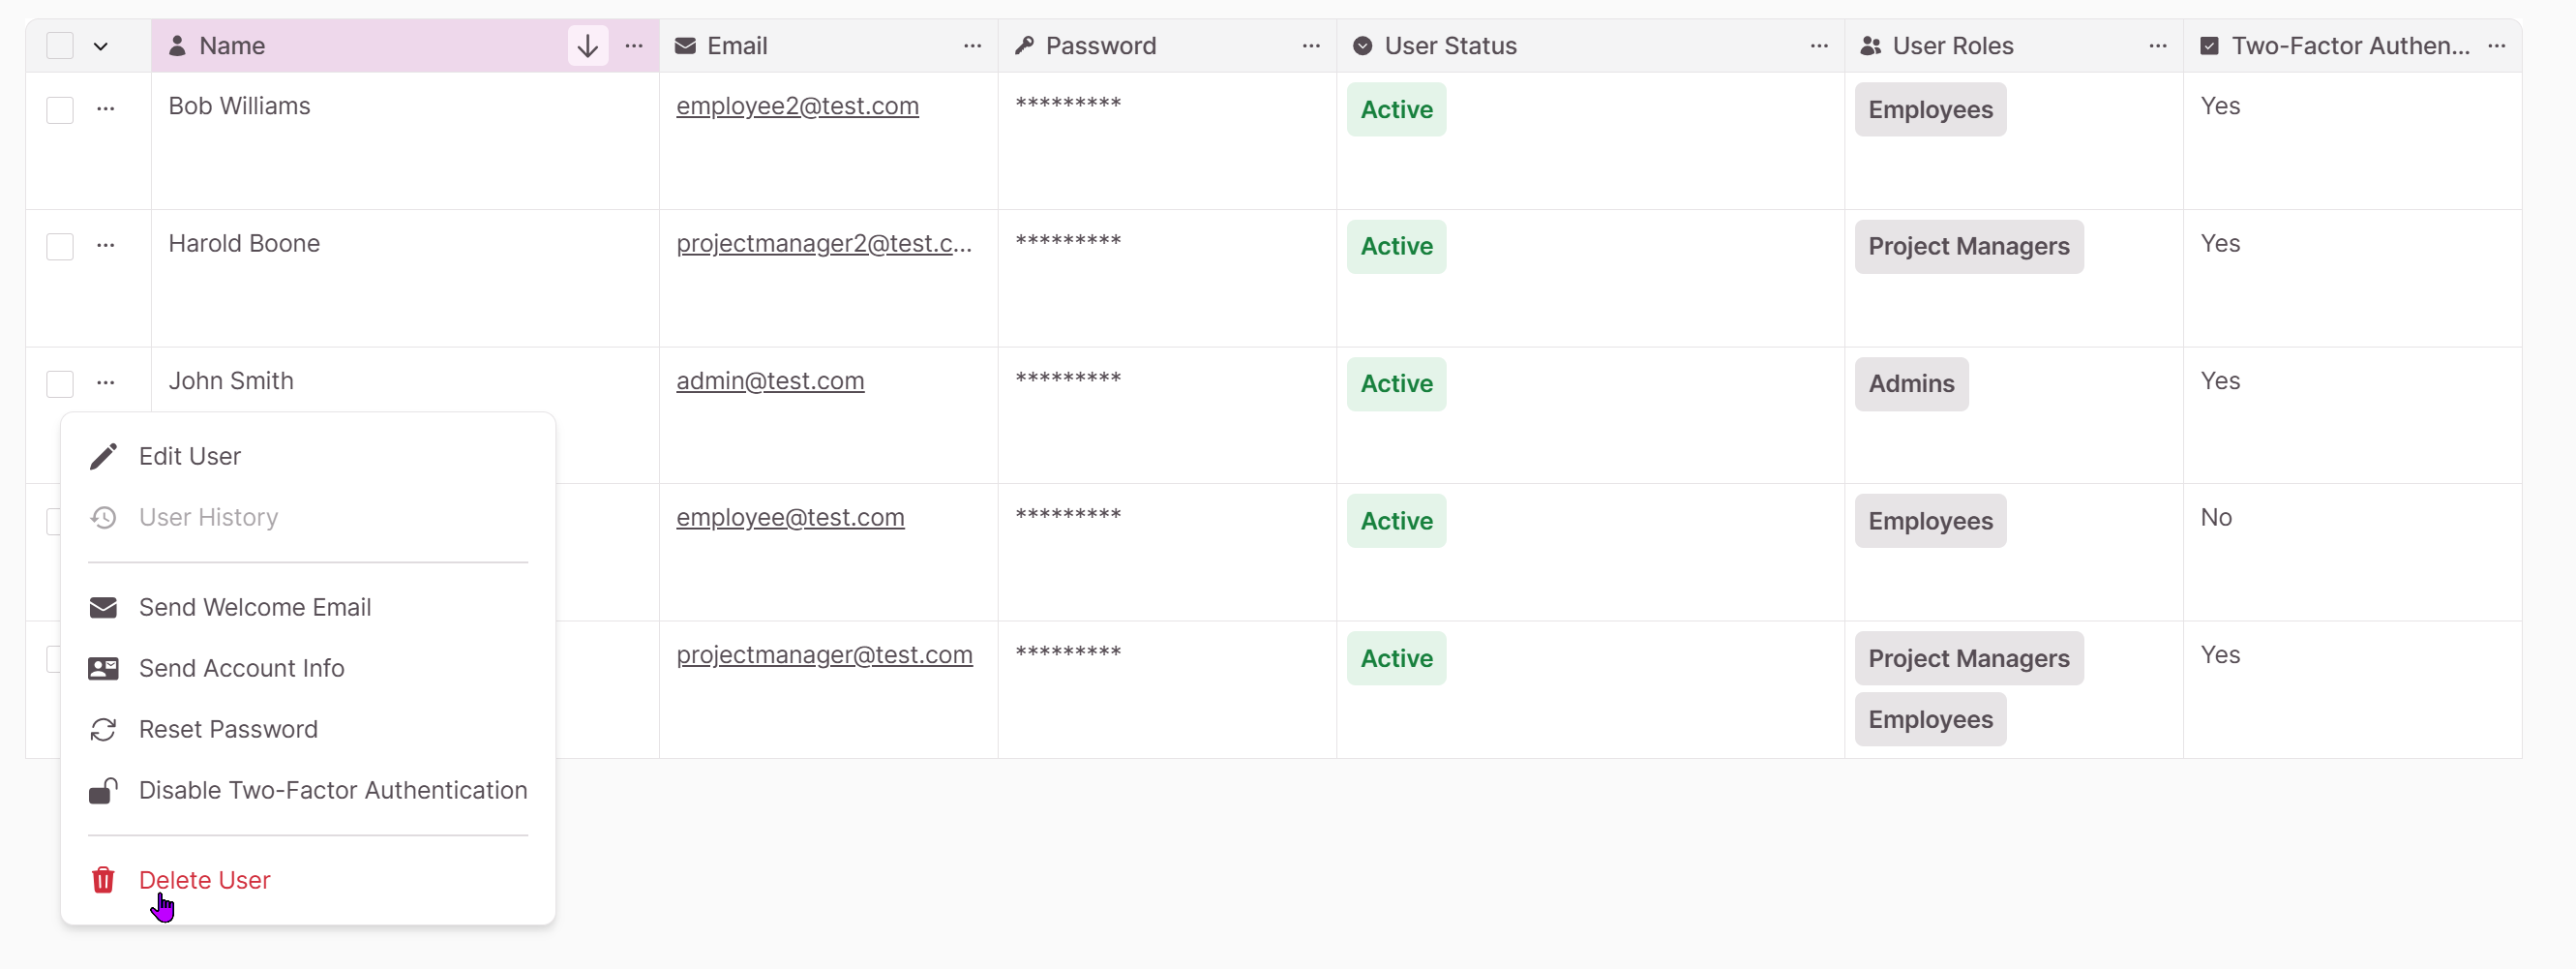
To make multiple edits or deletes, use the checkboxes which will bring up the batch options
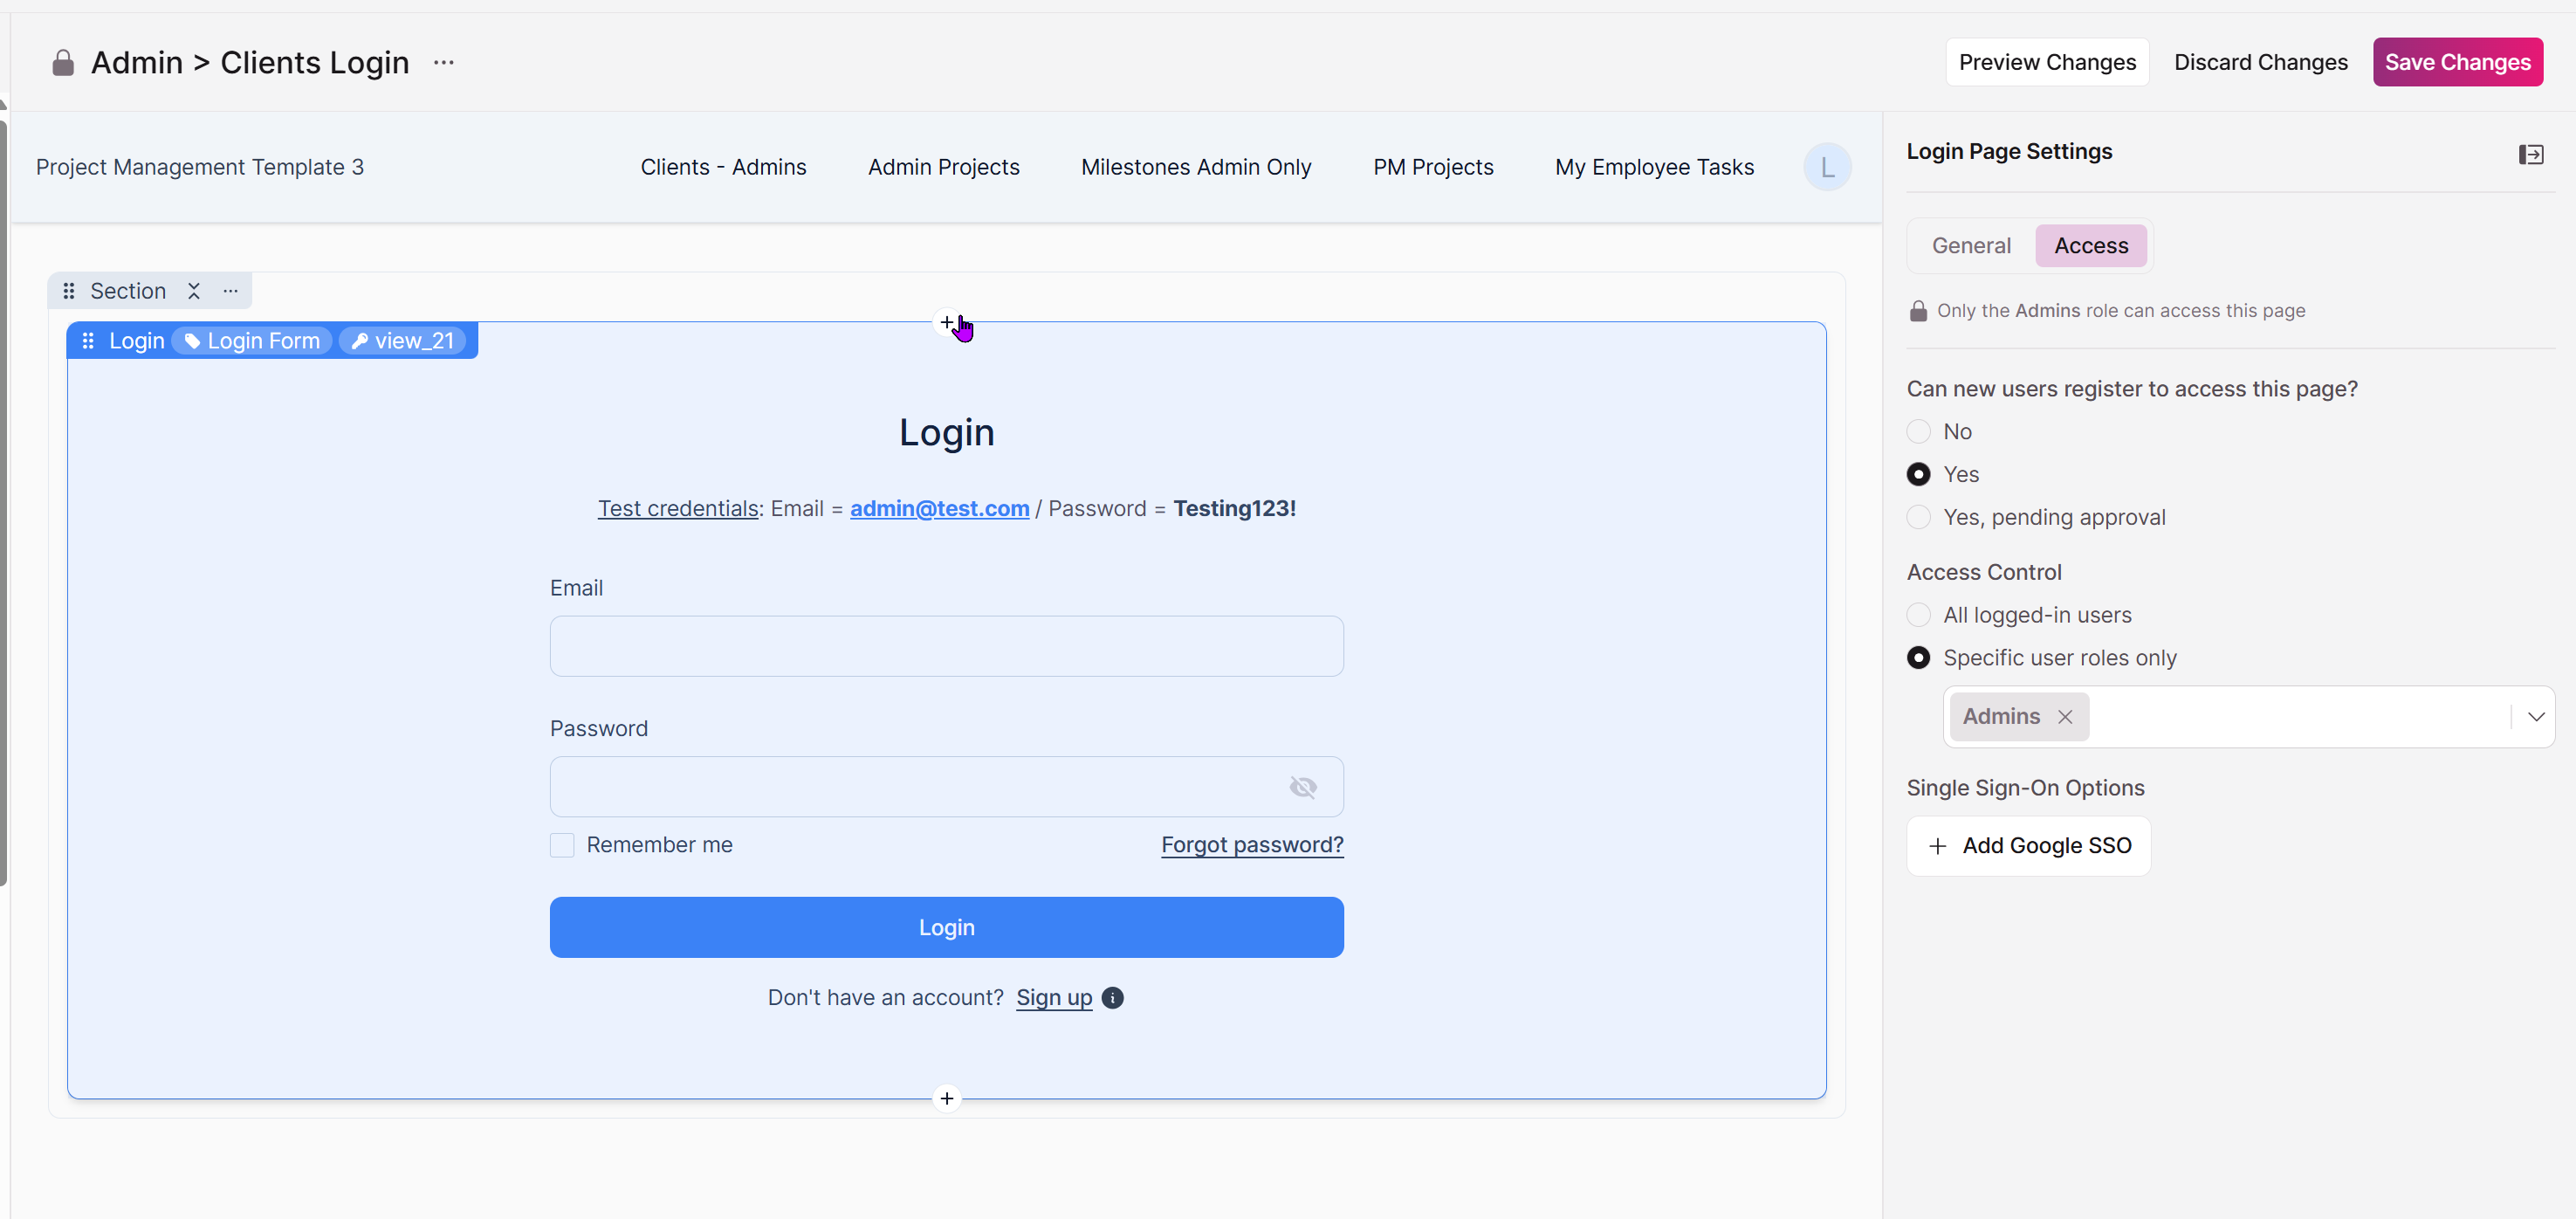
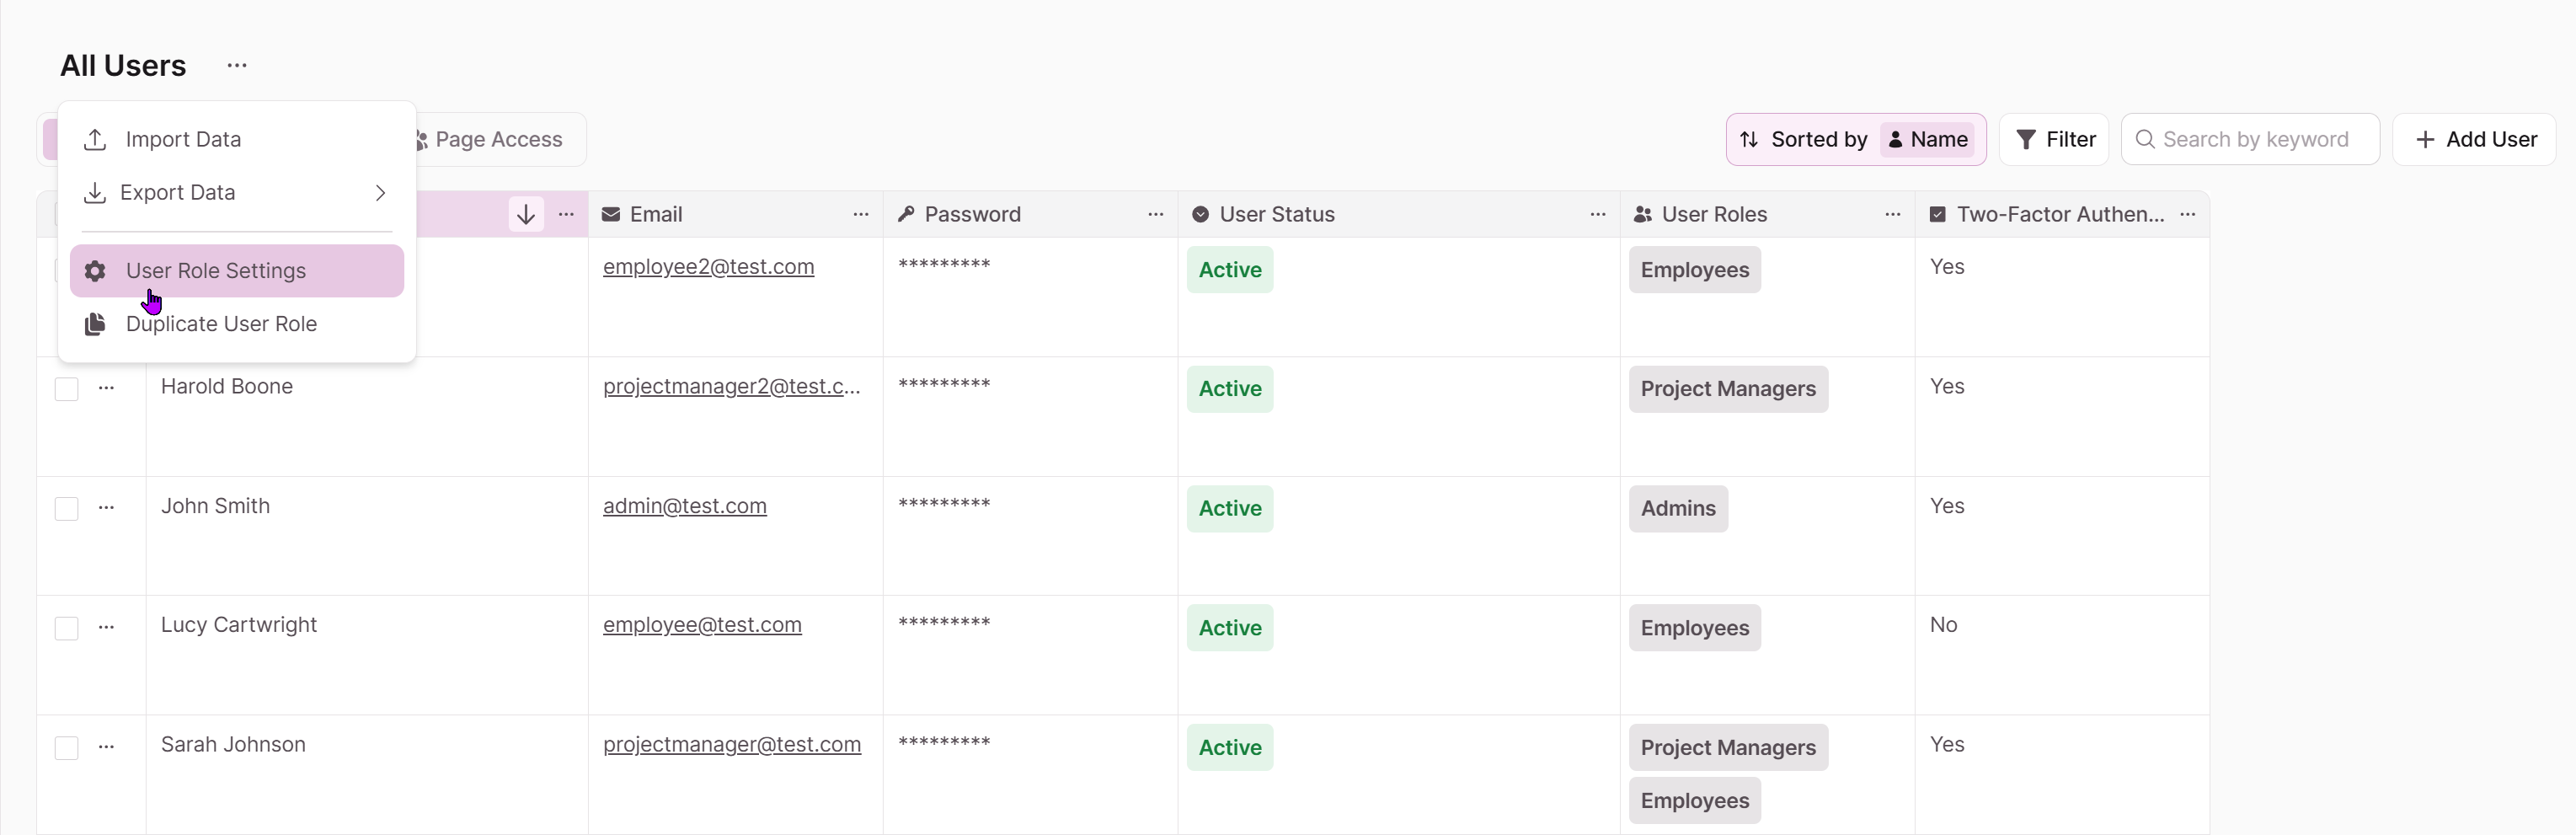
Managing User Role Settings
When you have multiple user tables, the All Users table displays each user and all roles assigned to each user. Users can be assigned to multiple roles if necessary.When user roles are assigned, a record representing that user is created in both the main Accounts table and each user role table to which the user is assigned.If you make changes to a user's Name, Email, Password, User Status, or User Roles, all associated records for that user are automatically updated, regardless of where those fields were edited.Editing User Roles will add or remove records from the respective user role tables. For example, if you add an "Employee" role to a user, a new record will be inserted into the Employee user role table for that user.
Updating User Statuses
User accounts can be assigned one of three different statuses in the User Role tables:
- Active: Only users with "active" status can login
- Inactive: Users cannot login and receive a notification that they don't have access
- Pending Approval: Users cannot login and receive a notification that their registration awaits administrator approval
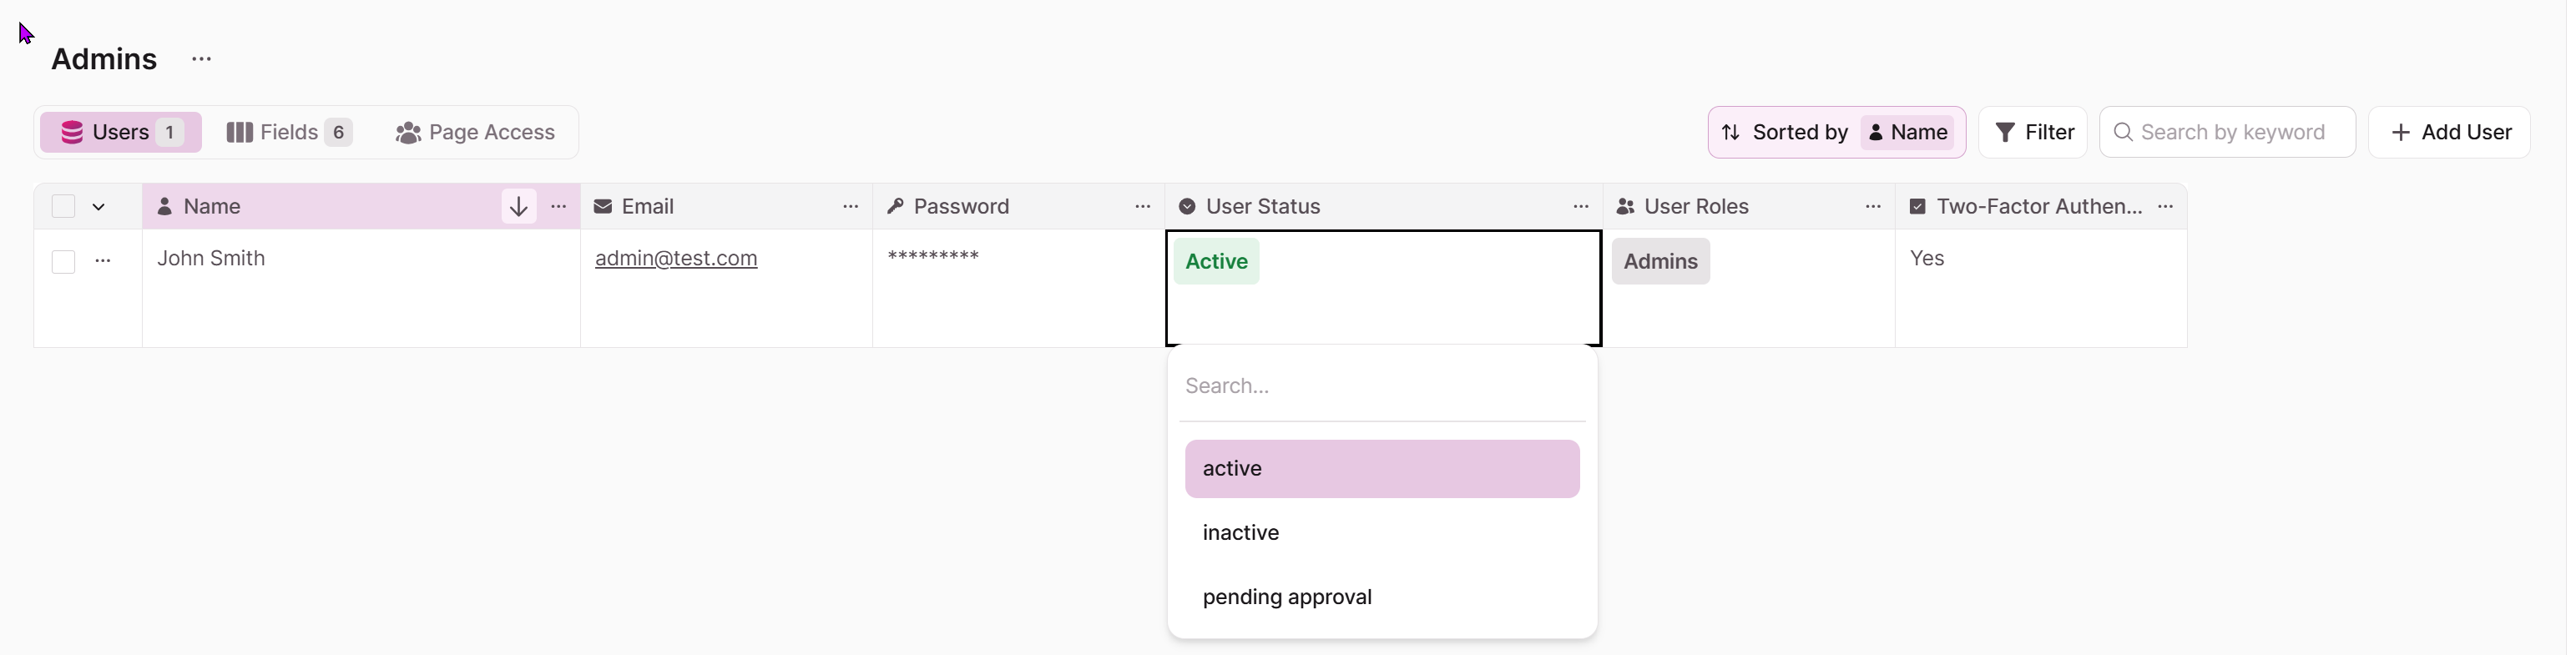
You can also use checkboxes to simultaneously update the status of multiple users.
✏️ Editing a user status inline from "inactive" or "pending approval" to "active" automatically triggers an approval email to that user. This applies to inline edits made in both the Builder and Live App.
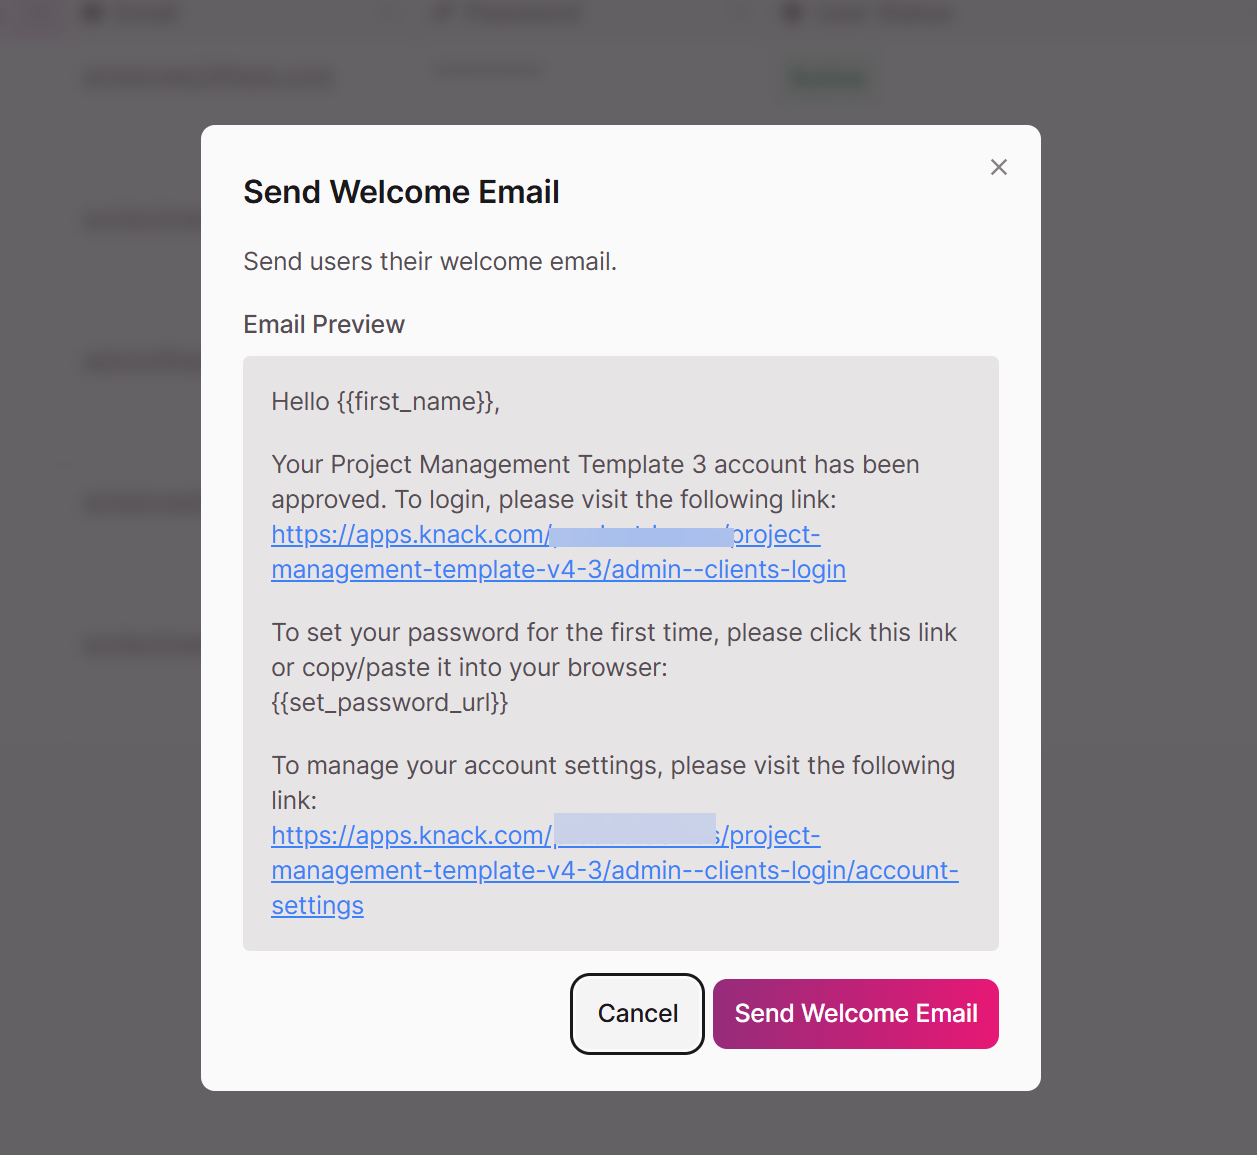
Emailing Account Information
You can send emails to users with important account information, including links to access the app. There are customizable templates in the Table Settings: User Role Settings area.
You can incorporate user variables that will use values from the user record such as:
- first_name: Extracts and displays the first name from the user name field
- email: Displays the user email field value
- Important: Passwords are sent in a secure encrypted link for the end user, and never stored in readable form.

Click the ellipses next to the user record you'd like to email and select an option. You'll be given a preview of the template that is set in User Role Settings prior to sending the email.
Resetting Passwords
You can reset a user's password by selecting the ellipses next to their name and selecting Reset Password. You'll be prompted to confirm this action, and the user will receive a secure, encrypted link when Send Email is selected.

Updated 9 months ago