Display Fields
Display fields control how connected records appear in dropdown menus, making it easier to identify and select the right records when creating connection
What You'll Learn
This guide explains how display fields work, why they're important, and how to configure them for your tables. You'll discover how to choose the most effective display fields to make connecting records intuitive for both builders and users.
Understanding Display Fields
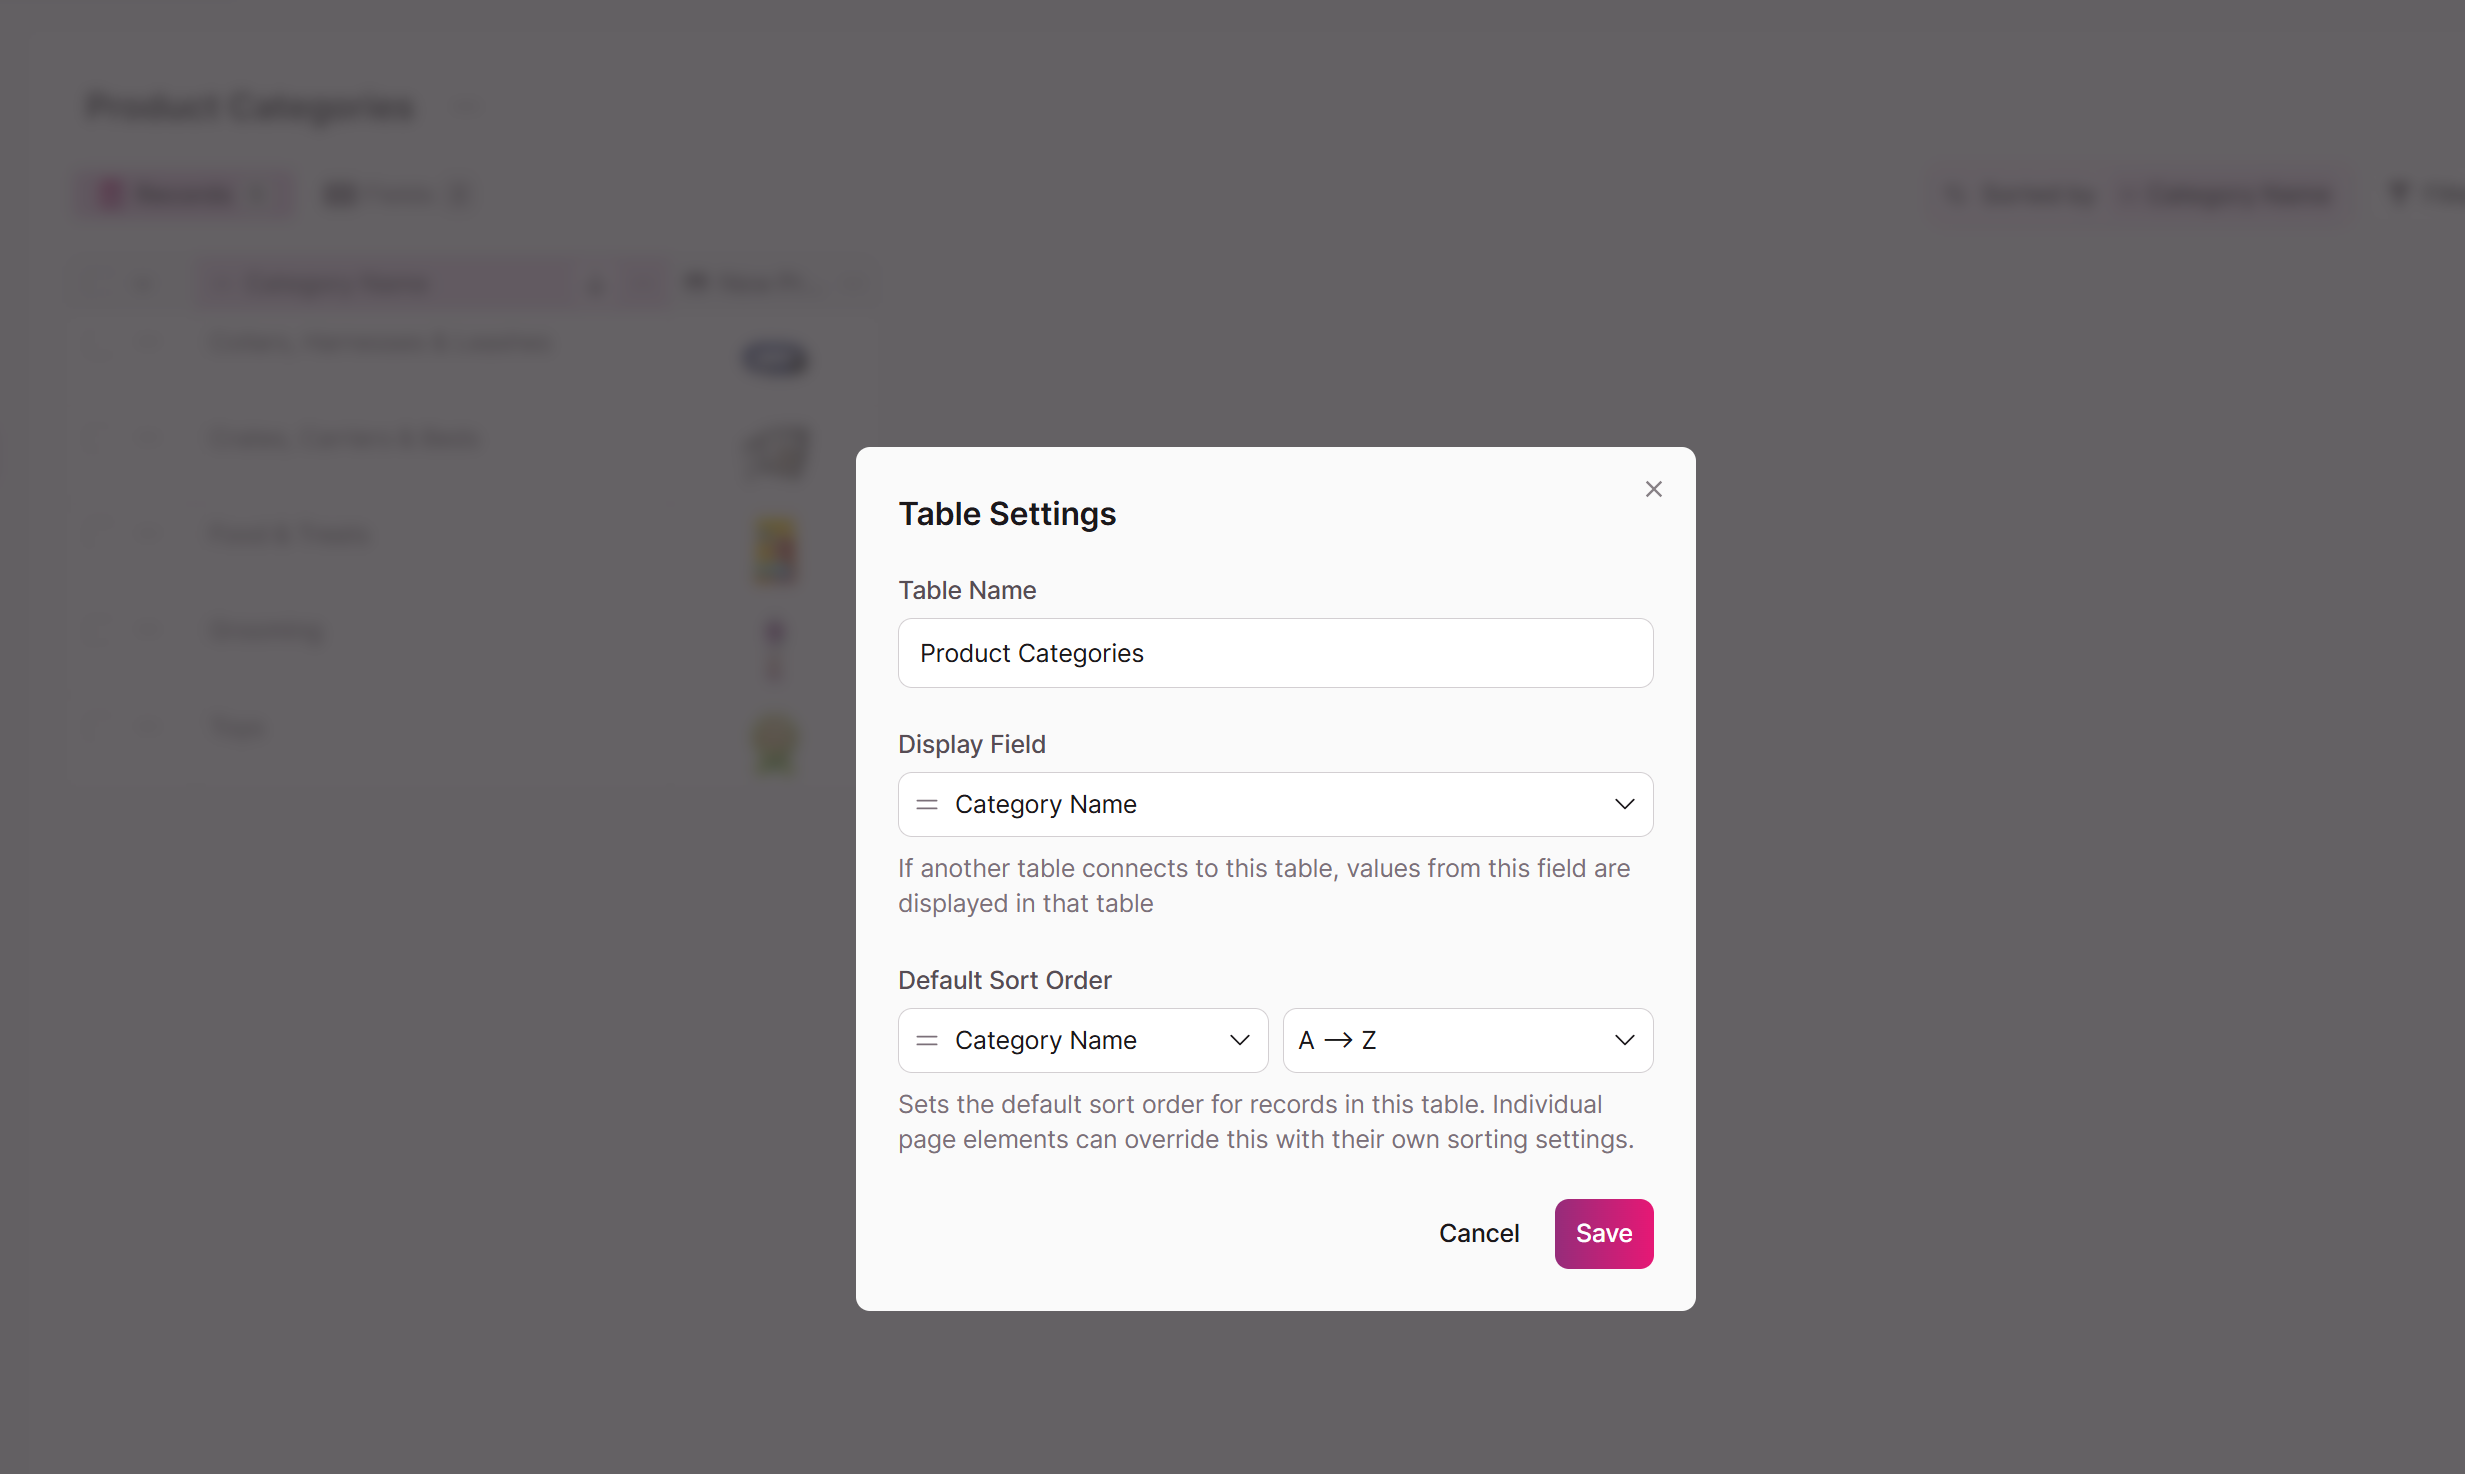
When selecting options in a connection field, you will find the records from the connected table displayed in a dropdown menu, showing the value from that single field. This is known as the display field, and each table has a designated display field.
The default Display field is the first field on the table that was created. It can be changed in the Table Settings.
*Note that not all field types may be available as display fields.
How Display Fields Work
Display fields serve as the visible representation of records when connecting tables. They determine what appears in:
- Connection field dropdowns in the Builder
- Connection selection dropdowns in forms
- Record picker interfaces in your Live App
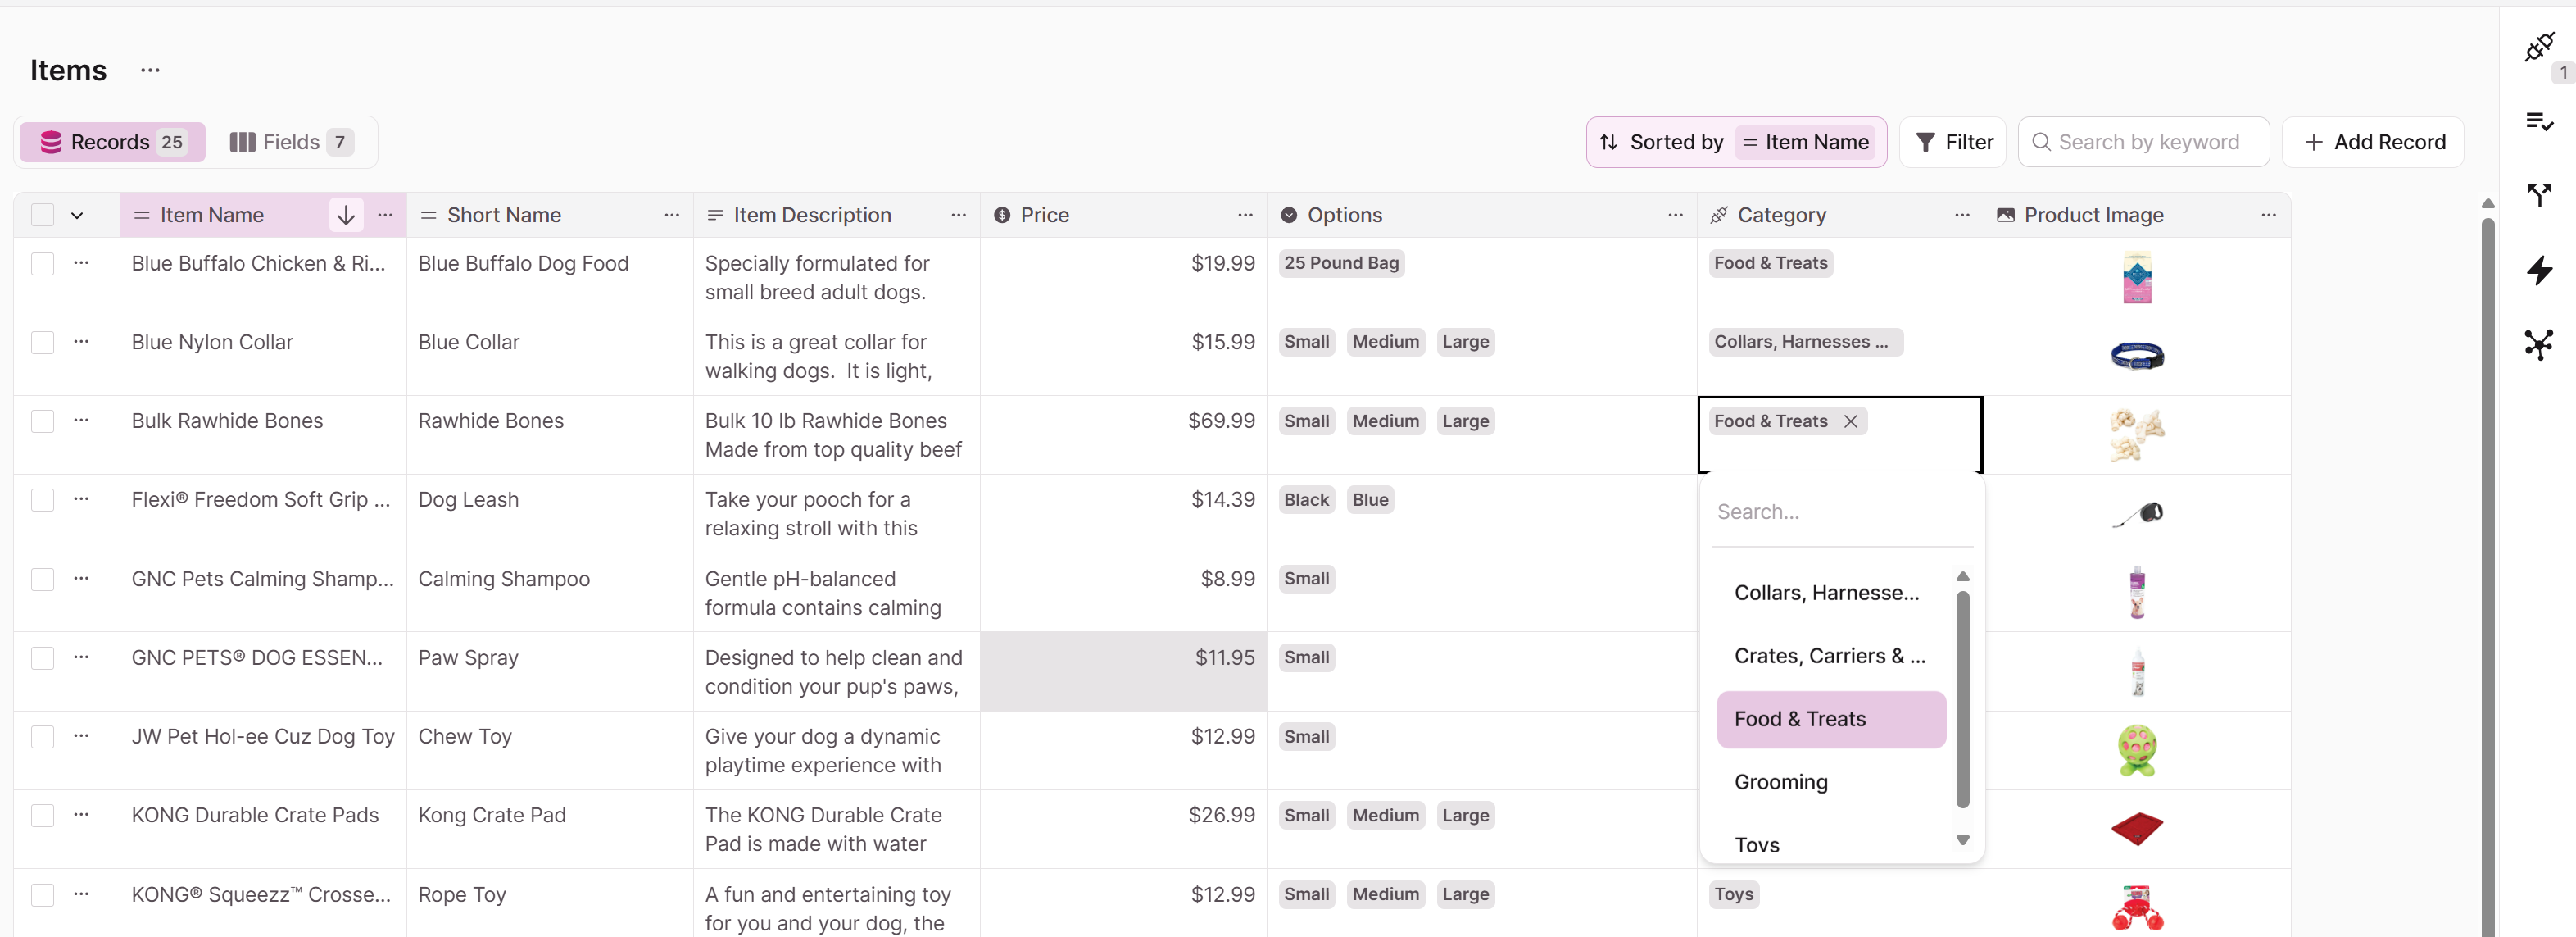
In the images below, on the Items table, we see that the Category connection field pulls in values from the Display field (Category Name) in the Product Category table.
Best Practices for Display Fields
- Choose fields that make records easily identifiable, like names instead of IDs
- Select fields that contain unique values to avoid confusion
- Consider using fields that are most meaningful in the context of how connections will be made
- For complex records, consider creating a text formula field that combines multiple fields (e.g., "CustomerID: LastName, FirstName")
Tip: When connecting records, you can choose the most recognizable field as your display field. For example, you may want to use Product Name rather than Product ID - this makes it much easier to select the right record when making connections.