Rich Text Elements
Rich Text Elements enable you to add formatted content and images to your Knack app without storing them in your database. These versatile elements help you create welcoming introductions, add branding, and provide instructions to your users.
What You'll Learn
In this guide, you'll discover how to use Rich Text Elements to enhance your app with formatted text, images, and embedded content. You'll learn to create visually appealing sections that can include everything from simple welcome messages to complex formatted content with images, links, and more. By mastering Rich Text Elements, you'll be able to improve your app's user experience with professionally formatted content that complements your data-driven elements.
What are Rich Text Elements?
Rich Text Elements are static components that allow you to add formatted text and images to your app that are not stored within records in your database.
Rich Text Elements are often used for:
- Welcome text as an introduction to the app
- Adding logos and headers to pages that are printed
- Instructions or lengthy text
What do Rich Text Elements look like in the Live App?
In the live app, Rich Text Elements showcase the static content that you have added. By default, these elements will display the text "New Rich Text", which can be easily customized to suit your needs.
Accessing Rich Text Elements
To access your existing Rich Text Elements, navigate to the Pages section of the Builder and click on the page that contains the desired Rich Text Element. The page preview will then display all the elements currently on that page.
From there, simply click on the Rich Text Element to open the right panel.
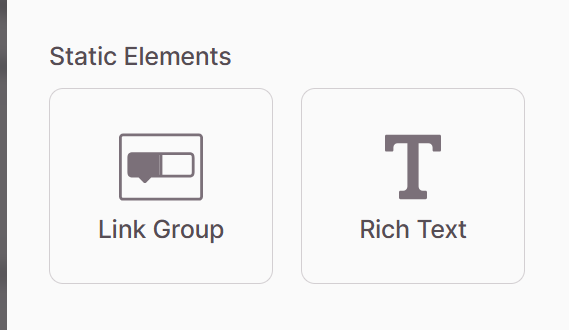
To add new Rich Text Elements to your pages, select the "+ Add Element" button. From there, choose "Rich Text" from the "Static Elements" section.
Managing Rich Text Elements
To edit Rich Text Elements, follow the same process as editing other elements. Simply select the element in the page editor preview to open the right panel.
This will open the element editor in the side toolbox, allowing you to make changes directly in edit mode:
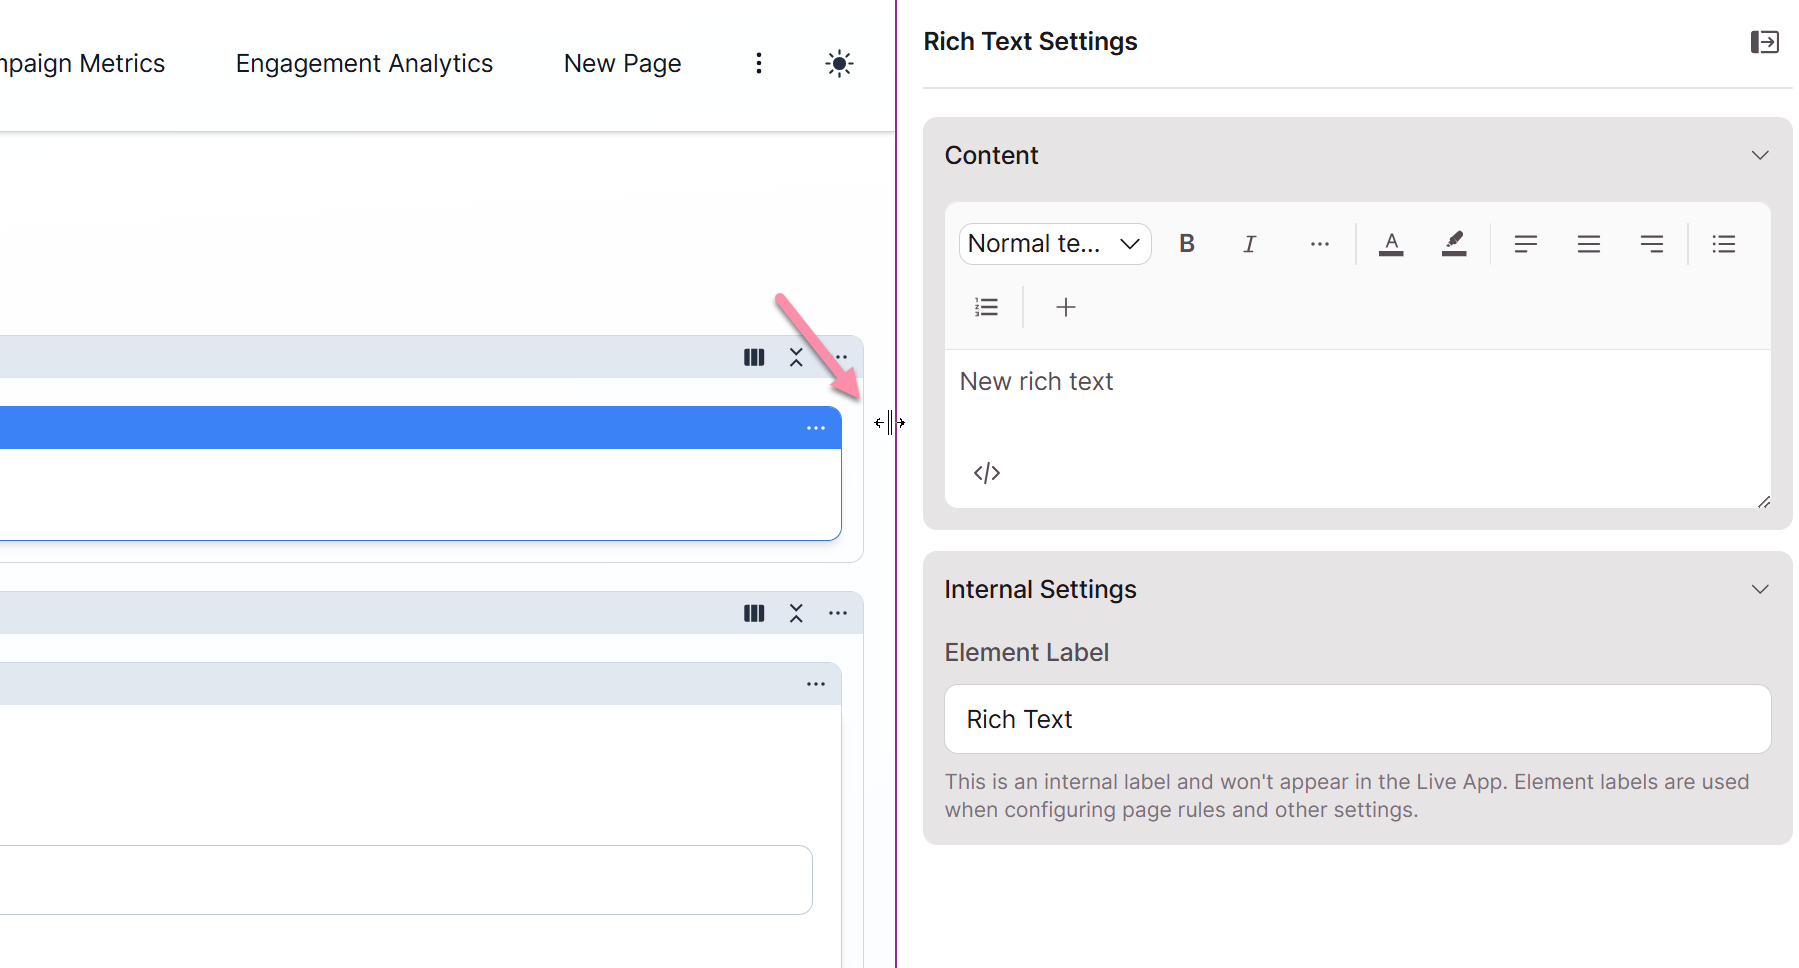
These elements utilize a user-friendly WYSIWYG editor, where you can input text and easily format it with various options such as headers, bold text, links, and more.
Expand the right panel to make it wider when you're editing the Rich Text Element
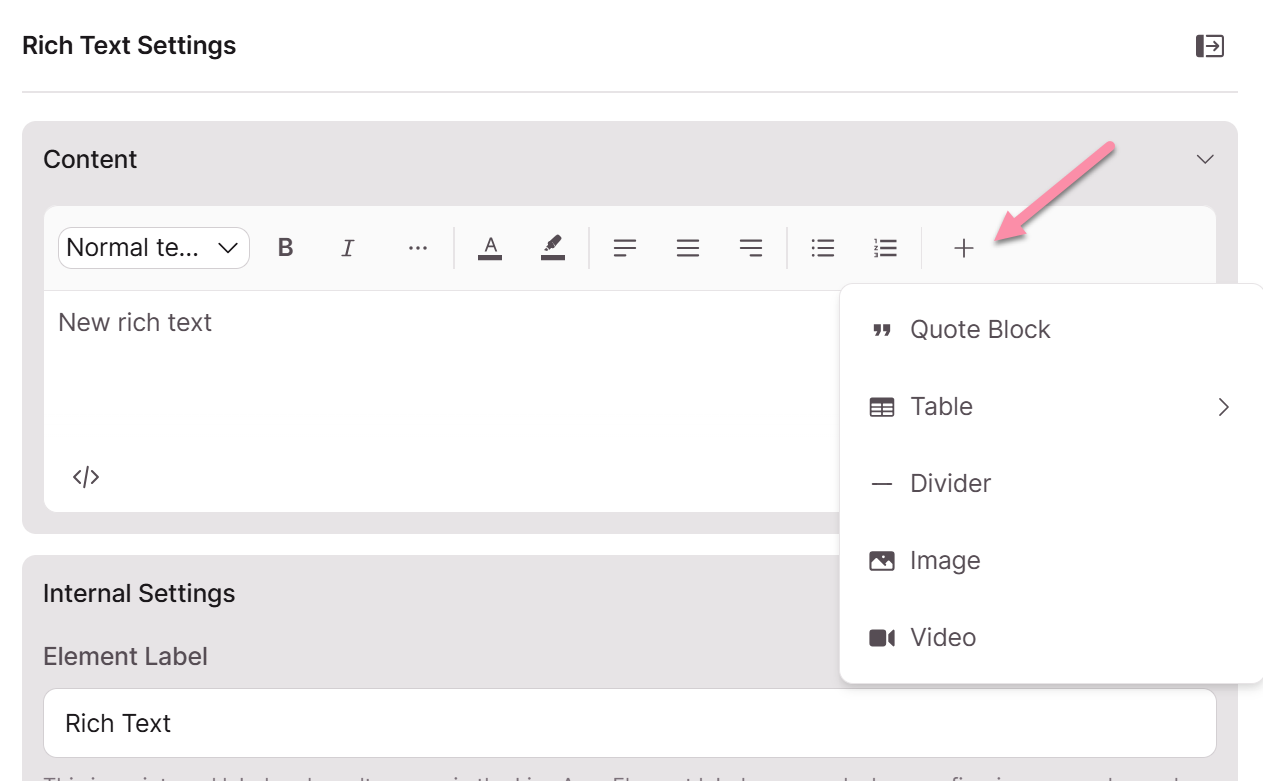
The toolbar located at the top of the editor is utilized for incorporating rich formatting to your text. Below are the various formatting options that are accessible in Rich Text Elements:
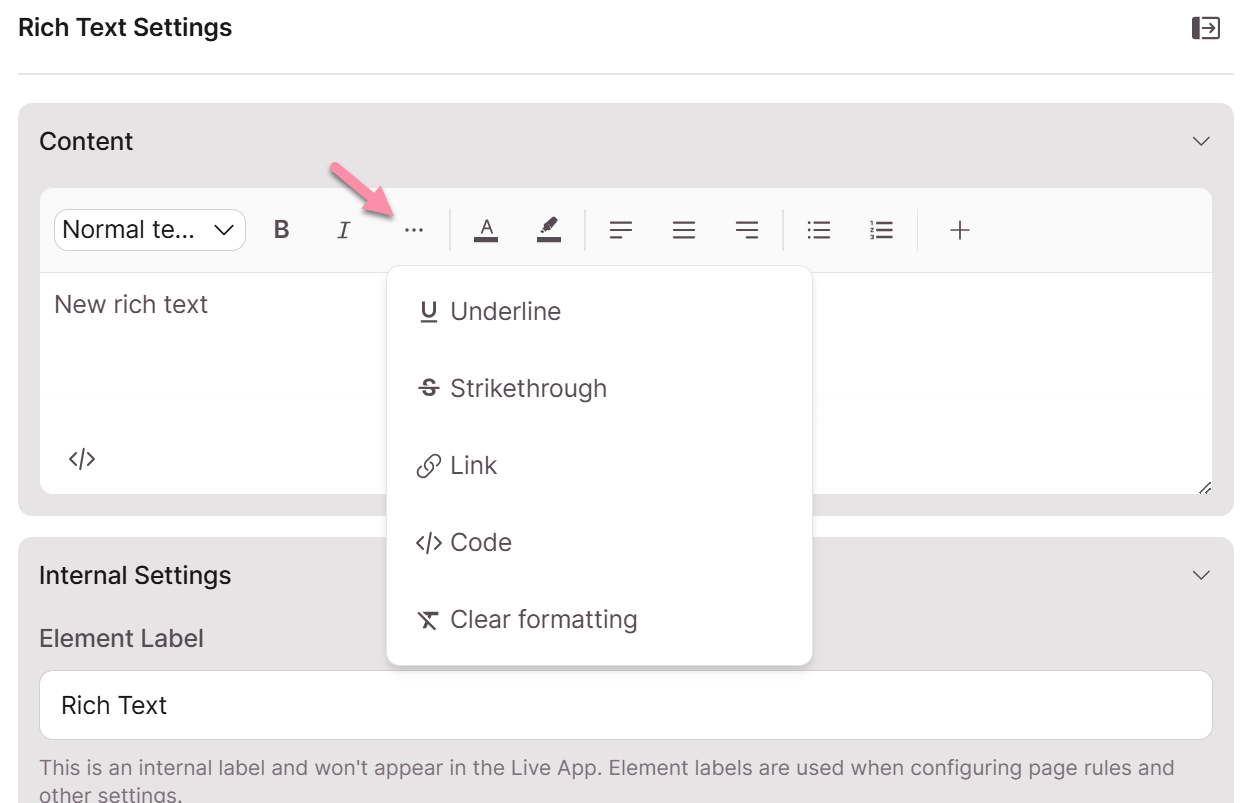
- Headers
- Bold
- Italics
- Strikethrough
- Font color
- Code
- Background color
- Links
- Images
- Embedded Videos (most email clients will not render videos if you send the Rich Text field content via email)
- Tables
- Unordered Lists
- Ordered Lists
- Indentation
- Text alignment
- Horizontal rule dividers
and more!
iframe Width and Height Attributes in Rich Text
Overview
The Rich Text view in Next-Gen supports width and height attributes on <iframe> tags. When you embed external content — such as a Power BI dashboard, Google Map, video player, or other iframe-based embed — the dimensions you specify are preserved and rendered as authored.
How It Works
When you add an <iframe> tag to a Rich Text view and include width and height attributes, Next-Gen retains those values and renders the embedded content at the size you specified. For example:
<iframe src="https://example.com/embed" width="800" height="600"></iframe>This iframe will render at 800×600 pixels in the live app, matching the dimensions you set.
This behavior is consistent with how iframes work in Classic (V3) apps.
Best Practices
- Always specify width and height. Including explicit dimensions ensures your embedded content renders at a predictable size across browsers and devices.
- Use pixel values for consistent sizing. Pixel-based dimensions (e.g.,
width="800") give you the most control over how embedded content appears in your app. - Test embedded content in your live app. Preview your app after adding or updating iframes in Rich Text to confirm the embedded content renders at the expected size within your page layout.
Using Images in Rich Text Elements
Adding Images
To include images in your Rich Text Element, you can:
- Click the image icon in the toolbar
- Either paste an image URL or upload an image directly
- Click "Insert" to add the image to your content
After adding the image, it will be visible in both the rich text editor and the page preview. Once your changes are saved, the image will be visible in the Live App.
Editing Images
To modify an image in a Rich Text Element, simply open the rich text editor and click on the image. This will open the image settings where you can make changes:
- Alt Text: This text provides an alternative description for accessibility purposes and SEO.
- Link: When a user clicks on the image in the Live App, they will be directed to the specified link.
- Size: Adjust the dimensions of the image.
- Position: This setting determines the positioning of the image within the element.
Using HTML
You can insert custom HTML code by clicking on the </> icon in the editor toolbar:
Note: Although you can use some basic HTML in Rich Text Elements, it's important to note that they are not true code elements. As a result, certain elements may be filtered for security reasons when you save it.
If you encounter any issues while trying to save complex HTML code, it is likely because it cannot be executed from the Rich Text Element. In such cases, it should be inserted into the API & Code area in the app's settings.
Embedding Content
External content can be embedded into Rich Text Elements by placing the embed code within an iframe.
To utilize an iframe:
- Acquire the embed code from the third-party app
- Access the editor for the Rich Text Element where you wish to display the embedded content
- Choose the HTML editor in the toolbar
Next, insert the iframe code and incorporate the embed code within it.
<iframe src="https://example.com/embed" width="100%" height="400" frameborder="0" allowfullscreen></iframe>Note: If you encounter any difficulties setting up the iframe properly, you can easily find iframe code generators through a quick web search. Generators will assist you in adding necessary iframe elements such as width and height.
Notes and Troubleshooting
-
Anchor links are now supported in Rich Text Elements. You can create them by selecting text, clicking the link button, and using a URL that starts with "#".
-
If images appear broken in your Rich Text Elements, check the following:
- Ensure the image URL is publicly accessible
- Images embedded from Google Drive may not be visible unless specifically shared for public viewing
- For Dropbox links, remove
?dl=0/and append/?raw=1to the end of your URL
-
If you're experiencing issues with image uploads, ensure you're using the latest version of the app and that your browser permissions allow for file access.
-
The rich text editor supports a wide range of formatting options, so explore the toolbar for features like text highlighting, code blocks, and advanced table controls.