How to Create a Page Protected with a Log In
Learn how to create and configure login pages, manage user registration, and control access to your app
In this article you will learn how to create and configure login pages, manage user registration, and control access to your application.
Understanding Login Pages
A login page controls access to your application's content by requiring users to sign in with valid credentials. Login pages are marked with a lock icon, indicating that all child pages and views are protected.
Important: You must enable users in your application before implementing login functionality.
Creating Login Pages
Add Login Protection to Pages
You can add login requirements in three ways:
- Create a new login-protected page
- Add login protection to an existing page
- Create a single login page for your entire application in Settings: User Logins
New Login-Protected Pages
- Select "Add New Page"
- Toggle on "Protect Page" after naming the page
- Select an option for new user registration
- Select which logged-in users can access the page
Protect Existing Pages
To add login protection to any page:
- Click the ellipses (...) next to the page name
- Select "Protect Page with Login"
- Select an option for new user registration
- Select which logged-in users can access the page
Note: Adding login protection creates a new parent page that manages access settings.
Managing User Registration
Registration Options
Choose from three registration settings:
- Yes: New users have immediate access upon registration
- Yes, Pending Approval: New users have access after an Admin approves the request
- No: Only logged-in users that can currently access the page, or are given access via a user role, can access the page
Registration Form Configuration
Every registration form requires:
- Email field
- Password field
- Google Single-Sign on can be added in Page Settings: Access
Access Control Settings
Permission Management
Control page access by:
- Allowing all users to access the page
- Restricting access to specific user roles
Page Settings
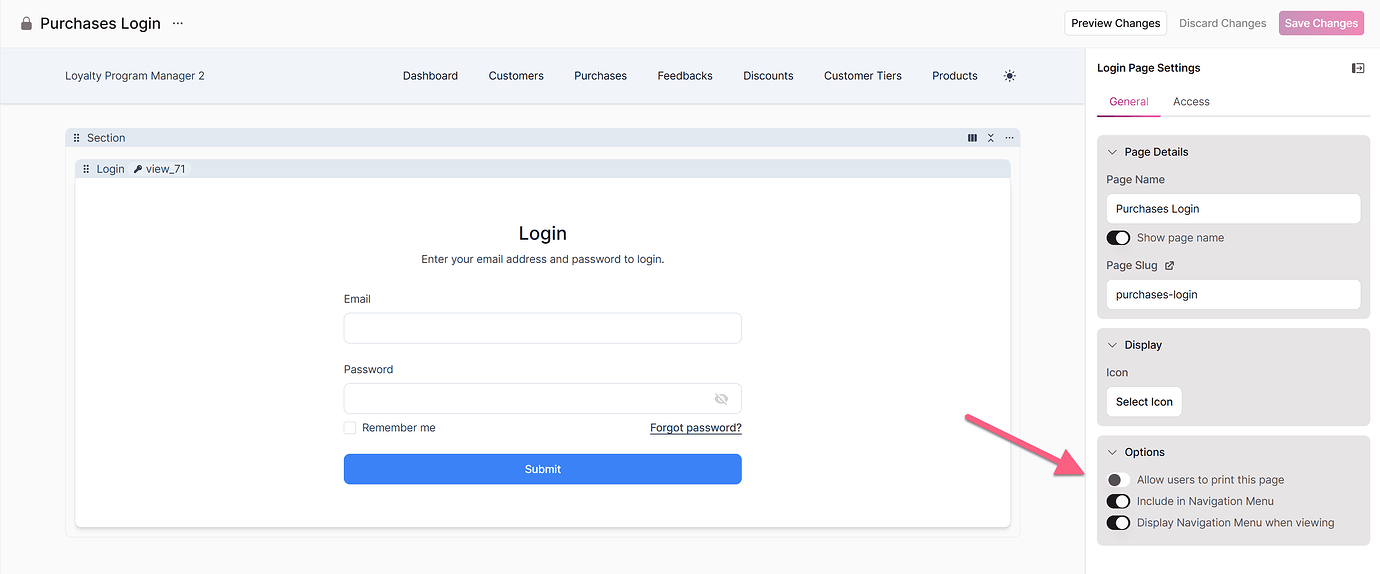
Options
You can configure Login pages to show or hide the login page itself, which controls the visibility of its subpages underneath in the navigation menu.
For example, you might have a scenario where a page should only be accessible to users with the direct URL, without restricting permissions based on specific user roles. In this case, you wouldn't want this page to appear in the page menu.
Removing Login Protection
- Click the dropdown arrow next to the page name
- Select "Remove Login"
Warning: Removing login protection affects all child pages and views. Test changes in a copied application or copied pages first.