Calendar Data Display - Source Settings & Filtering
This article covers how to control which records appear in your Calendar Element using source filters and record limits.
What You'll Learn
Clicking in the Data Display section, this article walks you through configuring source filters for your Calendar Element. You'll learn how to filter which records display on your calendar and set limits on the number of records shown, giving you precise control over what information appears to your users. You'll also learn how to let users apply their own filters, set up preset filter links, and control which fields can be filtered, empowering your users to find exactly the information they need.
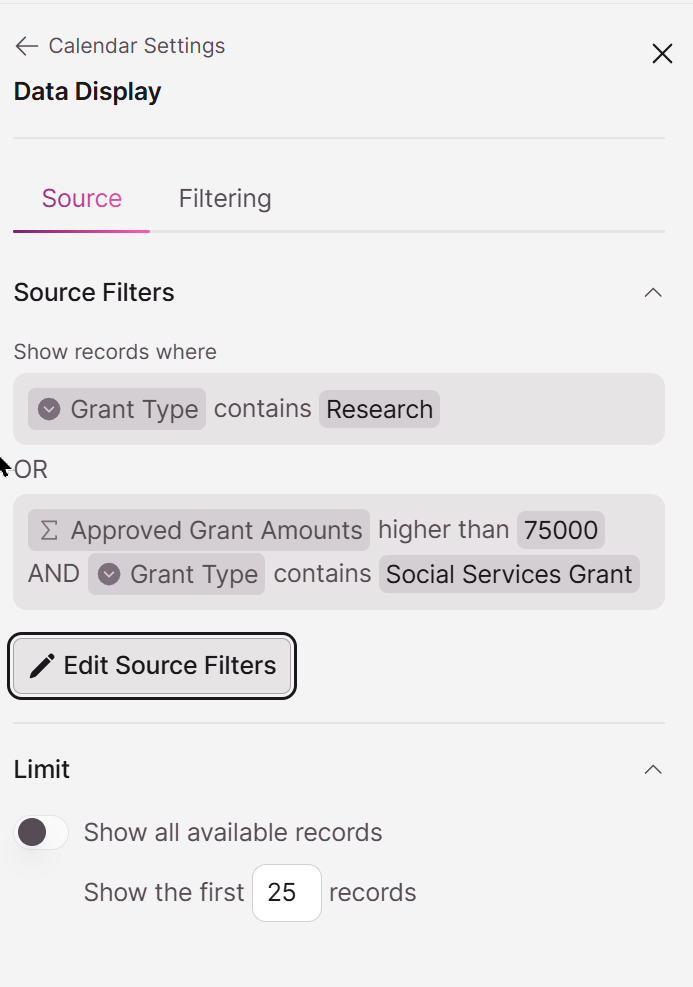
Source
By default, the calendar will display all the records from the table. However, in the Source section of the settings, you have the flexibility to customize which records are shown by adding additional rules and filters.
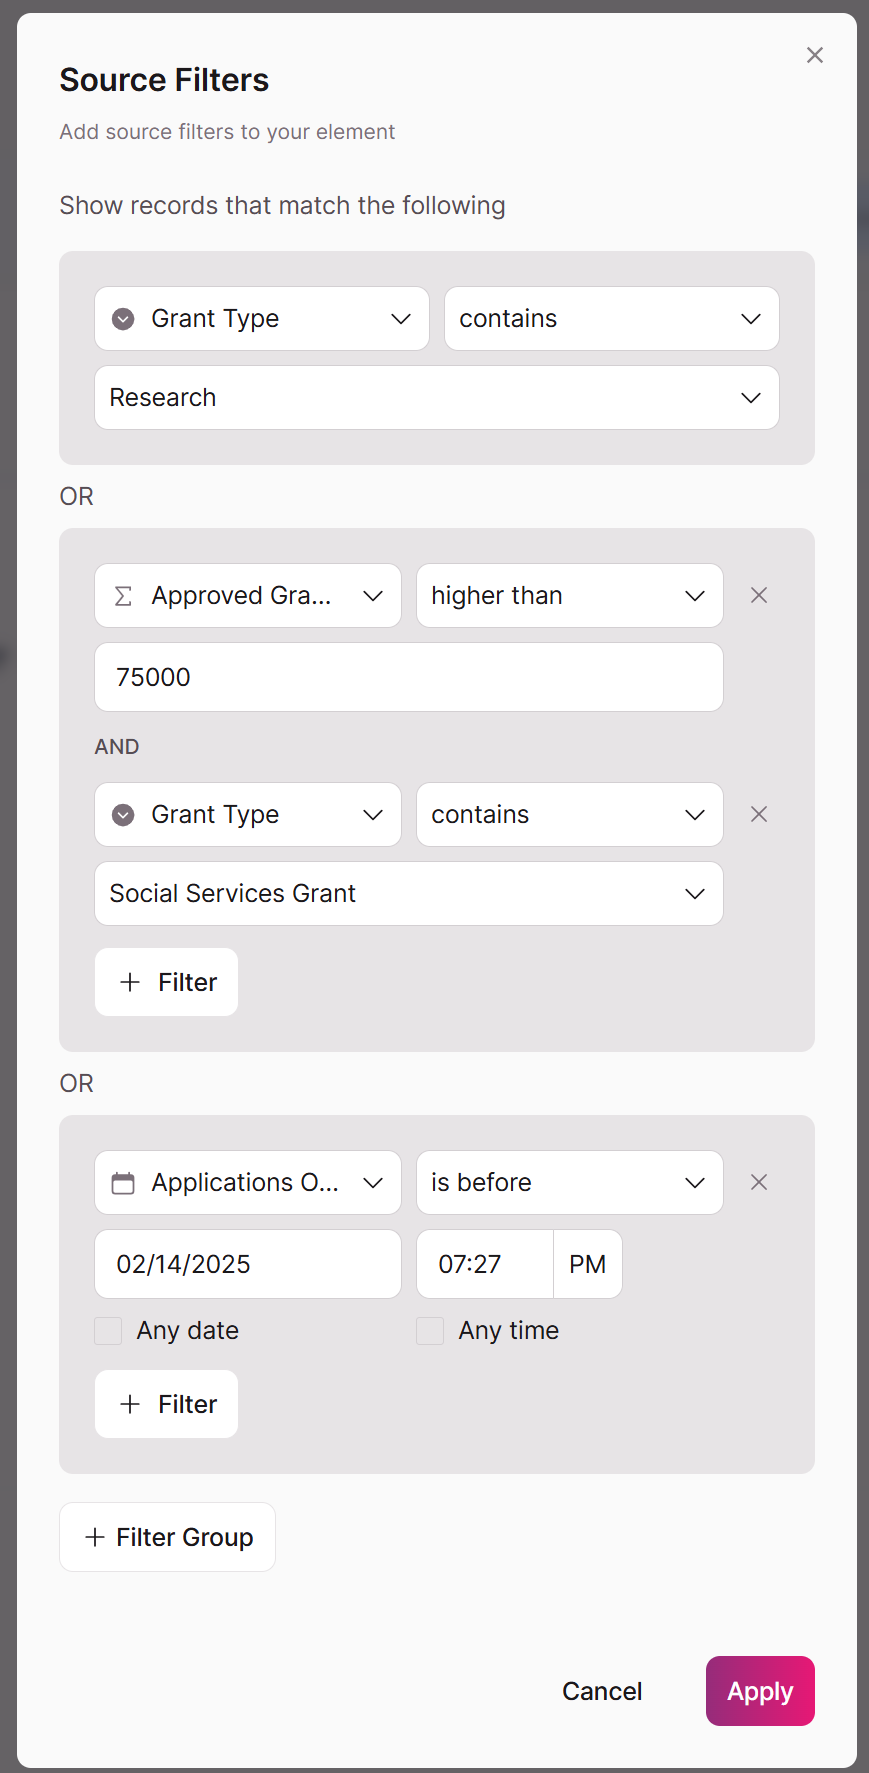
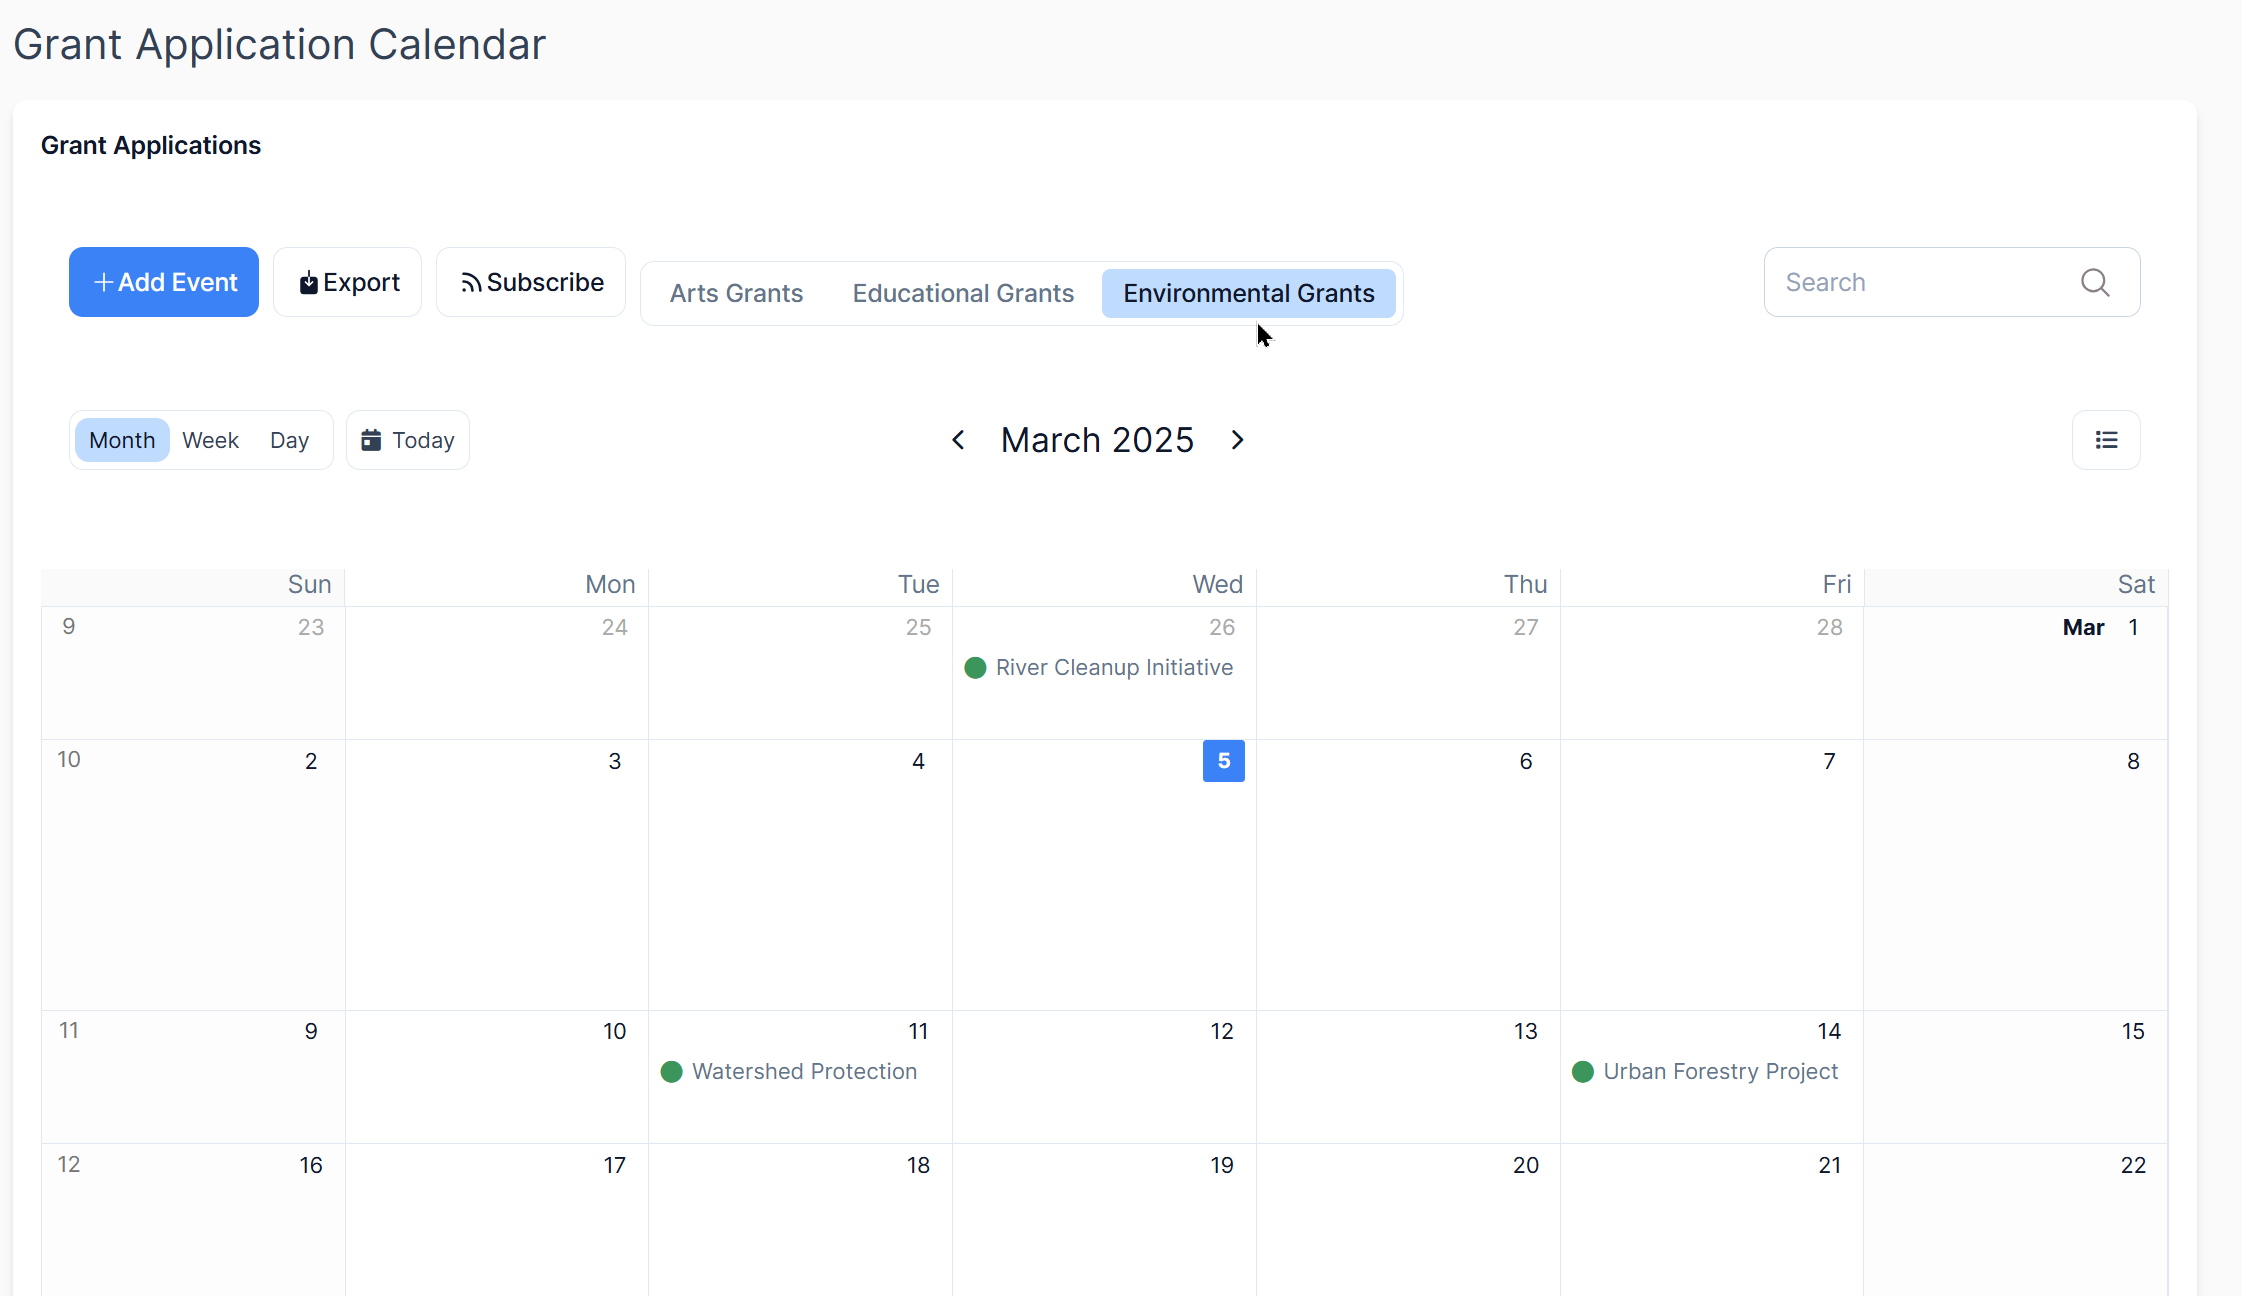
Source filters allow you to control which records appear on your calendar based on specific criteria.
For instance, only show events on the calendar where:
- Only show grants where "Grant Type contains Research"
or- Only show events where "Approved Amount" higher than 75,000
and- "Grant Type" contains "Social Services Grant"
To edit your filters:
- Click the "Edit Source Filters" button
- Add, modify, or remove filter conditions
- Save your changes
Using Multiple Filter Conditions
You can combine multiple conditions to create more complex filters:
- Use "AND" conditions when records must meet all criteria within the same filter group.
- Use "OR" conditions when records can meet any one of several criteria by using different filter groups.
Setting Record Limits
The Limit section allows you to control how many records display on your calendar:
You have two options:
- Show all available records: Displays all records that match your source filters (default)
- Show the first[number] records: Limits the calendar to display only a specific number of records, e.g., "Show the first 25 records"
Tip: Setting a record limit can be useful for improving performance if you have a large number of records, especially when your calendar is displayed on a publicly accessible page.
Best Practices for Source Configuration
- Keep it focused: Show only relevant records to avoid overwhelming your users
- Consider performance: For tables with thousands of records, using both filters and limits can improve loading times
- Test your view: After setting up filters, preview your calendar to ensure it displays the intended records
Filtering Section
Calendar Filtering
While Source Filters (configured by you) determine what records initially appear on the calendar, user filtering gives your Live App users the ability to further refine what they see without changing your underlying configuration.
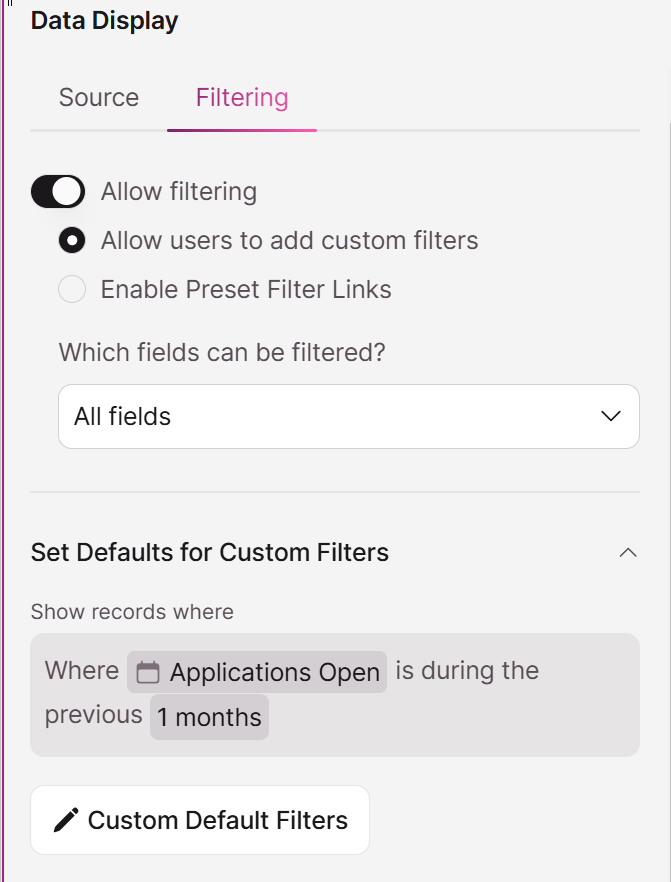
Enabling User Filtering
To enable filtering for your calendar:
- Navigate to the Calendar Element settings
- Select the "Data Display" section
- Click on the "Filtering" tab
- Toggle "Allow filtering" to enable filtering capabilities
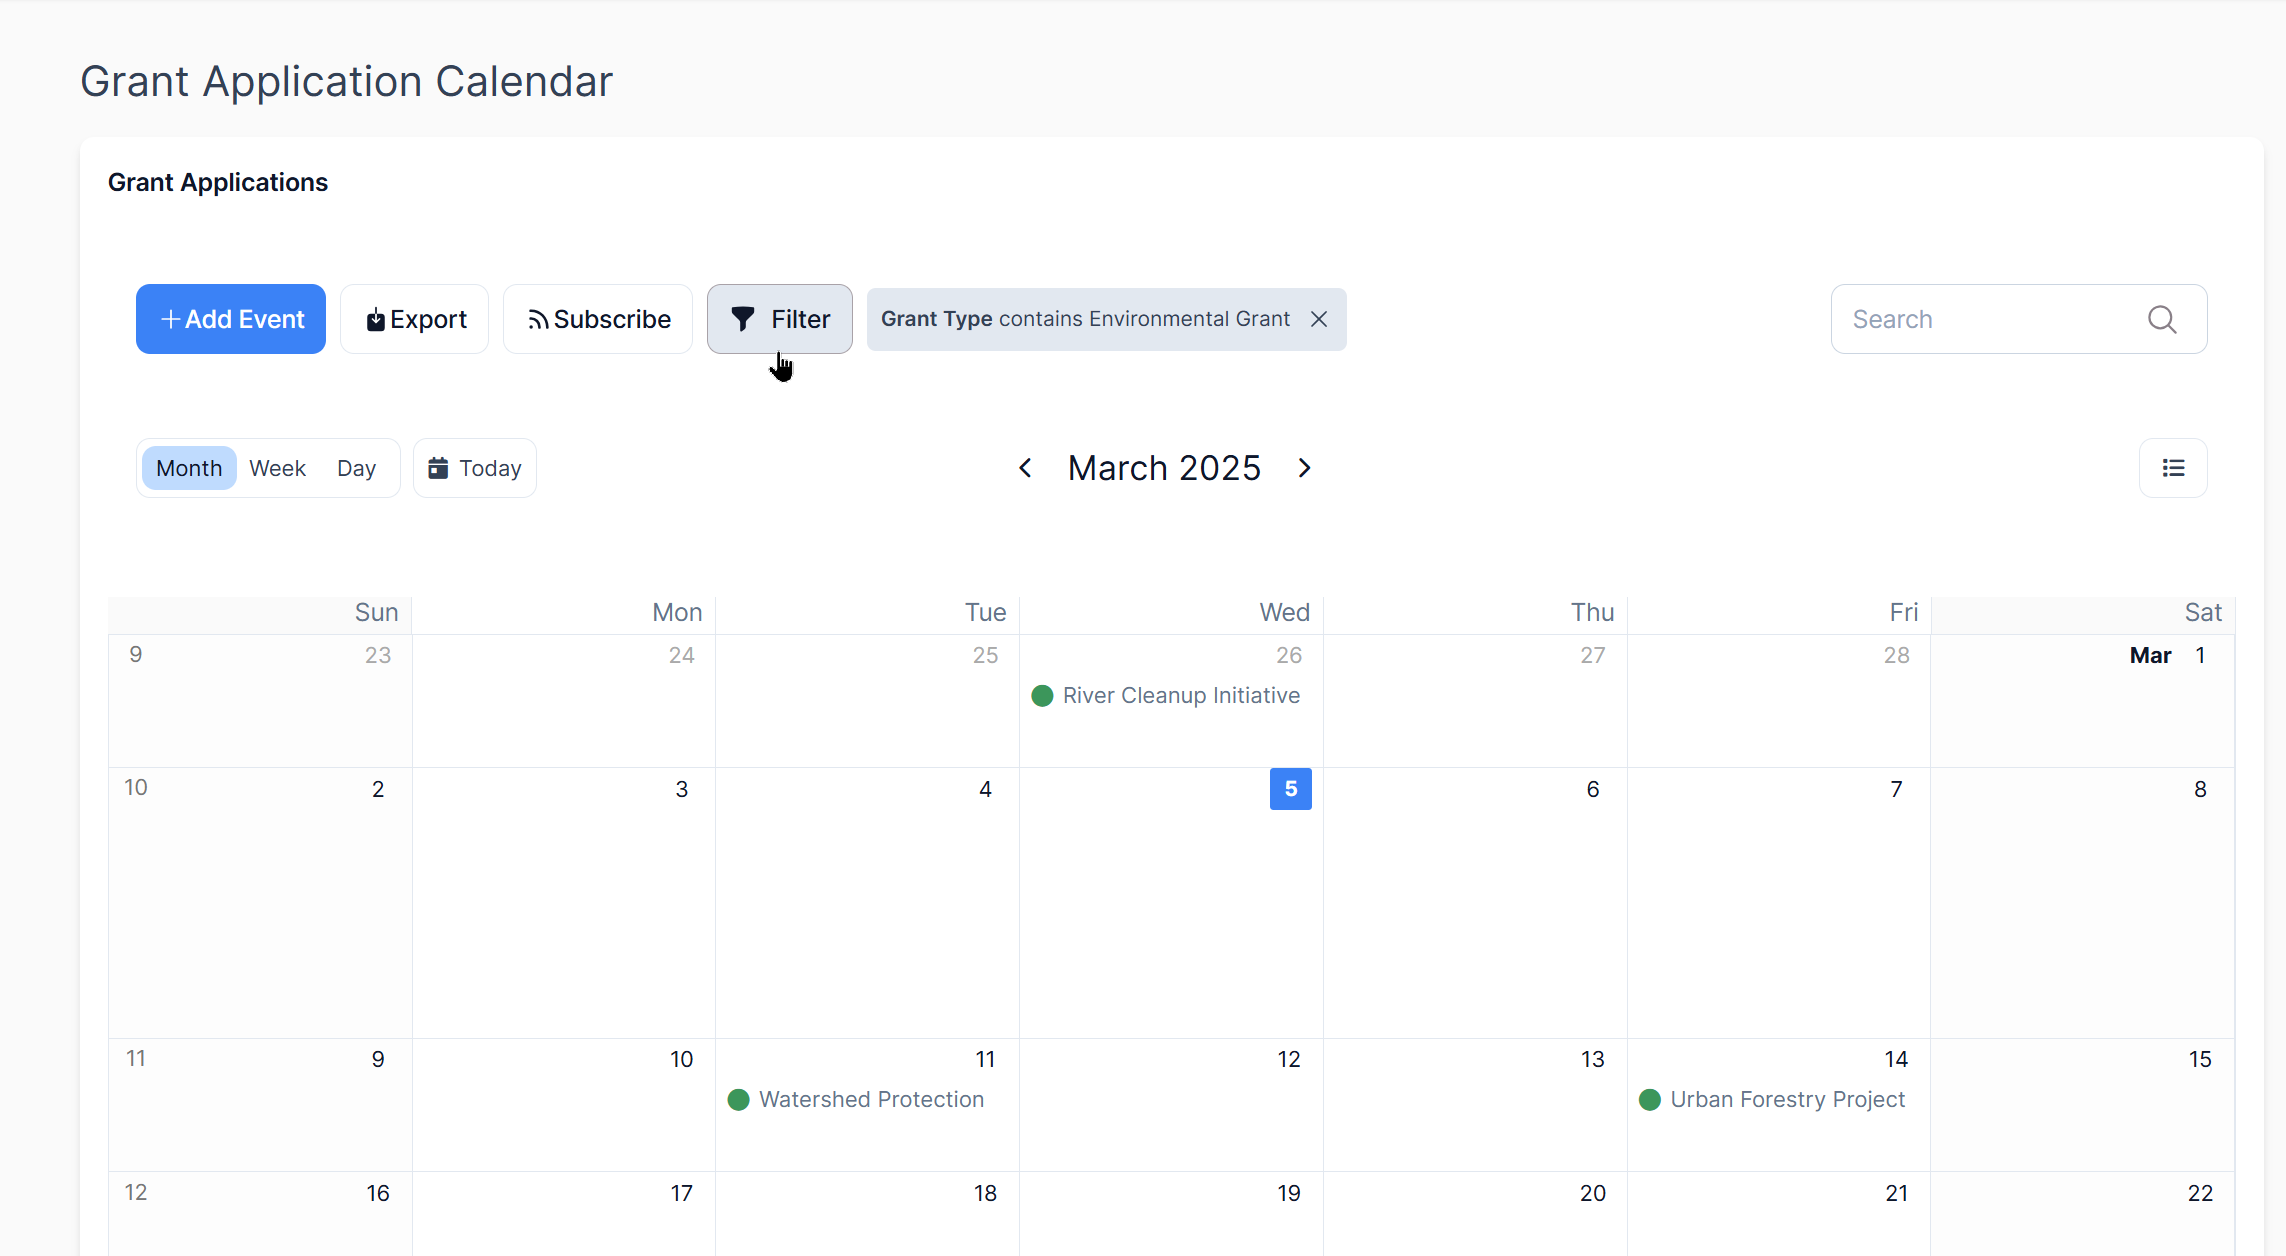
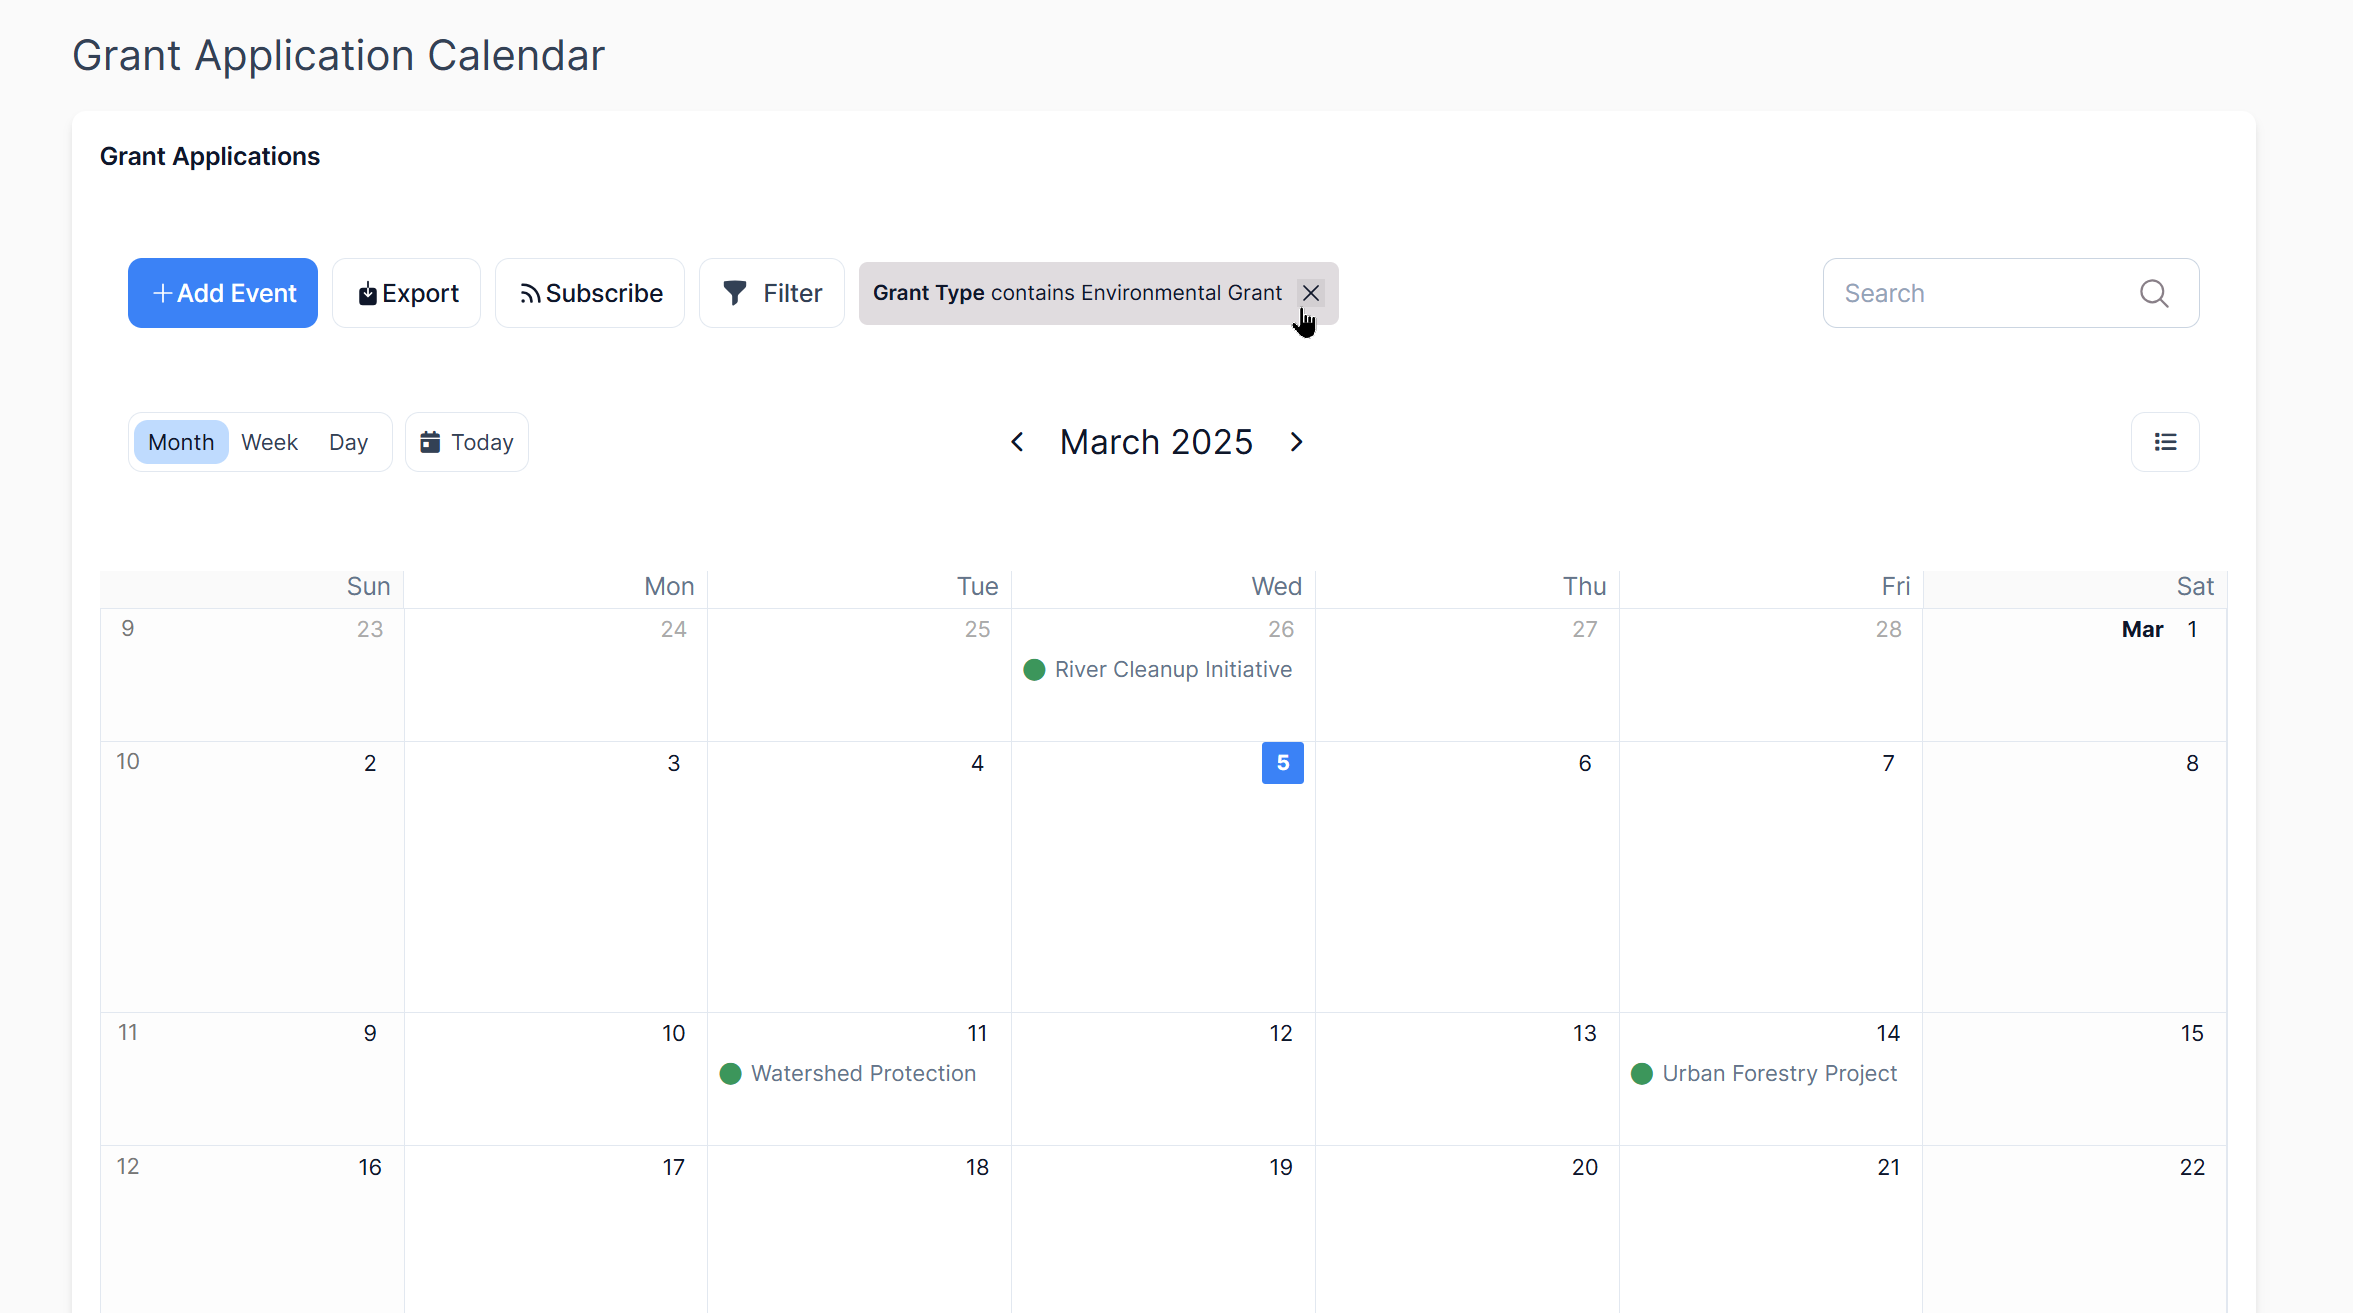
When enabled, users will see a filter button or menu above the calendar that they can use to refine the displayed records.
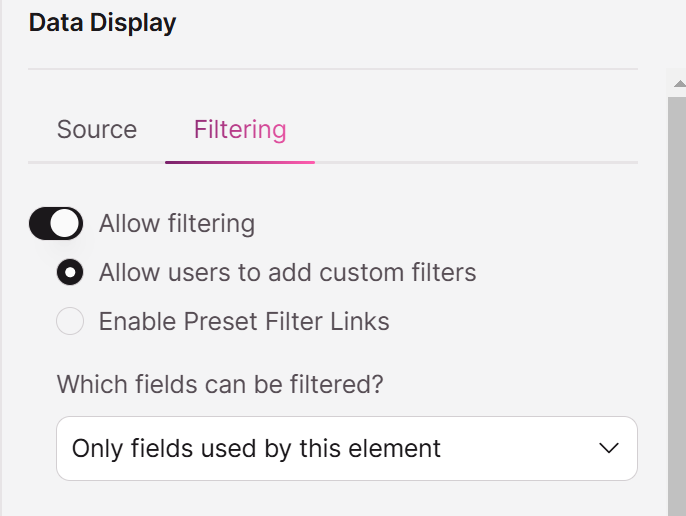
Field Filtering Control
Under "Which fields can be filtered?" you can control which fields users can filter by:
Options include:
- Only fields used by this element: Limits filtering to fields already displayed in the calendar
- All fields in the table: Allows filtering by any field in the connected table

Filter Configuration Options
Custom User Filters
The "Allow users to add custom filters" option enables users to create their own filters from available fields:
When enabled, users can:
- Click on a "Filter" button above the calendar
- Select fields to filter by
- Choose operators (equals, contains, etc.)
- Enter values to filter against
Preset Filter Links
The "Enable Preset Filter Links" option creates quick-access filter buttons that you pre-configure

This creates a row of filter links above the calendar that users can click to quickly filter the data according to common criteria.
Setting Default Filters
The "Set Defaults for Custom Filters" section lets you establish filters that are automatically applied when the page loads:
To add a default filter:
- Click the "+ Custom Default Filters" button
- Configure the filter criteria
- Save your changes
These filters will be pre-applied when users view the calendar, but they can modify or remove them.
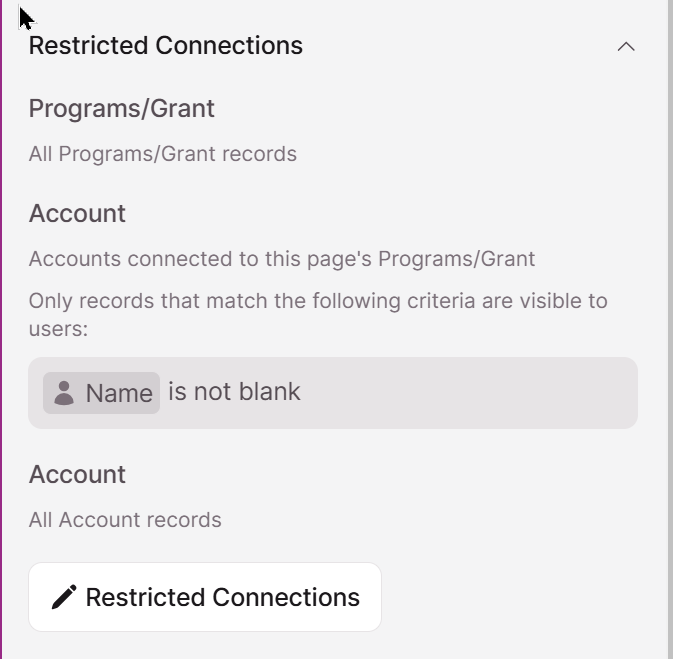
Restricted Connections
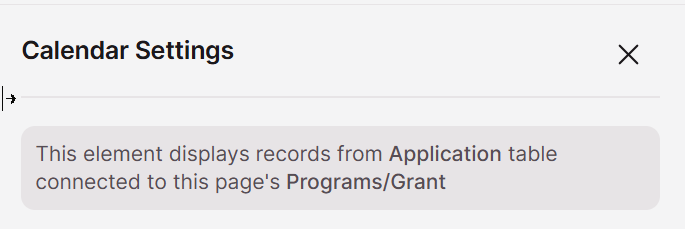
If the source for the Calendar is from a connected table, the Restricted Connections option will be enabled
The "Restricted Connections" option controls filtering capabilities for connected records:
By default, users can filter by any connection field's records. You can restrict this by:
- Expanding the "Restricted Connections" section
- Clicking "+ Restricted Connections"
- Selecting which connections to restrict
- Saving your changes
Implementation Examples
Event Calendar with Type Filtering
For an events calendar, you might enable filtering with:
- Custom user filters enabled
- Preset filter links for "Upcoming Events," "Past Events," and "Featured Events"
- Default filters set to show only future events
- Field filtering limited to date, category, and location fields
Project Calendar with Team Filtering
For a project management calendar, you might set up:
- Custom user filters enabled
- Field filtering for all table fields
- Default filters showing only active projects
- Preset filters for different departments or teams
Best Practices
- Don't overwhelm users: Only make relevant fields available for filtering
- Use preset filters for common filtering needs
- Set helpful defaults to show the most relevant data initially
- Consider your audience: More complex filtering options work well for power users but may confuse casual users
By configuring these filtering options, you give your users the power to find exactly what they're looking for in your calendar data, making your application more useful and user-friendly.
Updated about 1 year ago