Implementing Google Single Sign-On (SSO)
Enable your Live App users to log in with their Google account. This secure authentication method allows users to access your app seamlessly using their existing Google credentials — no separate username and password required.
This guide walks through the complete setup process, including configuring Google Cloud Console, creating OAuth credentials, and enabling SSO on your Knack login and registration pages.
What You'll Need
- A Google account with access to the Google Cloud Console
- A Knack app with at least one protected (login-required) page
- Your app's live URL (Knack-hosted or custom domain)
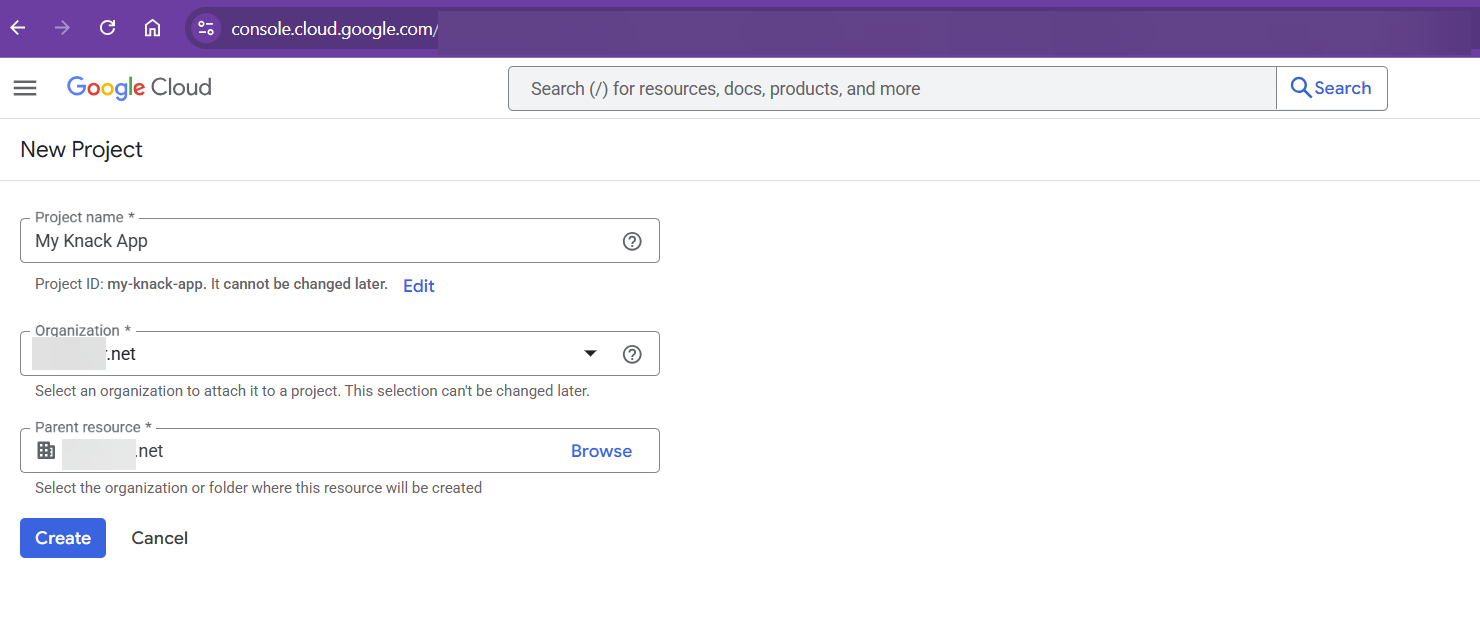
Part 1: Set Up a Google Cloud Project
Before creating OAuth credentials, you need a Google Cloud project. A project is a container that organizes your Google Cloud resources — it's not tied to a specific domain, so you can use an existing project or create a new one.
- Go to the Google Cloud Console and sign in with your Google account.
- If you already have a project you'd like to use, select it from the project dropdown at the top of the page and skip to Part 2.
- To create a new project, click the project dropdown, select New Project, enter a name (e.g., "My App SSO"), and click Create.
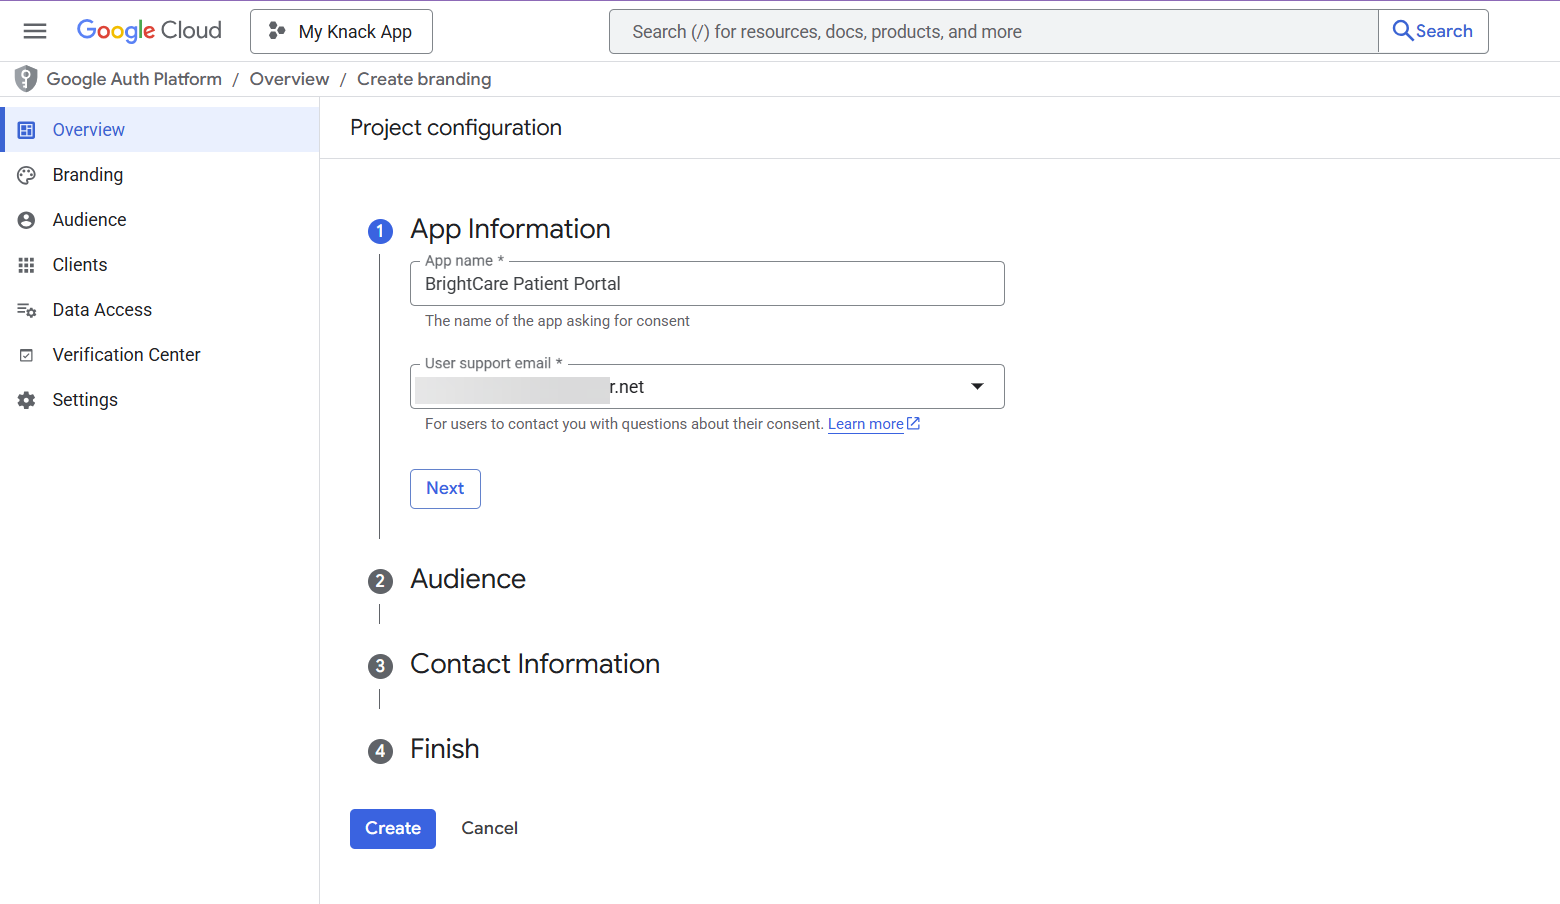
Part 2: Configure the OAuth Consent Screen
The OAuth consent screen is what users see when they authenticate with Google. You need to configure this before creating credentials.
- In Google Cloud Console, navigate to APIs & Services > OAuth consent screen.
- Click Get Started.
- Fill in the App Information:
- App name: Enter your app's name (this is shown to users during sign-in)
- User support email: Select or enter your support email address
- Click Next.
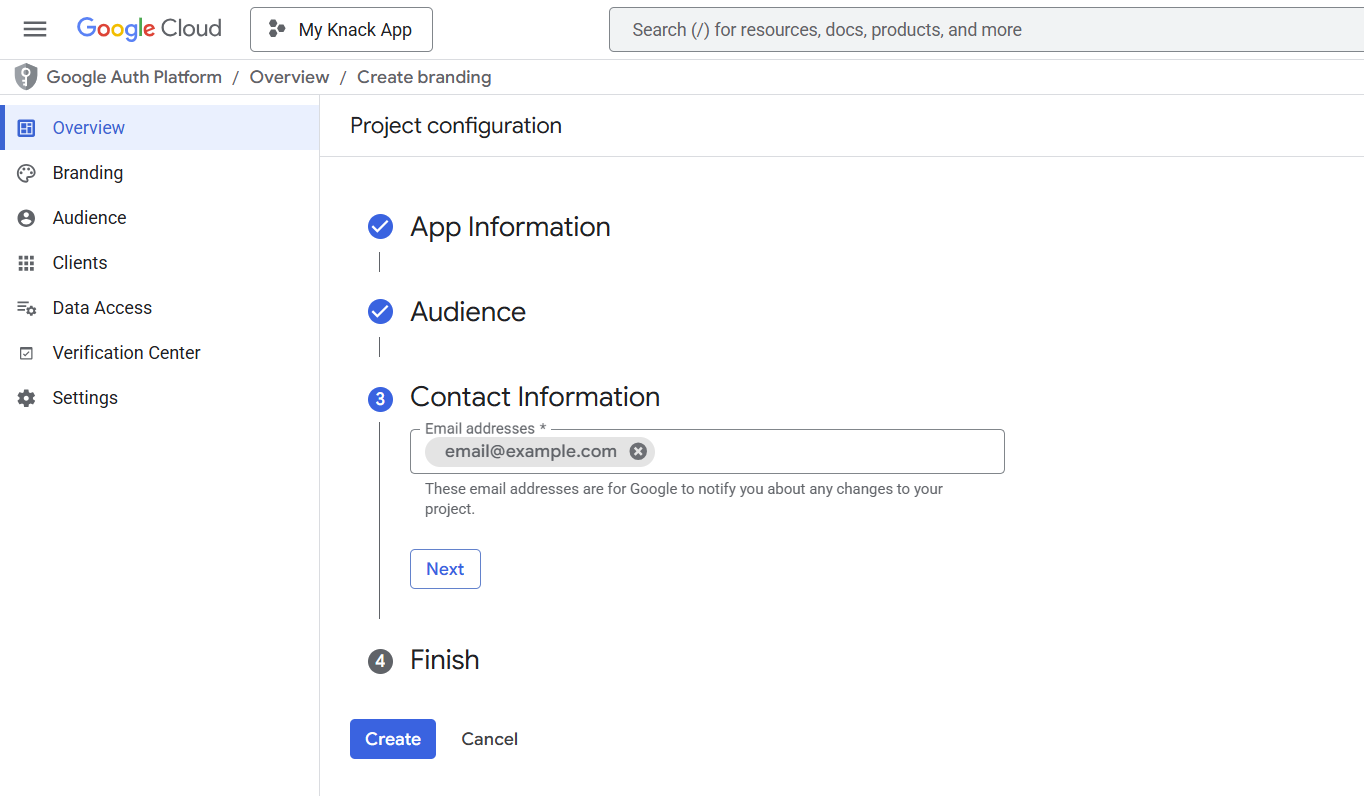
- For Audience, select External.
Important: You must select External, not Internal. Selecting Internal restricts authentication to only users within your Google Workspace organization. External allows any Google account holder to sign in to your app.
- Click Next.

- Enter your developer contact email address(es) and click Next. These email addresses are for Google to notify you about any changes to your project.
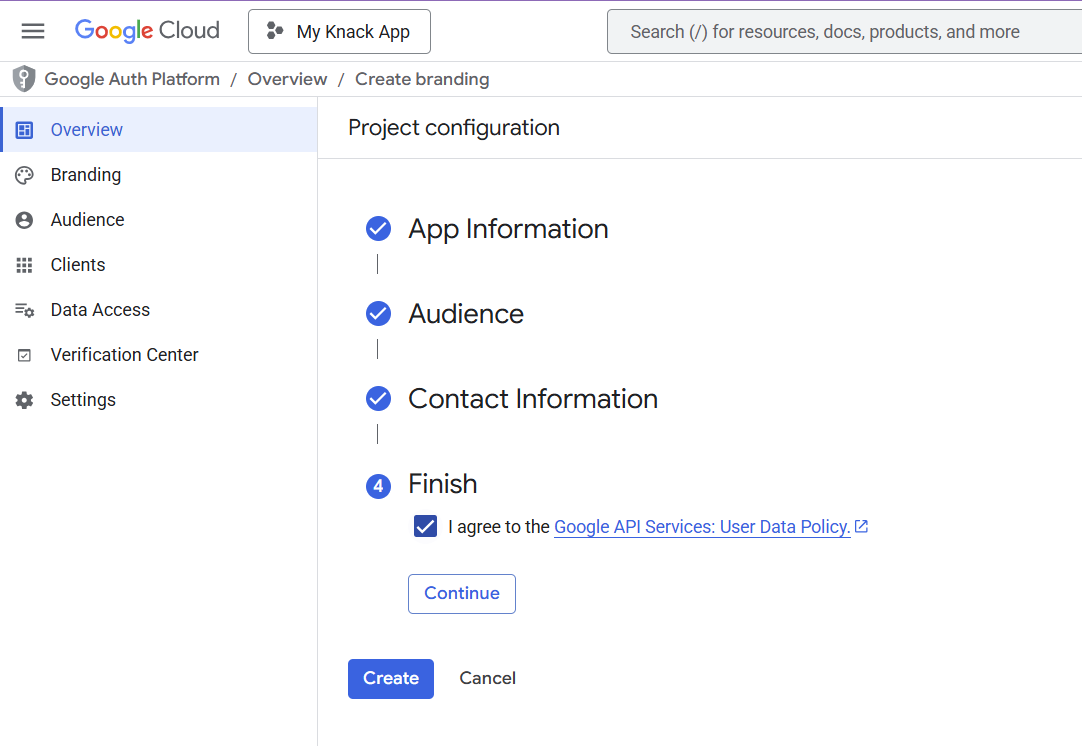
- Check the box to agree to the Google API Services User Data Policy, then click Continue and Create.
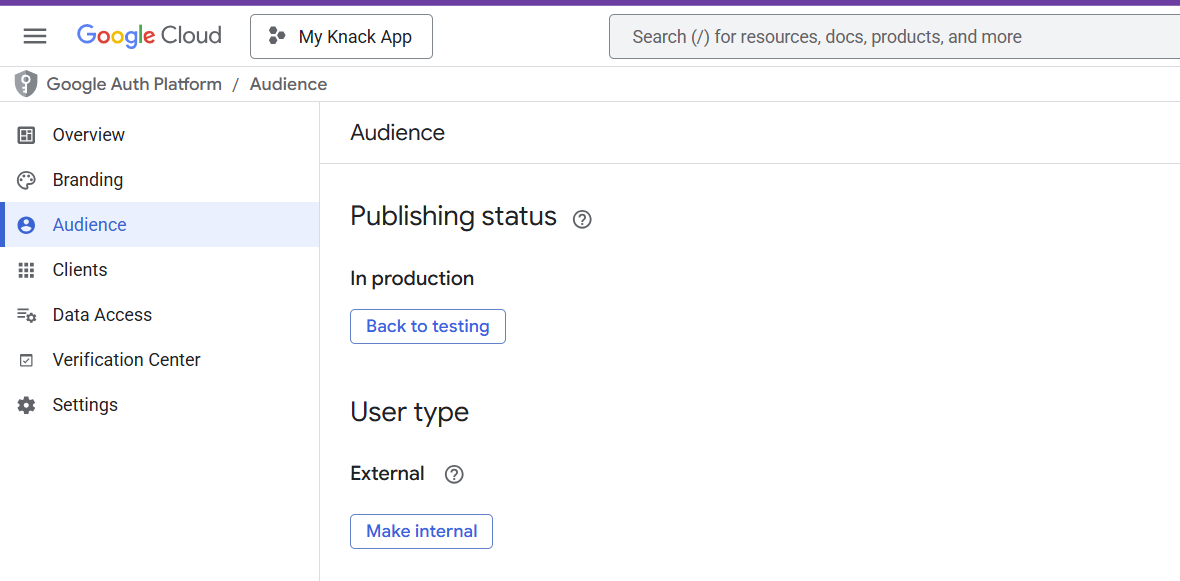
Set Publishing Status to Production
By default, new OAuth consent screens are in Testing mode, which limits access to manually added test users. You need to publish to production so all your app users can authenticate.
-
Go to OAuth consent screen > Audience.
-
Click Make External (if not already external).
-
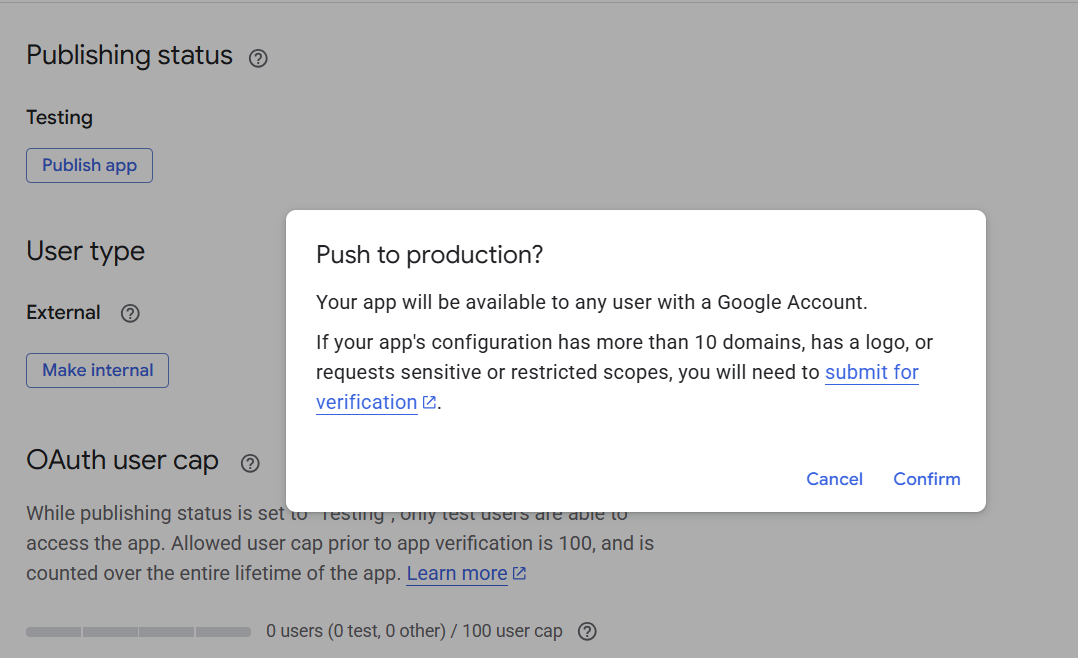
Set the status to In Production and click Confirm.
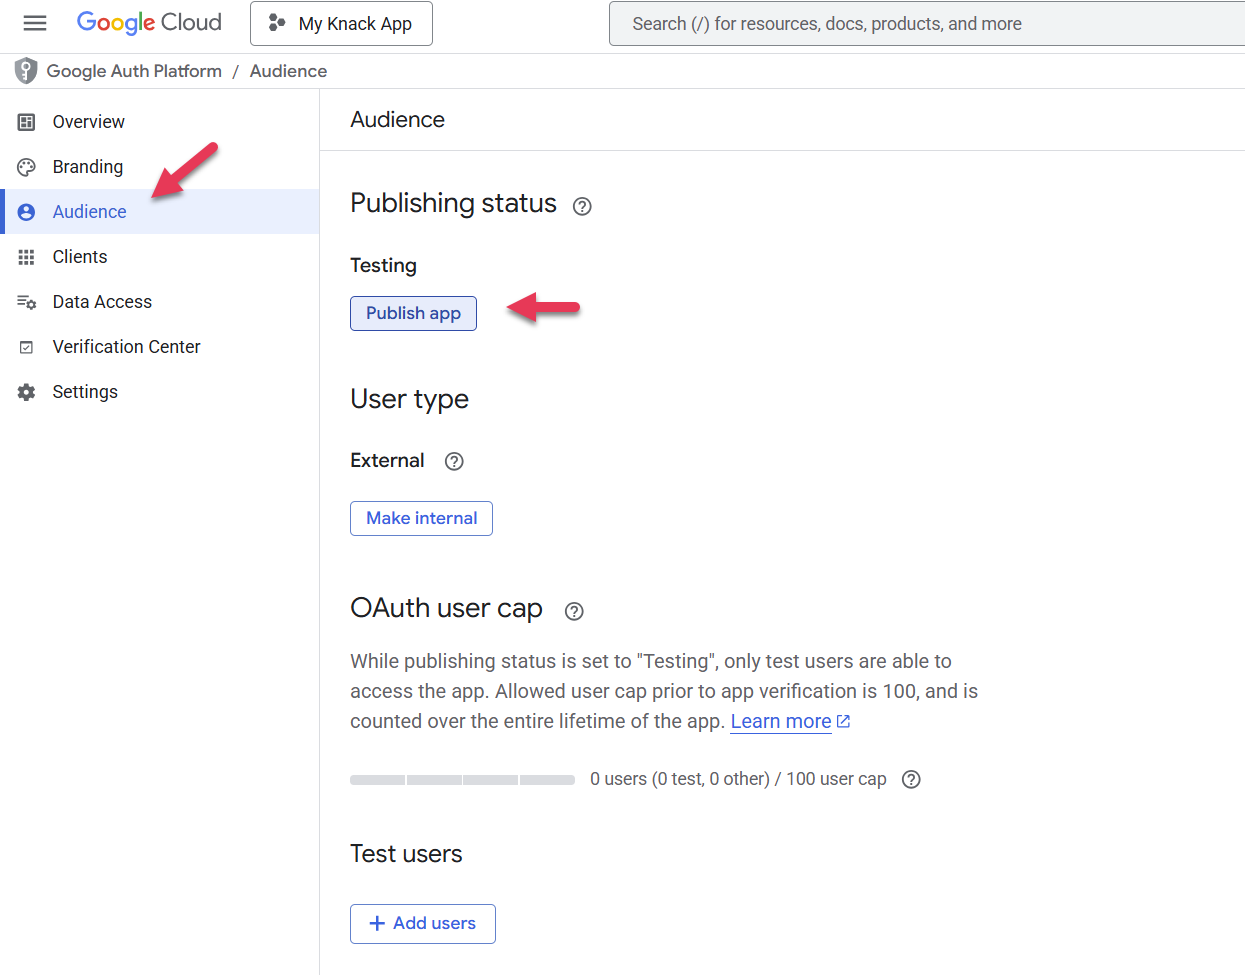
Note: If your app only requests basic scopes (email and profile), Google typically does not require a verification review to publish to production.
Part 3: Create OAuth Client Credentials
Now you'll create the OAuth 2.0 client that Knack will use to communicate with Google.
- In Google Cloud Console, go to APIs & Services > OAuth Overview.
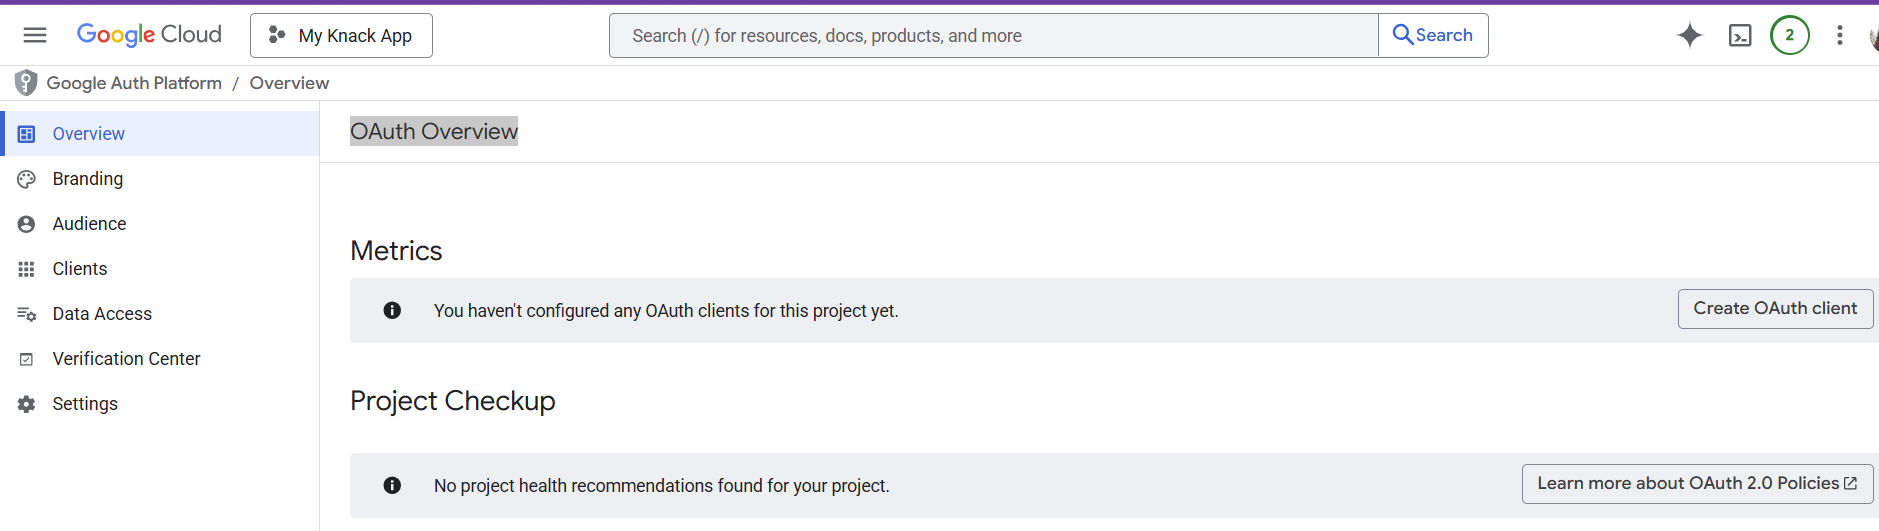
- Click Create Credentials > OAuth Client ID (or click Create OAuth Client if prompted after consent screen setup).
- Set Application type to Web application.
- Give it a descriptive Name (e.g., "My Knack App SSO").
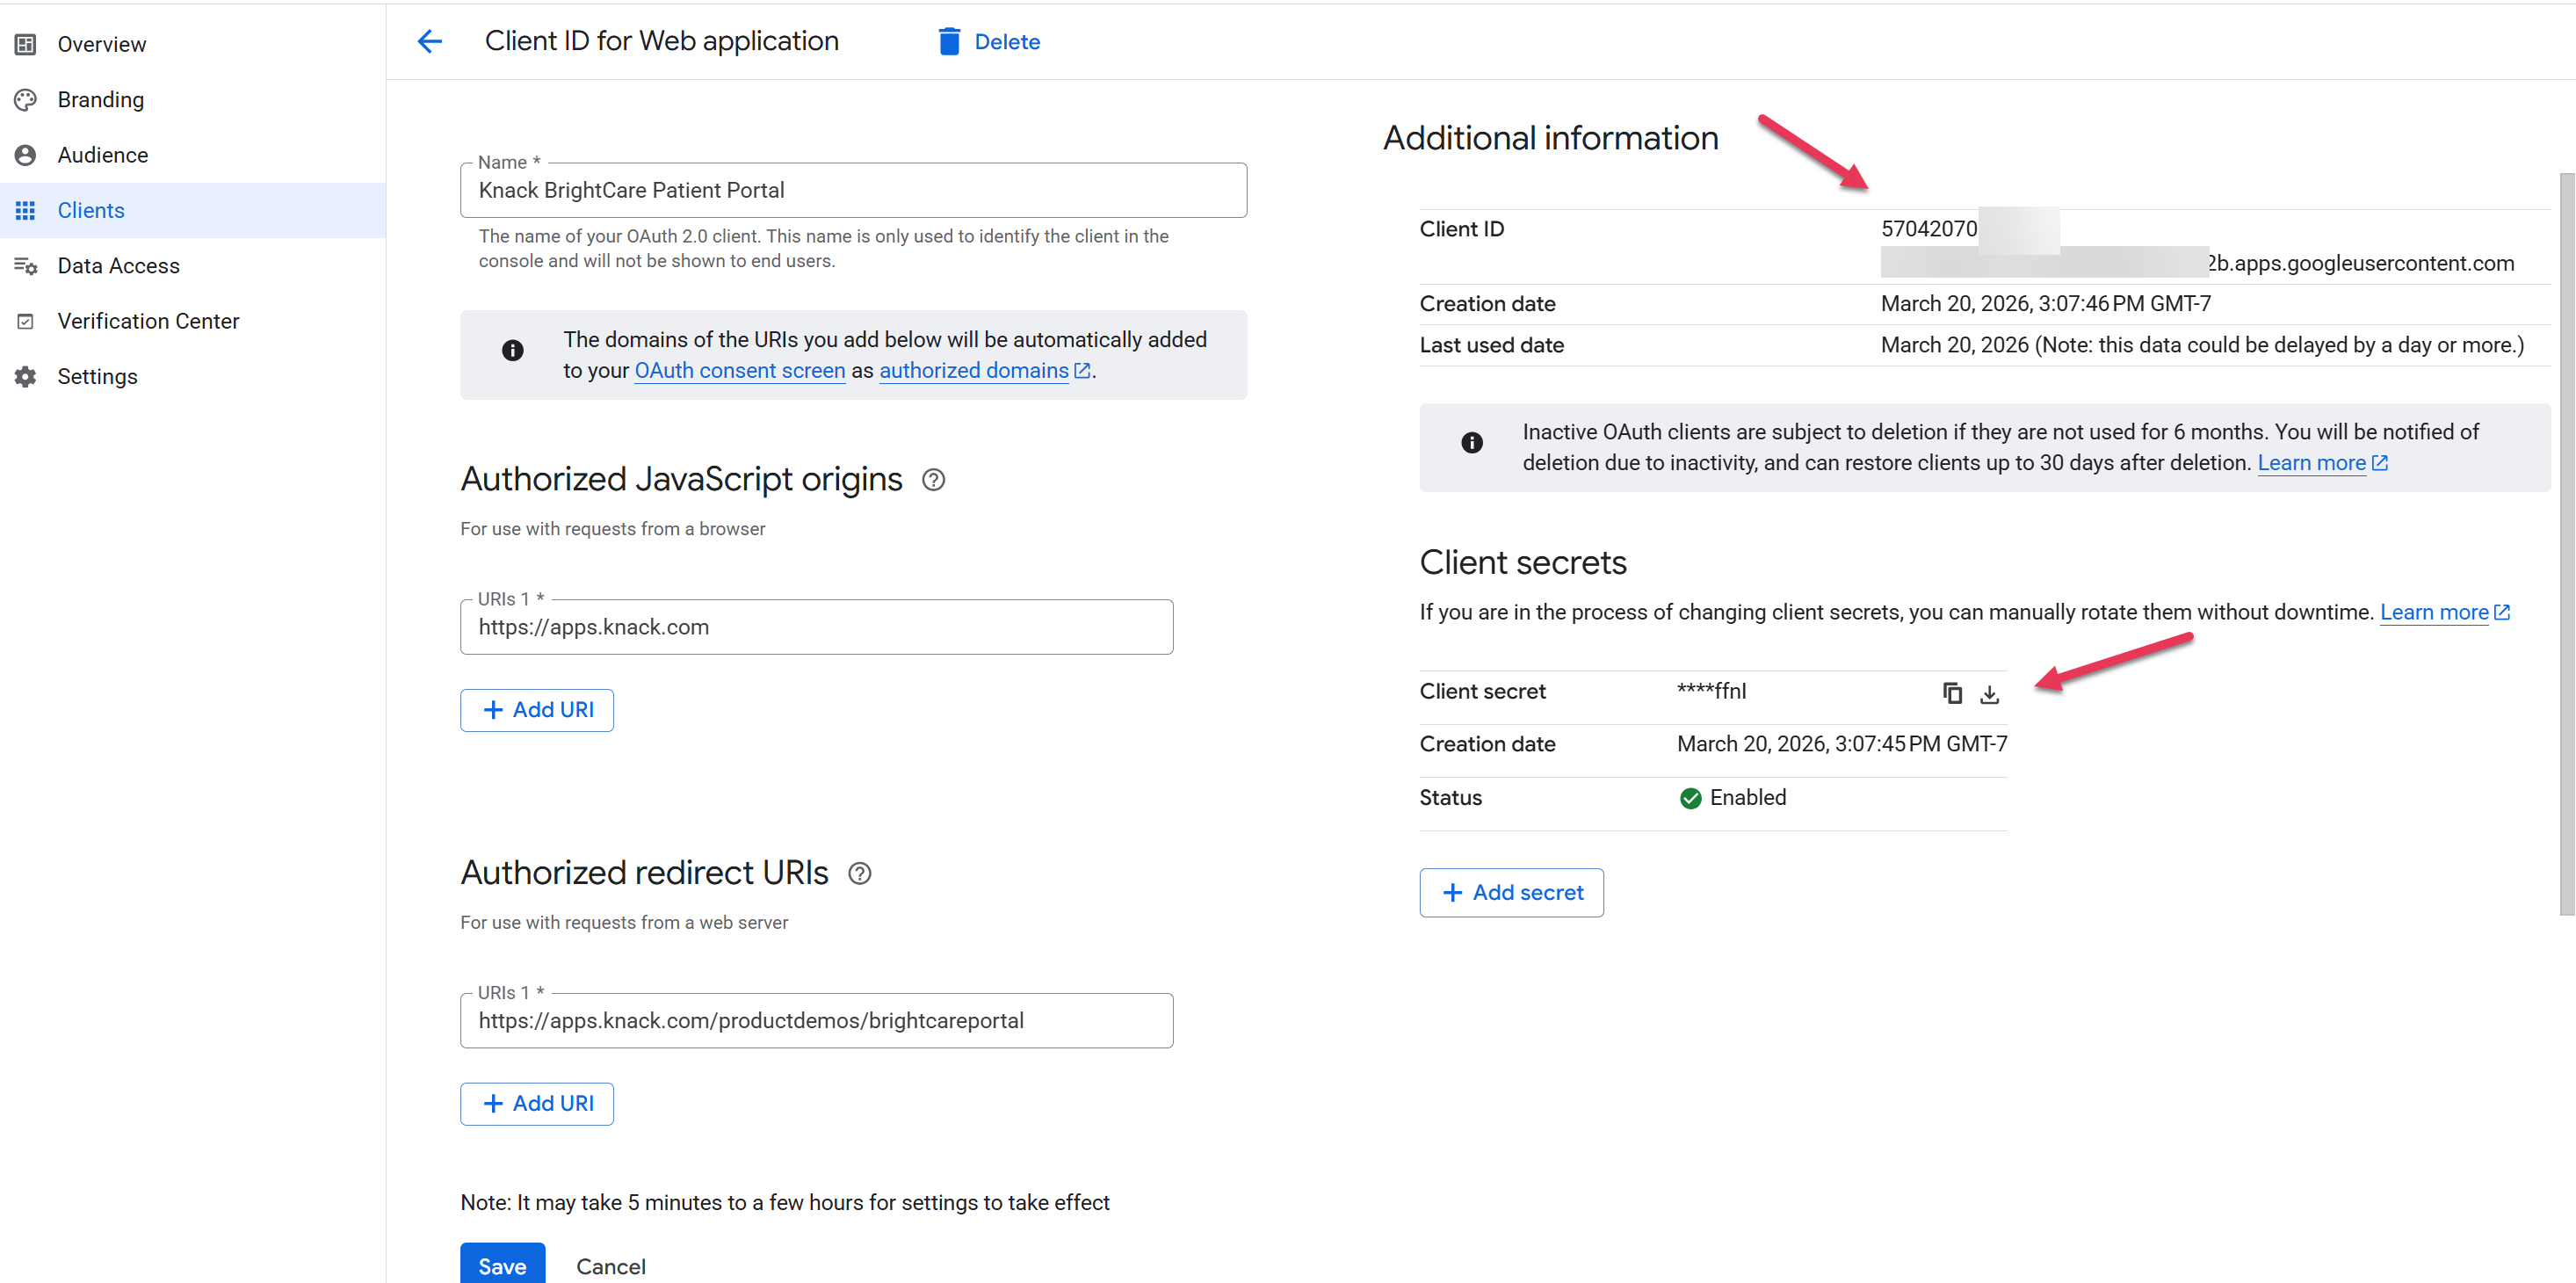
- Add Authorized JavaScript Origins by clicking Add URI:
| App URL Type | JavaScript Origin URI |
|---|---|
| Knack-hosted URL | https://apps.knack.com |
| Custom domain | https://yourdomain.com (no trailing slash or path |
- Add Authorized Redirect URIs by clicking Add URI:
| App URL Type | Redirect URI |
|---|---|
| Knack-hosted URL | https://apps.knack.com/accountslug/appslug |
| Custom domain | https://yourdomain.com/appslug (your full app URL) |
Important: URIs must not contain a trailing slash or end with "/". Google will reject invalid origins. For example, use
https://yourdomain.com, nothttps://yourdomain.com/.Tip: You can find your exact redirect URI in the Knack Builder. When you click "Add Google SSO" on a login page's Access tab, Knack displays the redirect URI to use. Copy this value directly into Google Cloud Console.

-
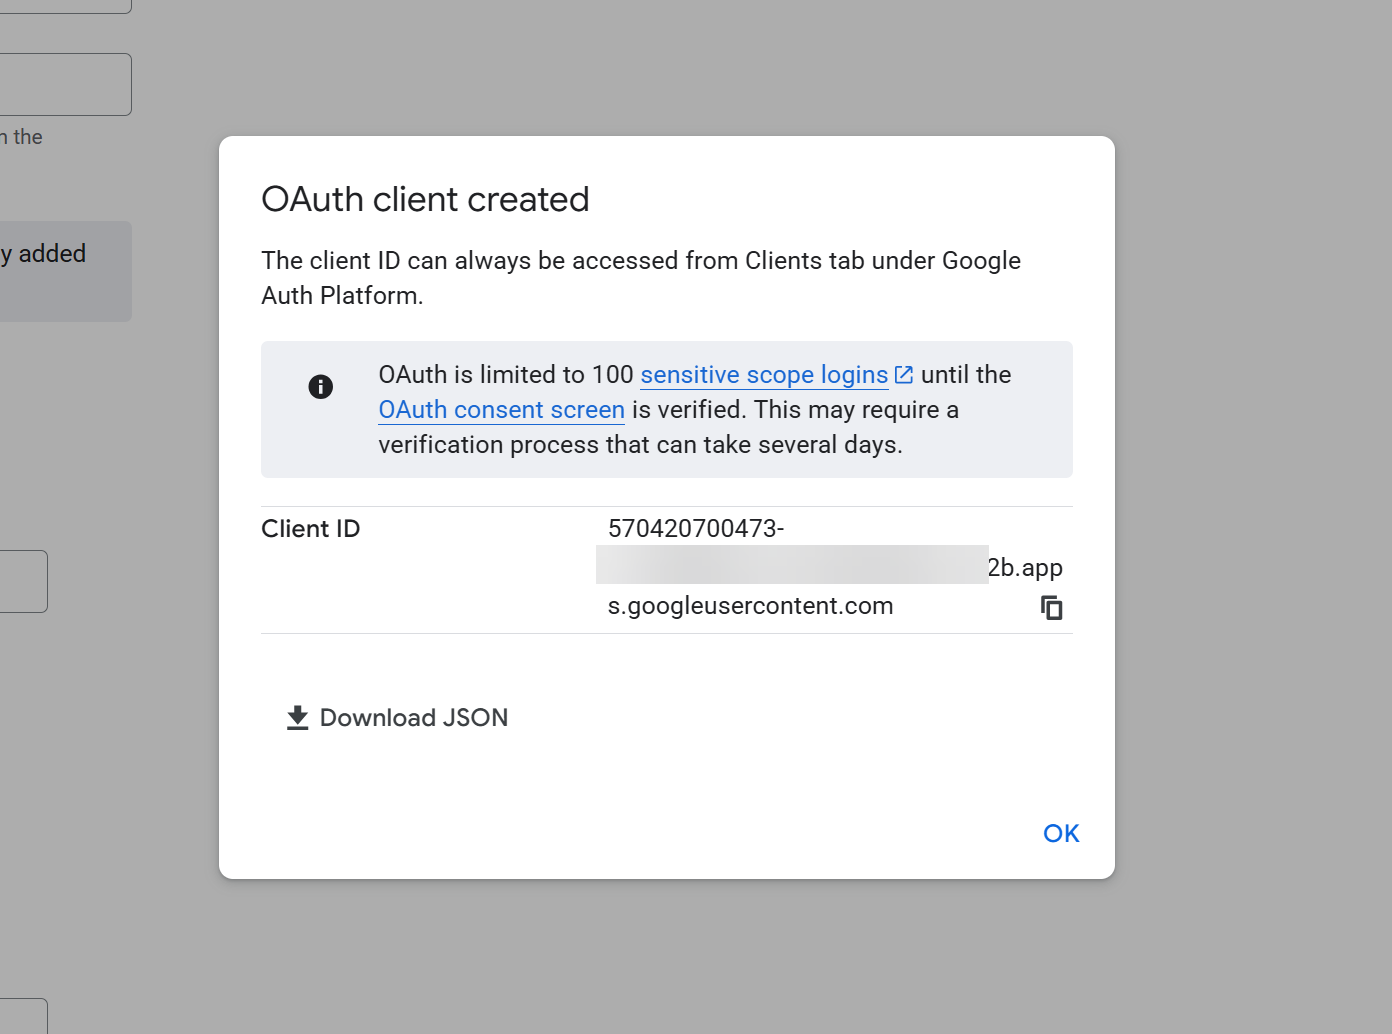
Click Create.
-
Google will display your Client ID . Copy the value and optionally download the JSON.
Using a Custom Domain?
If your Knack app uses a custom domain, you only need one OAuth client. Add your custom domain as the JavaScript origin and your full app URL as the redirect URI. You do not need to create a separate OAuth client for each page or login path — a single client with the correct domain-level origin and redirect URI covers all login and registration pages.
Note: If your app is accessible at both a Knack-hosted URL (apps.knack.com/...) and a custom domain, add both sets of URIs to the same OAuth client.
Part 4: Enable Google SSO in Knack
With your OAuth credentials ready, you can now enable SSO on your Knack login and registration pages.
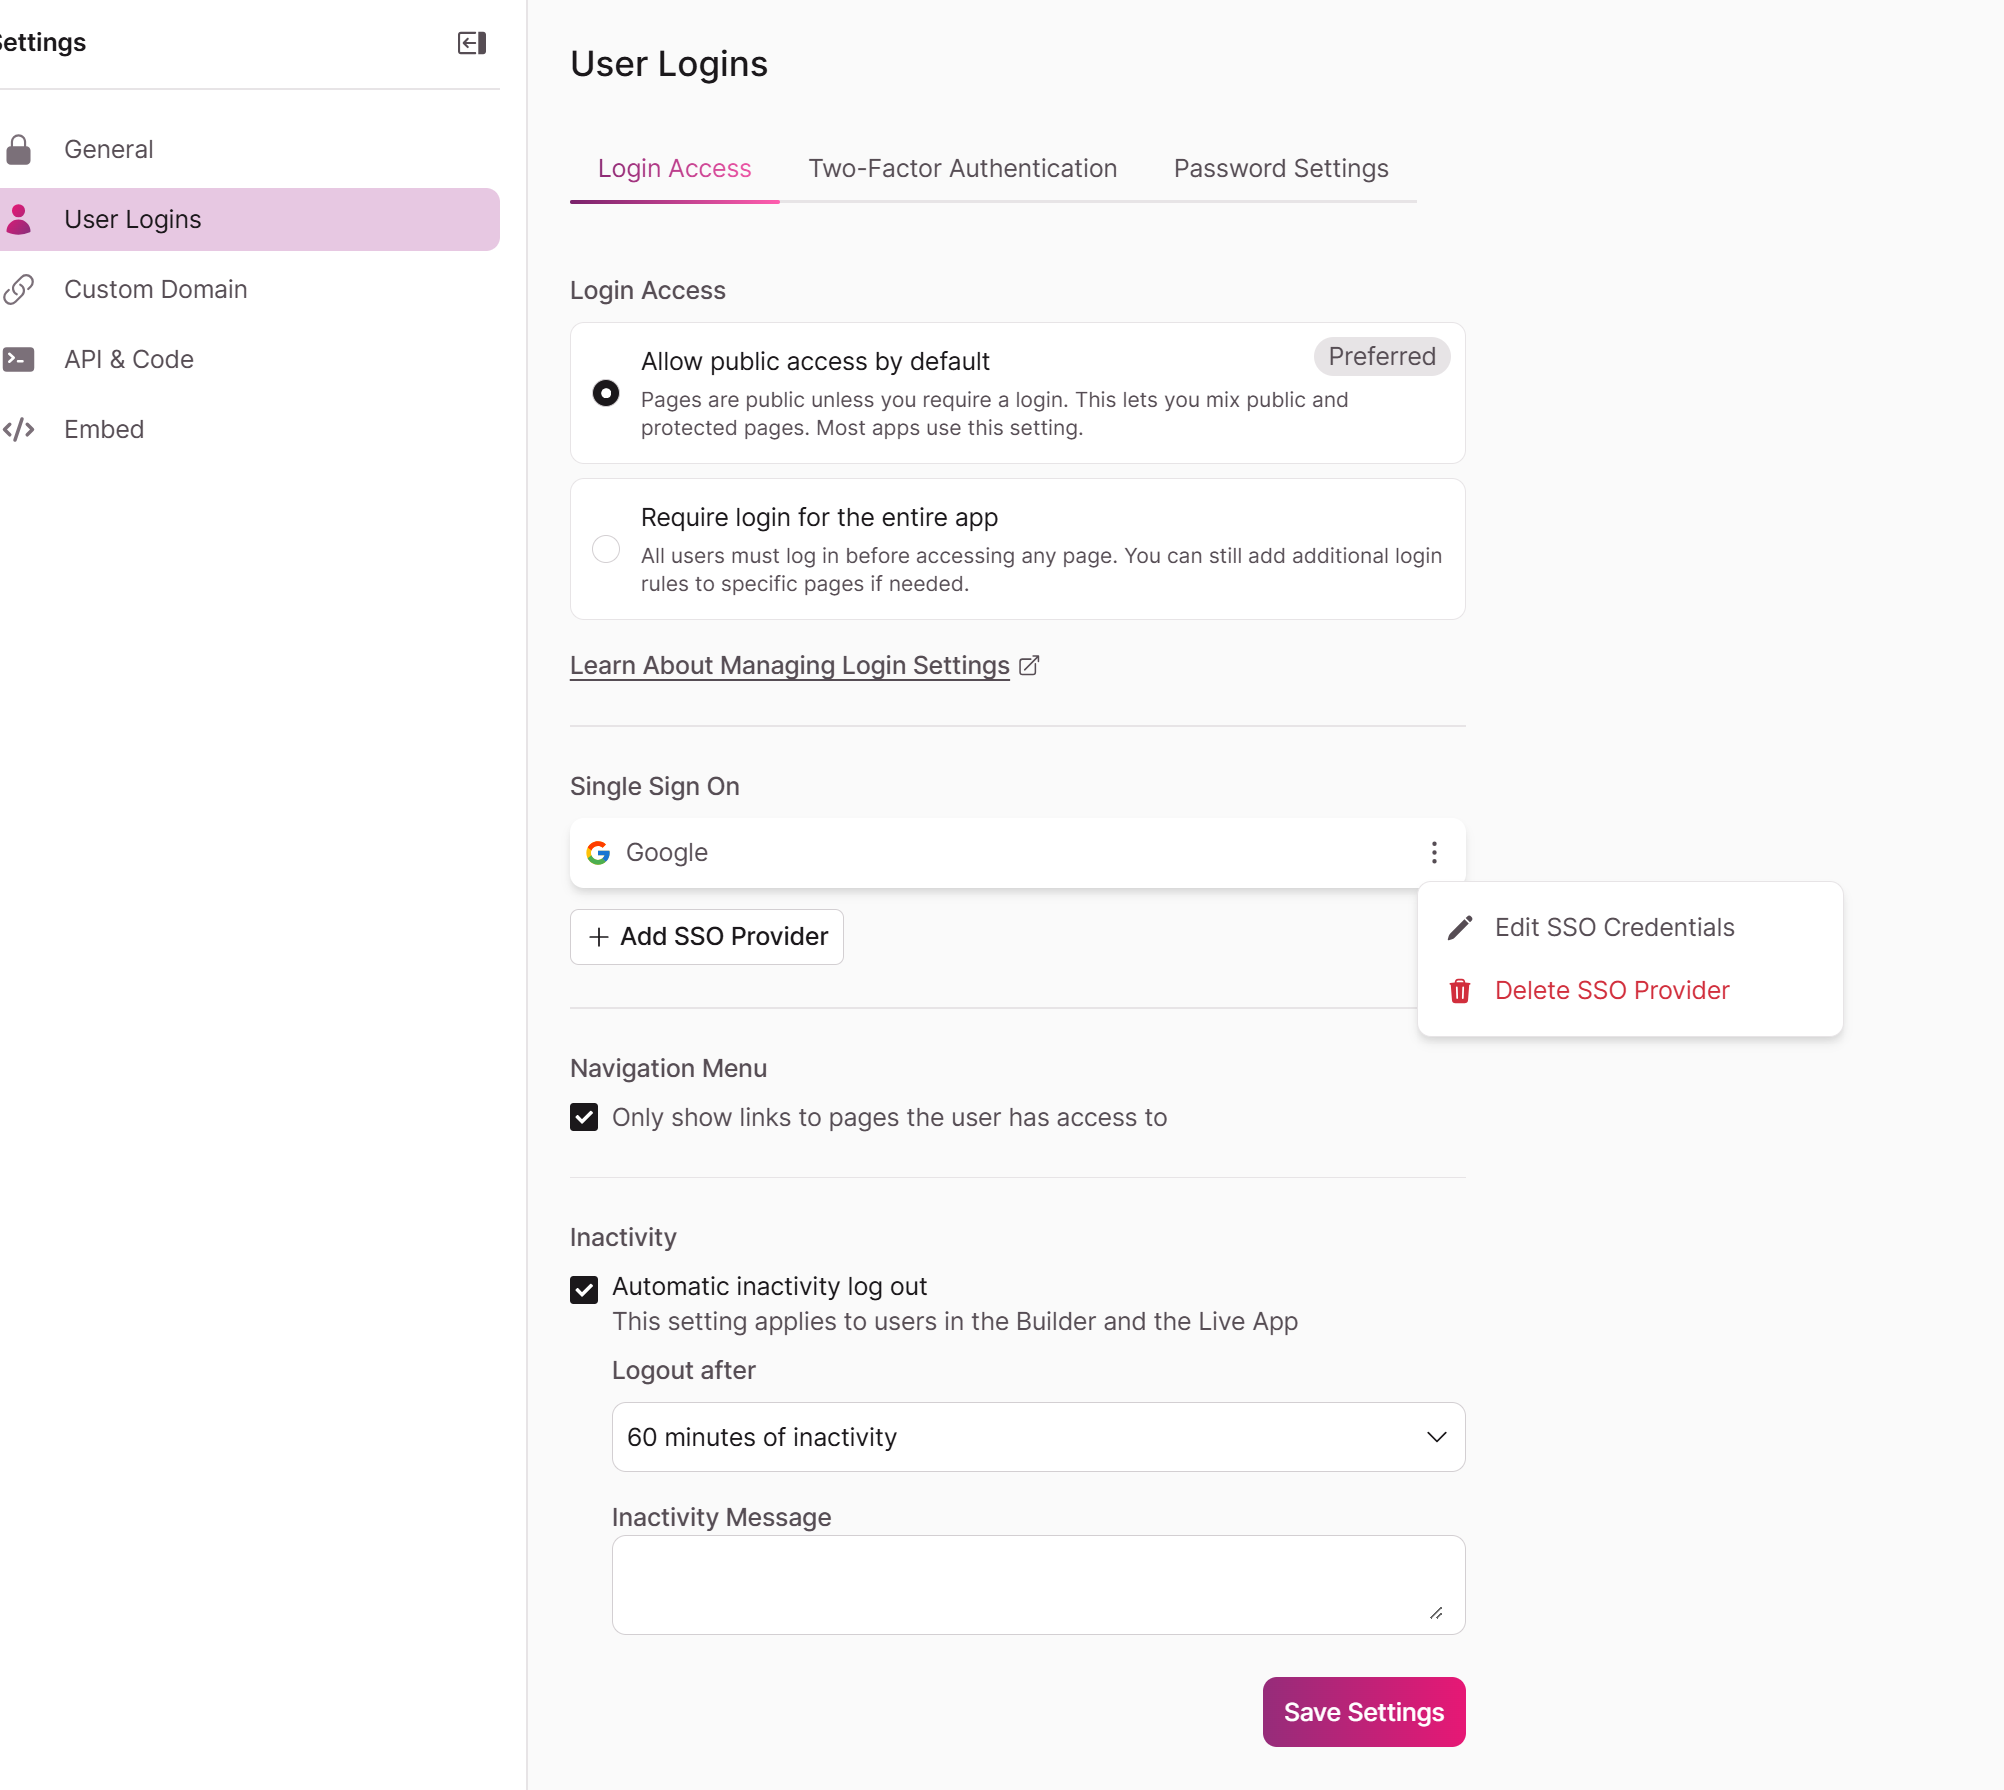
- In the Knack Builder, go to Pages and open the login page where you want to add SSO, go to the Access tab, and select +Add New SSO Provider
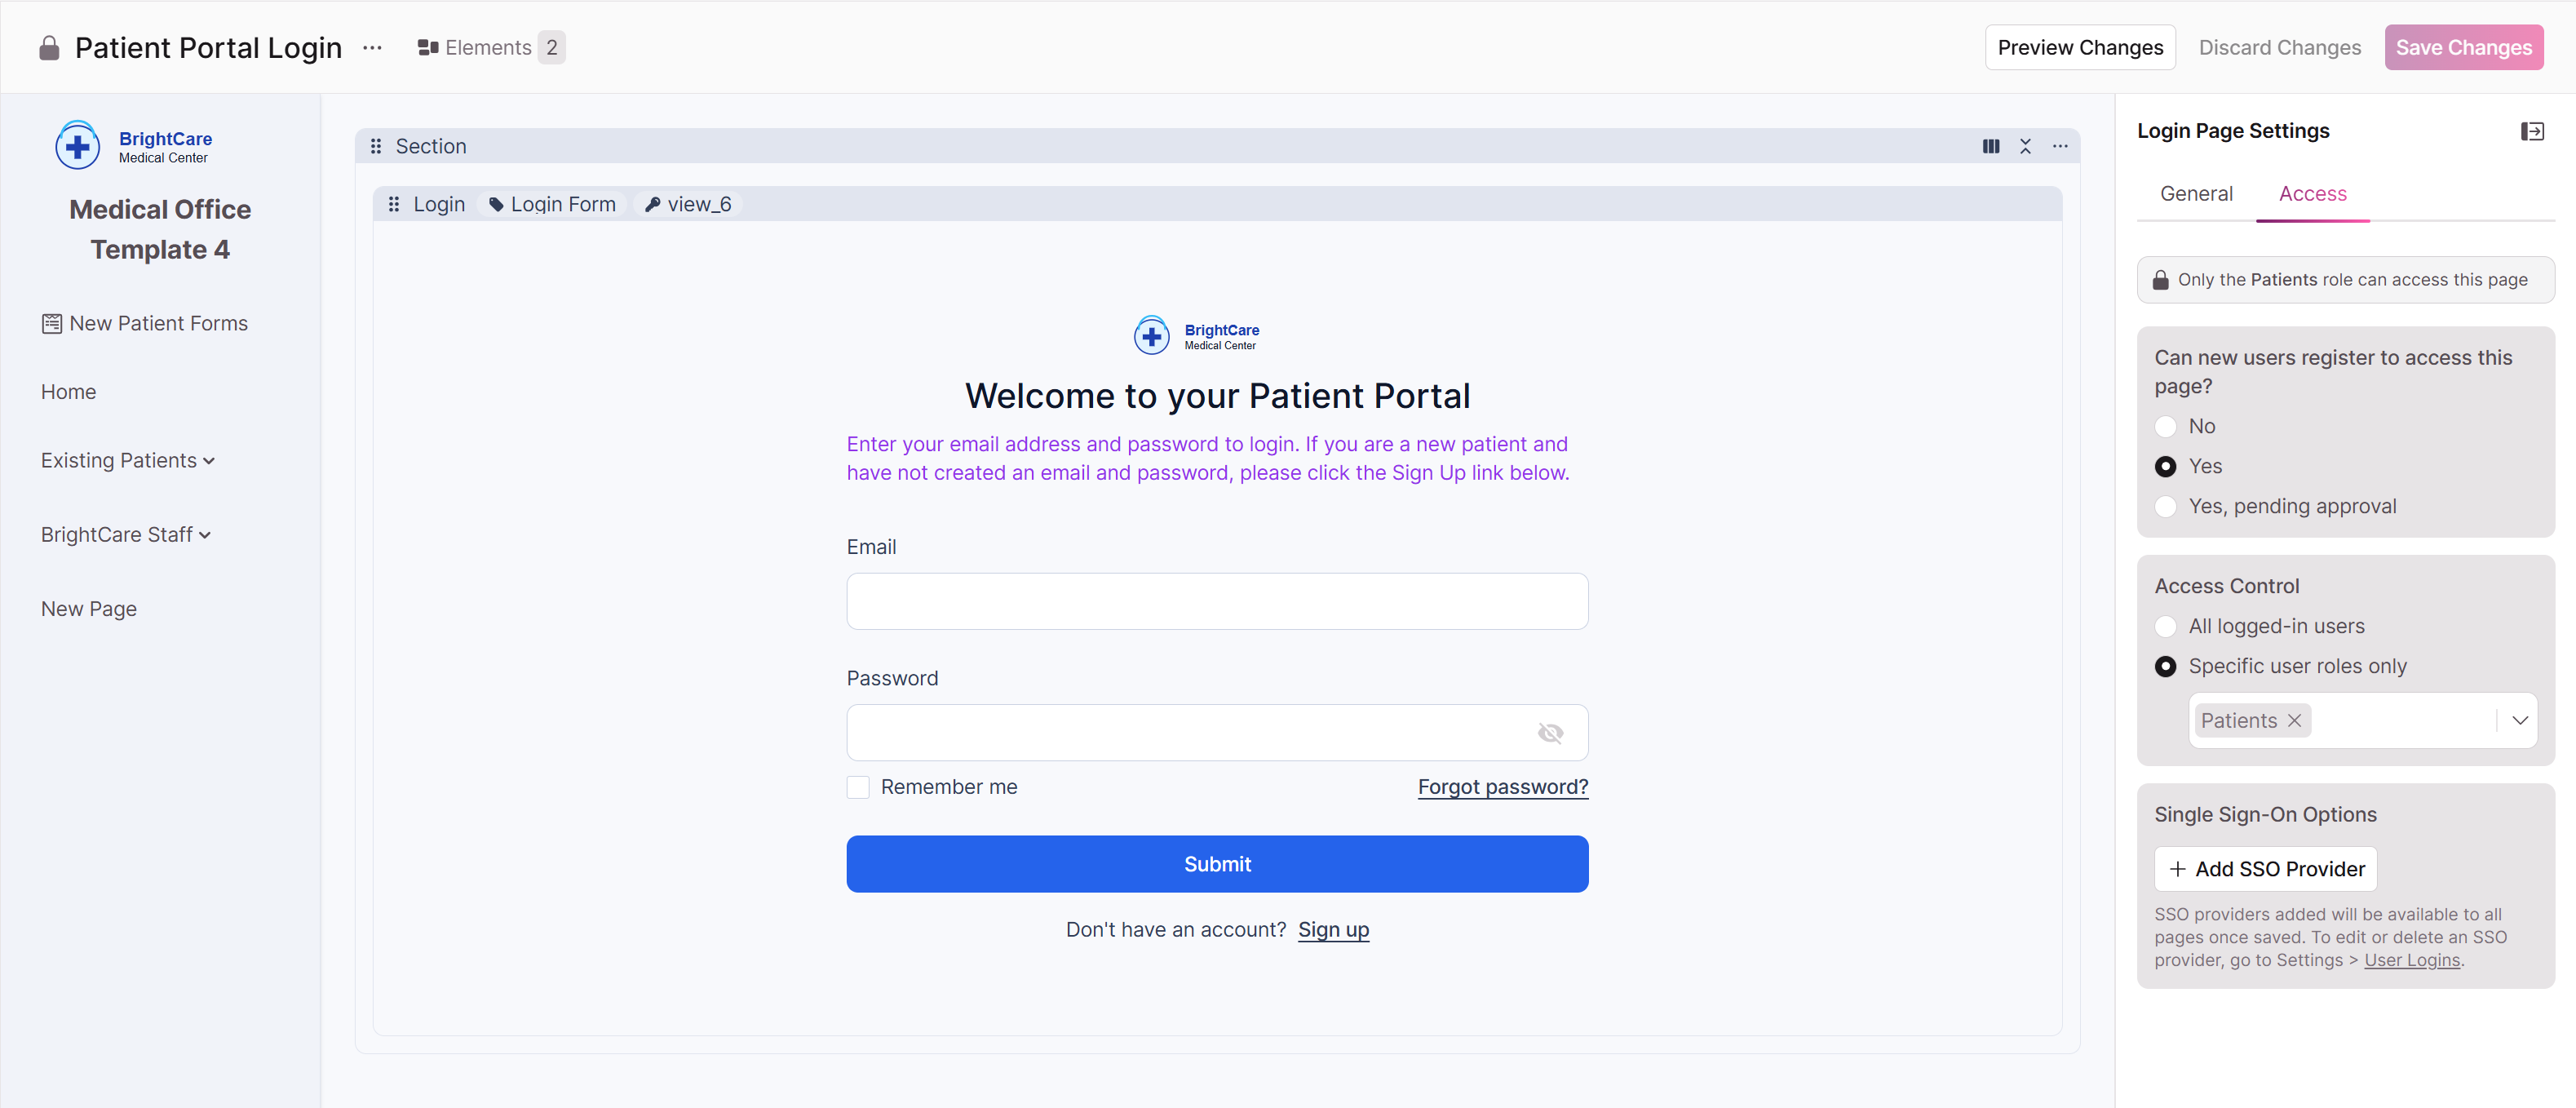
Or, go to Settings > User Logins > Login Access and select Add SSO Provider
Select Google as the Provider Type
Enter the credentials from Google Cloud Console:

- Client ID: Paste the Client ID from your OAuth client
- Client Secret: Paste the Client Secret from your OAuth client
- Domain Restriction (optional): Enter a domain to restrict which Google accounts can log in (e.g., yourcompany.com)
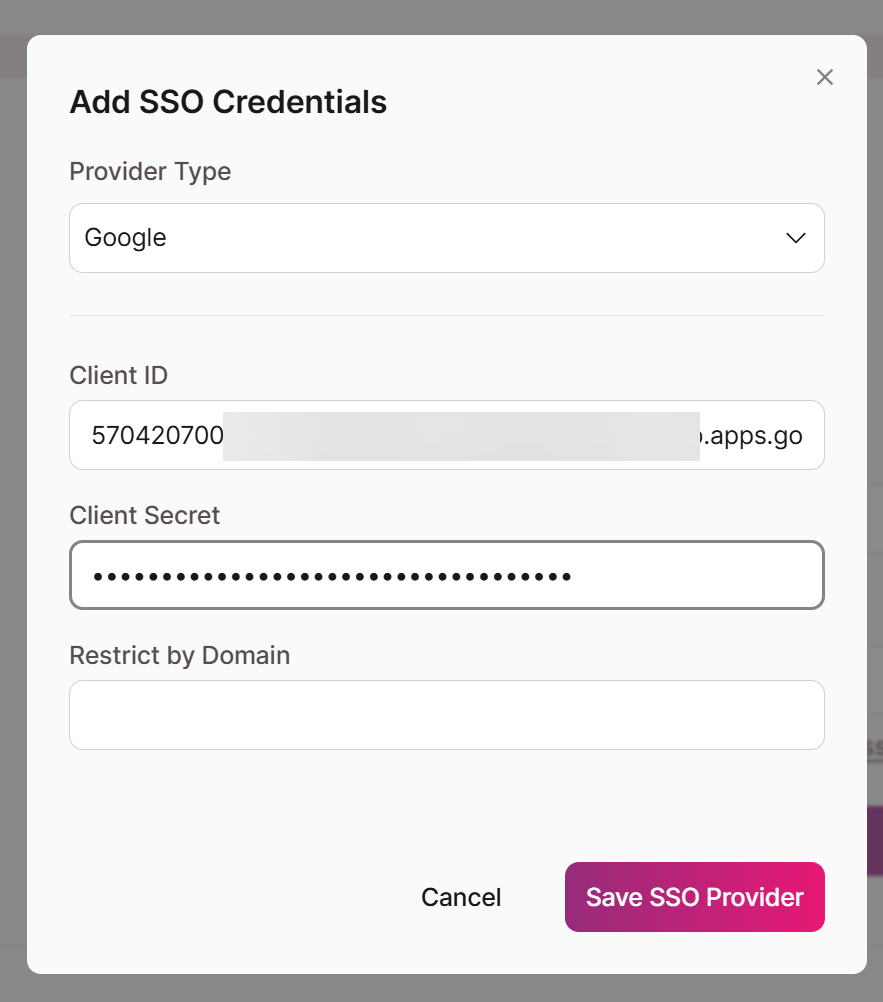
- Click Save SSO Provider.
- Google SSO is now available for any other login or registration pages where you want Google SSO enabled.
Once SSO is configured on one page, the same Client ID and Client Secret can be reused on other login and registration pages in the same app. You do not need to create new Google credentials for each page.
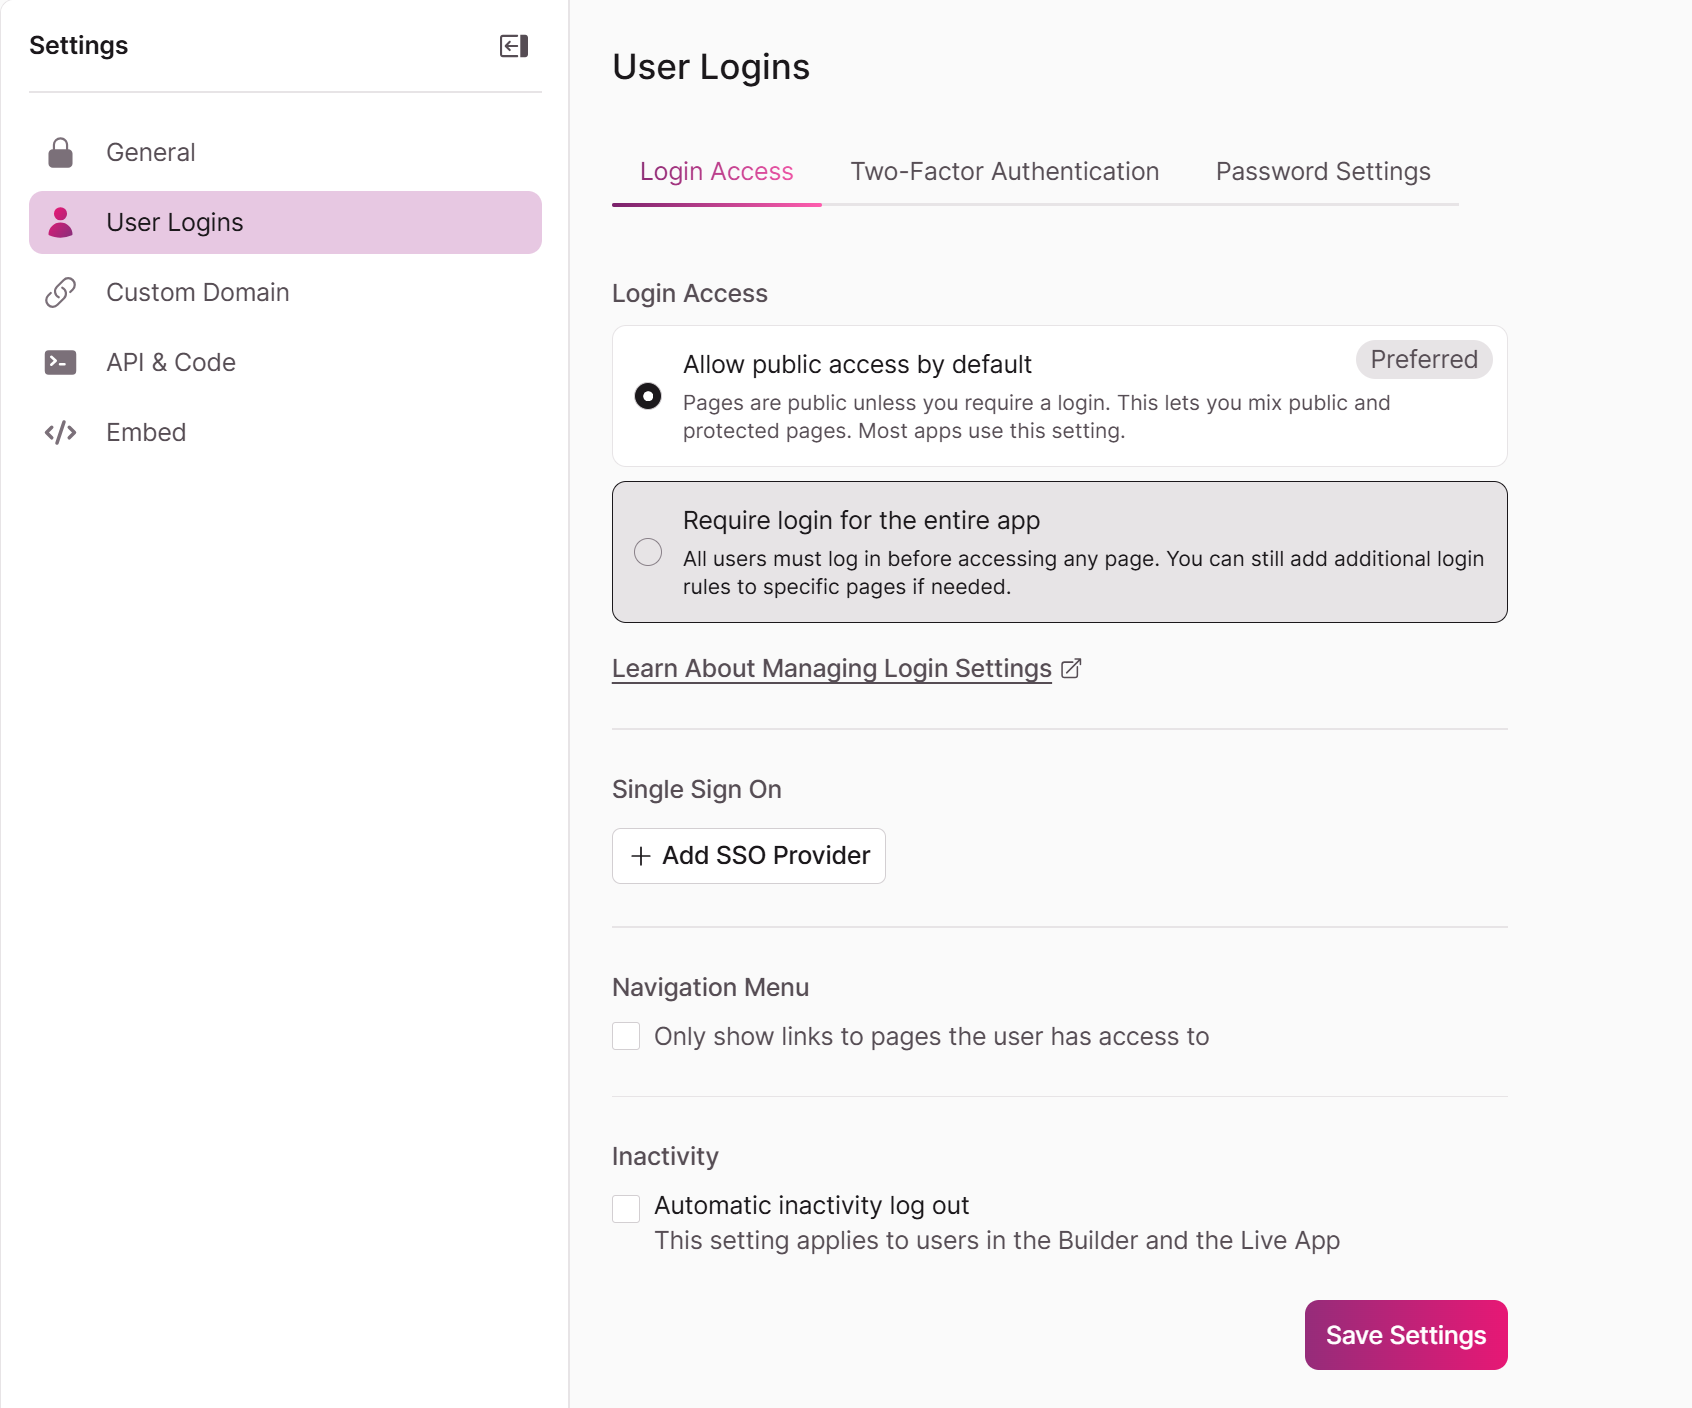
Editing or Deleting SSO
Editing or Deleting SSO Providers must be done via Settings > User Logins > Login Access
What Happens When Users Sign In with Google
Once SSO is enabled, here's what your users will experience:
- A "Continue with Google" button appears on your login and/or registration pages.
- Their name and email are automatically imported from their Google account.
- User roles are assigned based on the login page's permissions:
- If the page has a single role, the user gets that role.
- If the page has multiple roles, the user receives all configured roles.
- Existing users who previously registered with email/password can also sign in with Google if their Google email matches their Knack account email.
Troubleshooting
| Issue | Solution |
|---|---|
| redirect_uri_mismatch | The redirect URI in Google Cloud Console doesn't match your app's URL. Ensure it matches exactly, with no trailing slash. Copy the URI directly from Knack's SSO setup screen. |
| access_denied or org_internal | Your OAuth consent screen is set to Internal. Go to OAuth consent screen > Audience and change to External, then set to In Production. |
| invalid_client | The Client ID or Client Secret entered in Knack is incorrect. Double-check by copying fresh values from Google Cloud Console > Credentials. |
| SSO button doesn't appear | Make sure you clicked Save after configuring SSO on the login page in Knack. Also verify SSO is enabled on the correct page(s). |
| Invalid Origin error in Google Console | JavaScript origins must be a bare domain with no path or trailing slash. Use https://yourdomain.com, not https://yourdomain.com/ or https://yourdomain.com/app. |
Frequently Asked Questions
Do I need a separate OAuth client for each login page?
No. A single OAuth client works for all login and registration pages within the same app, as long as the authorized origins and redirect URIs are correctly configured.
Do I need a separate OAuth client for my custom domain vs. my Knack URL?
No. You can add multiple JavaScript origins and redirect URIs to a single OAuth client. Add entries for both your Knack-hosted URL and your custom domain if users may access your app from either.
Does Google SSO work with custom domains?
Yes. When using a custom domain, enter your custom domain as the Authorized JavaScript Origin and your full custom domain app URL as the Redirect URI in Google Cloud Console.
What if I have multiple apps?
Each Knack app that needs Google SSO should have its own OAuth client (or at minimum, its own redirect URI entry). The JavaScript origin can be shared if the apps are on the same domain.
Updated 4 months ago