Implementing OAuth Single Sign-On
Adding Single Sign-On (SSO) to your Knack app allows your users to log in securely using their existing credentials.
Setting Up OAuth SSO with GitHub
In this guide, you will learn how to configure OAuth SSO for your Knack Next-Gen App using GitHub as the identity provider.
By the end of this guide, you will have registered an OAuth application in GitHub, configured the necessary provider settings in Knack, and learned how to ensure users' email addresses are shared correctly during login.
What You'll Need
- A Knack Next-Gen App with a login page
- A GitHub account
- About 10 minutes
Overview of the Setup Process
Setting up GitHub OAuth involves a few back-and-forth steps between Knack and GitHub:
- Add the OAuth provider in Knack — to get the callback URL you need for GitHub
- Register an OAuth App in GitHub — to generate your Client ID and Client Secret
- Configure the OAuth settings in Knack — using the credentials from GitHub and standard GitHub API endpoints
- Test the configuration — and ensure users have their GitHub email visibility set correctly
Step 1: Add the OAuth Provider in Knack
First, create the SSO provider entry in your Knack app. This will give you the callback URL you need to register the app in GitHub.
Start by creating the SSO provider entry in your Knack app. You won't have all the real values yet - that's fine. You'll use placeholders now and update them in Step 6.
We recommend setting up SAML SSO from Settings > User Logins > Login Access and select Add SSO Provider
Go to Settings > User Logins > Login Access and select Add SSO Provider
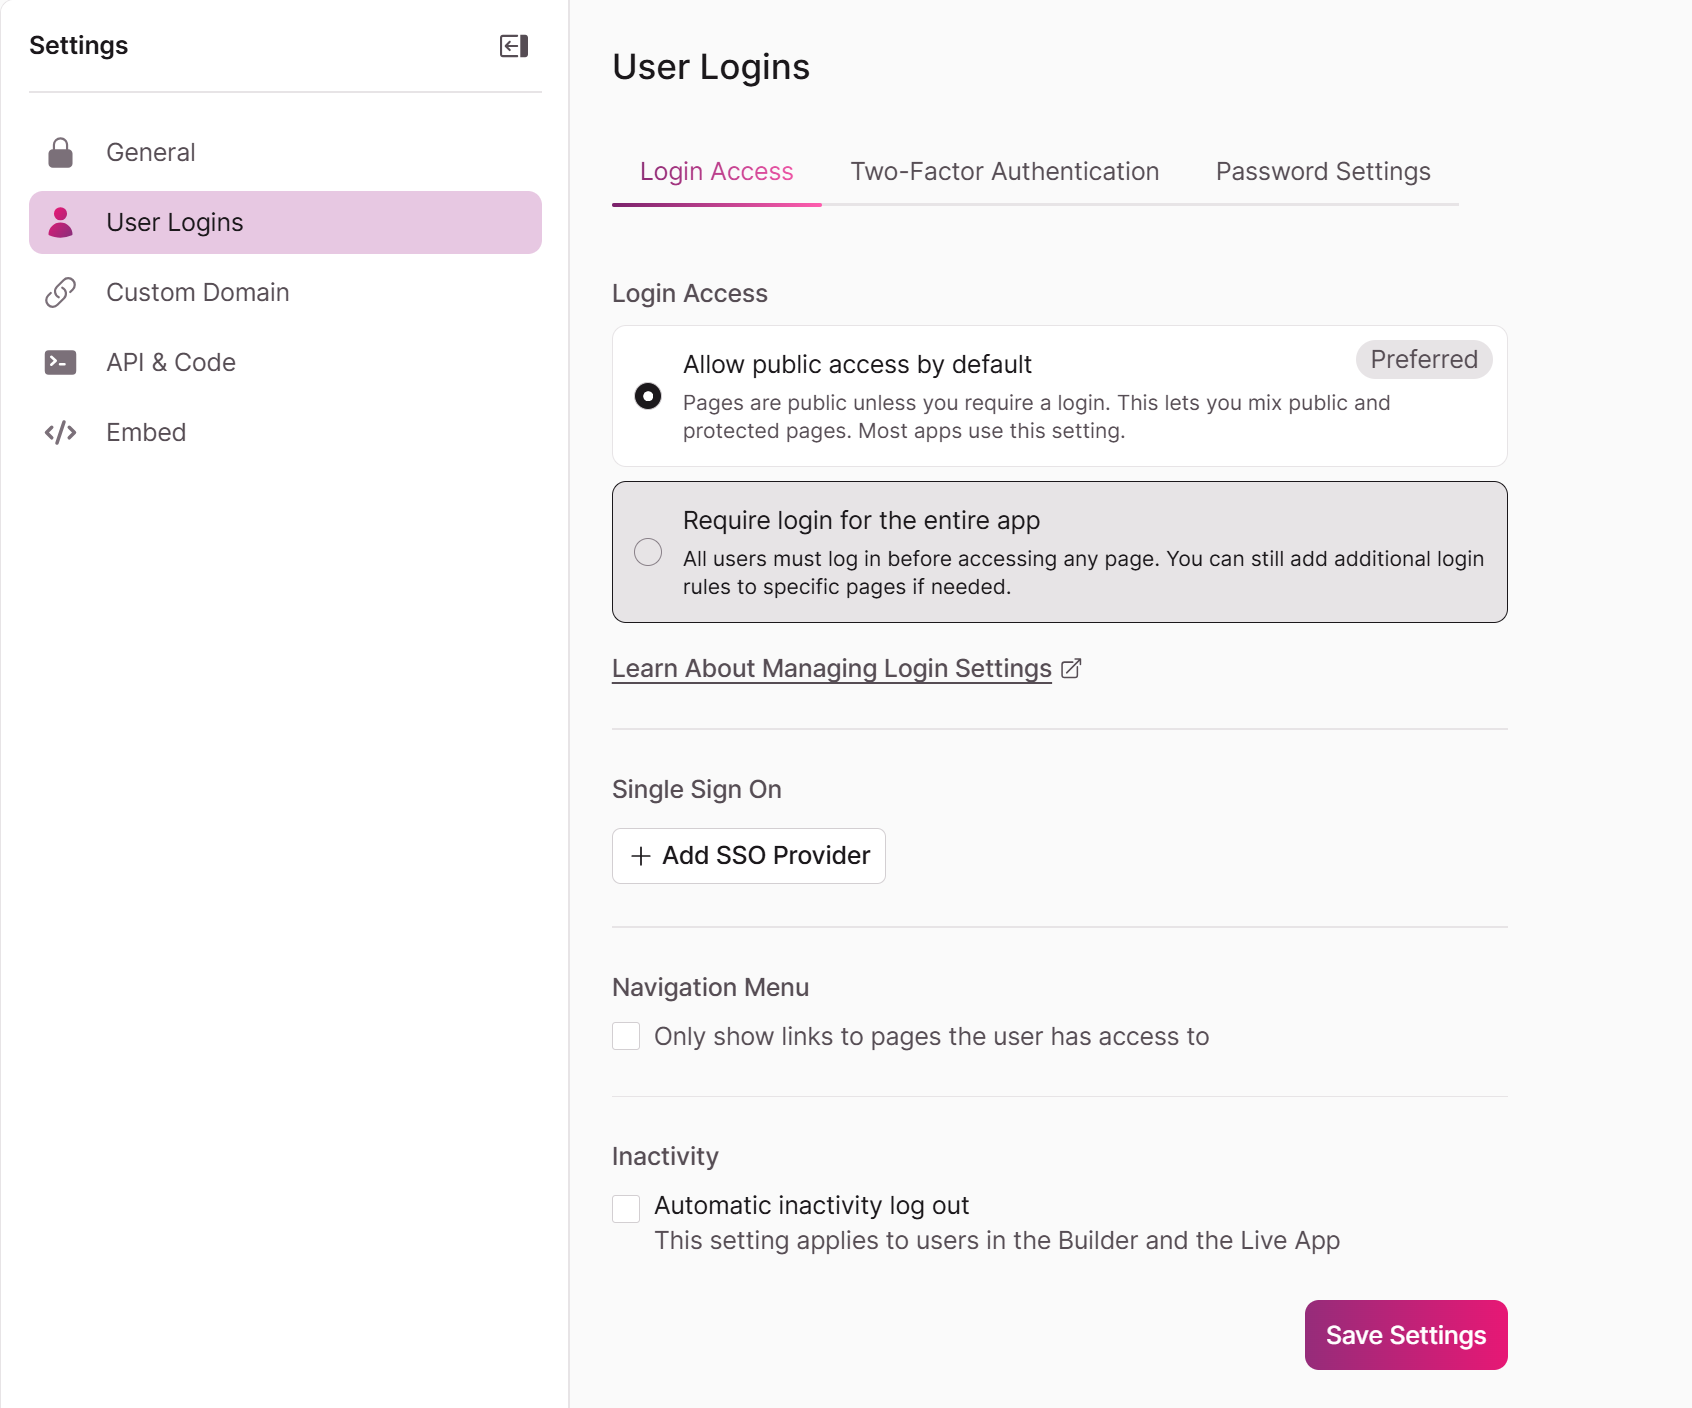
Or, in the Knack Builder, go to Pages and open the login page where you want to add SSO, go to the Access tab, and select +Add New SSO Provider
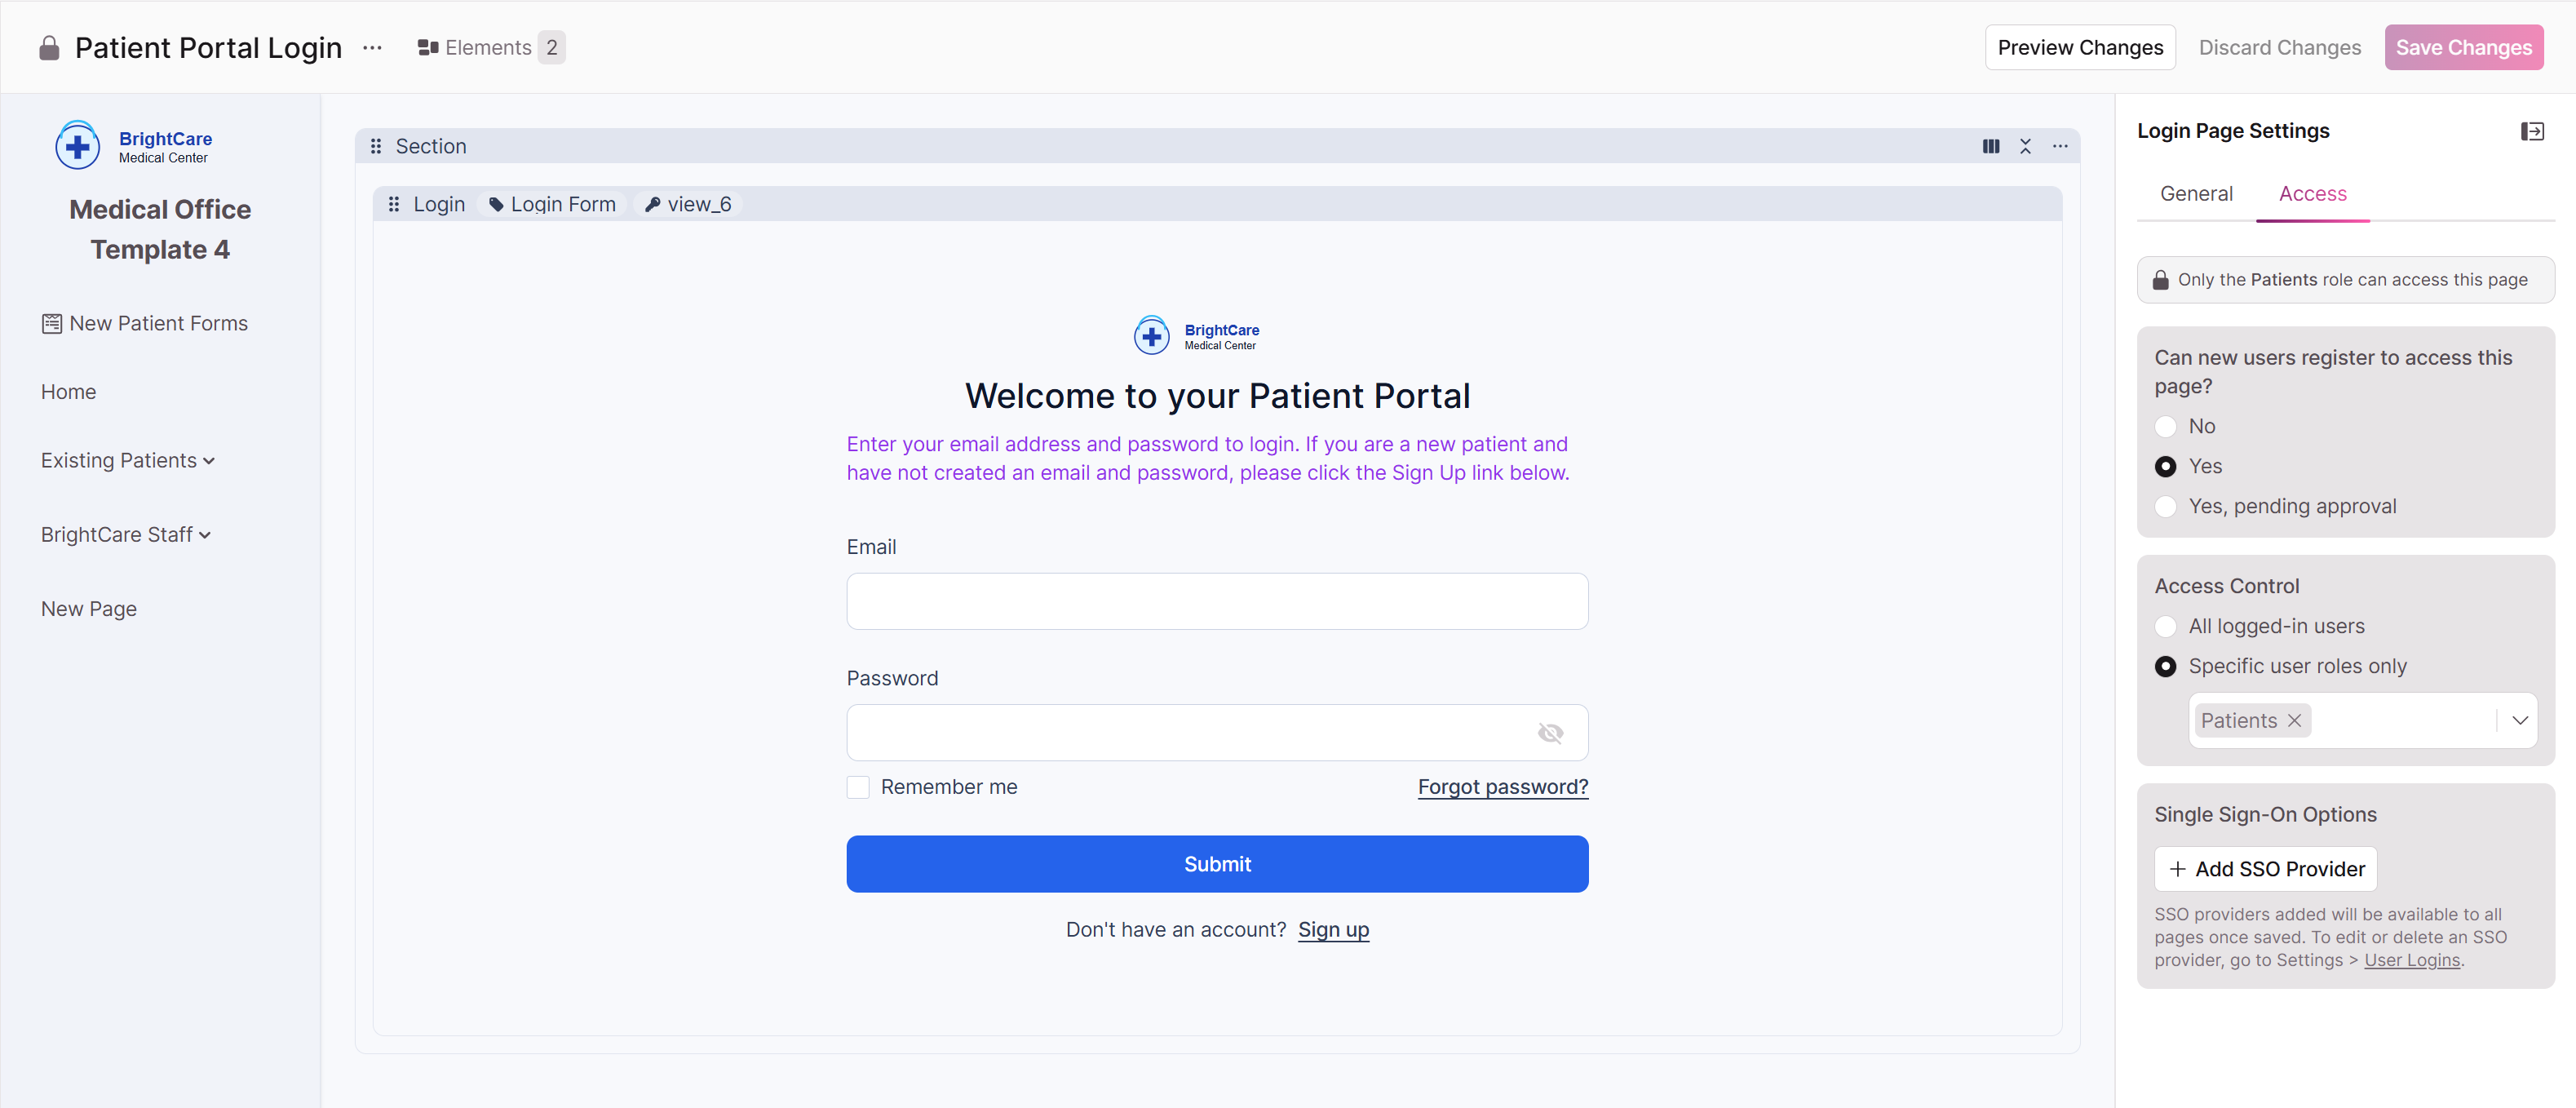
- Click on the login view to open its settings.
- Click Add SSO Credentials and select OAuth from the Provider Type dropdown.

-
Under Login Button, configure the appearance:
- Provider Name: A short, display-friendly name for the login button (e.g.,
GitHub). No spaces allowed, and this cannot be changed after saving. - Button Icon: Upload a GitHub logo (optional, 5 MB max).
- Button Color / Button Font Color: Customize to match your branding or GitHub's brand colors (e.g.,
#24292Ffor the button background).
- Provider Name: A short, display-friendly name for the login button (e.g.,
-
Leave the Knack settings window open for now — you will need to copy the Callback URL (which typically looks like
https://api.knack.com/v1/oauth/YOUR_APP_ID/consume) into GitHub in the next step.
Step 2: Register an OAuth App in GitHub
Now, head over to GitHub to register your Knack app. This tells GitHub that your app is allowed to request user authentication.
-
Log in to your GitHub account.
-
In the upper-right corner of any page, click your profile photo, then click Settings.
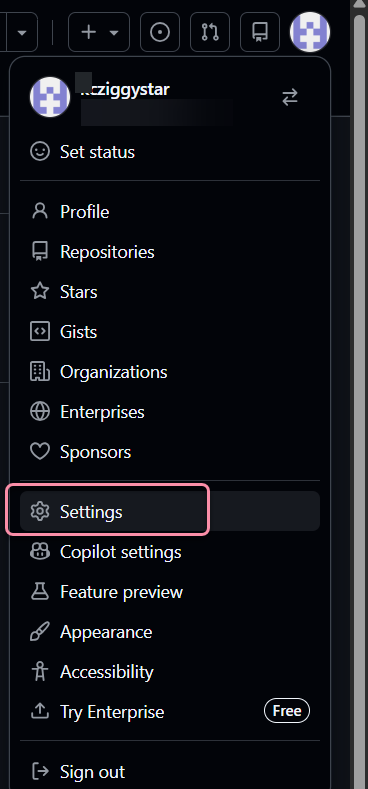
- In the left sidebar, scroll down and click Developer settings.
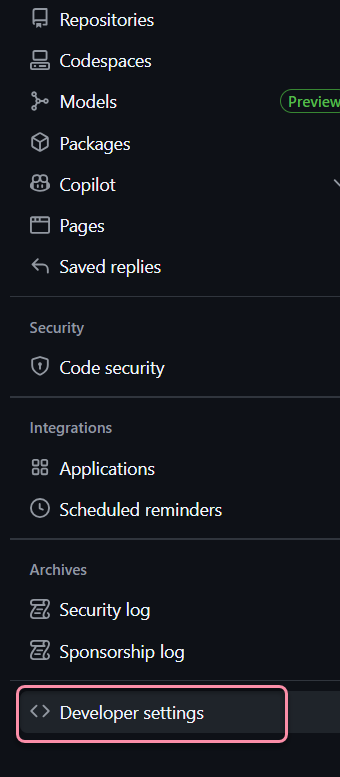
-
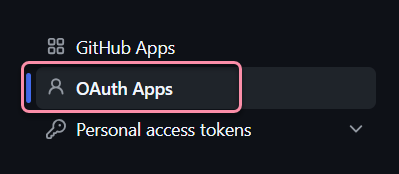
In the left sidebar, click OAuth Apps.
-
Click the New OAuth App button.
-
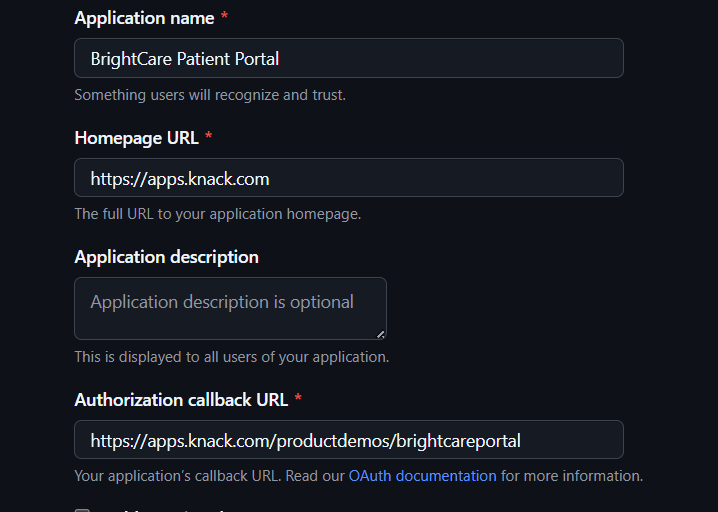
Fill out the registration form:
- Application name: Enter a recognizable name for your app (e.g.,
BrightCare Patient Portal). This is what users will see when they are asked to authorize the login. - Homepage URL: Enter the base URL of your Knack Live App (e.g.,
https://apps.knack.com). - Authorization callback URL: Paste the callback URL (
https://apps.knack.com/accountslug/appslug)
- Application name: Enter a recognizable name for your app (e.g.,
-
Click Register application.
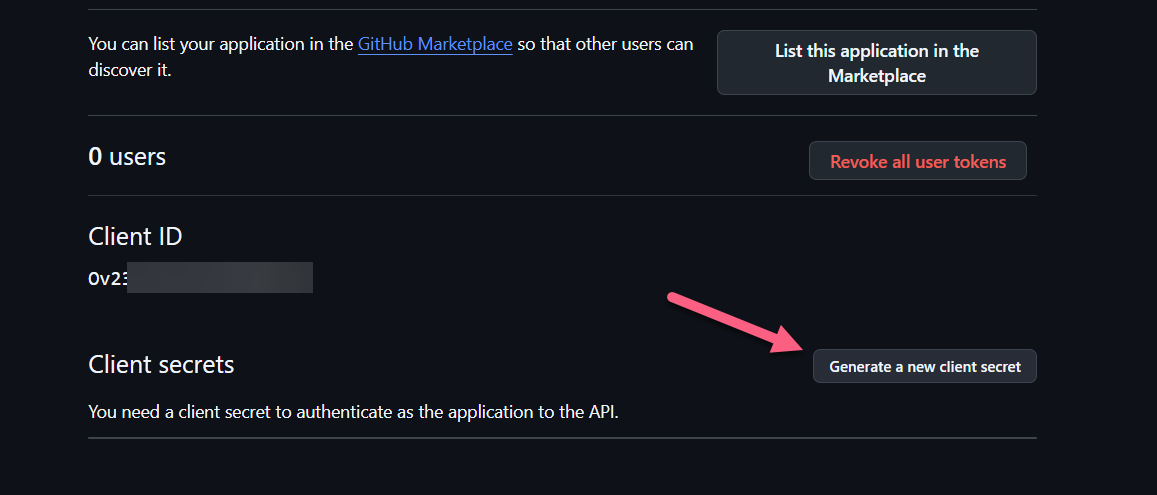
Once registered, GitHub will take you to the app's settings page. Here, you will find your Client ID.
You will also need to click Generate a new client secret to create your Client Secret. Keep this page open, as you will need both of these values for the next step.
Step 3: Configure the OAuth Settings in Knack
Go back to your Knack Builder window to fill in the rest of the Provider Settings. You will use the credentials from GitHub along with standard GitHub API endpoint URLs.
Fill in the Provider Settings fields exactly as follows:
| Knack Field | Value |
|---|---|
| Authorization URL | https://github.com/login/oauth/authorize |
| Access Token URL | https://github.com/login/oauth/access_token |
| Client ID | Paste the Client ID from your GitHub app page |
| Client Secret | Paste the Client Secret you generated in GitHub |
| Profile URL | https://api.github.com/user |
Next, scroll down to the property mapping section. This tells Knack which fields from the GitHub user profile to use when creating or logging in a user.
| Knack Field | Value |
|---|---|
| ID Property | id |
| First Name Property | name |
| Last Name Property | name (GitHub only provides a single "name" field, so you can map it to both first and last name properties in Knack) |
| Email Address Property | email |
Note: If you leave the First Name, Last Name, or Email Address properties blank, users will be prompted to enter them manually the first time they log in.
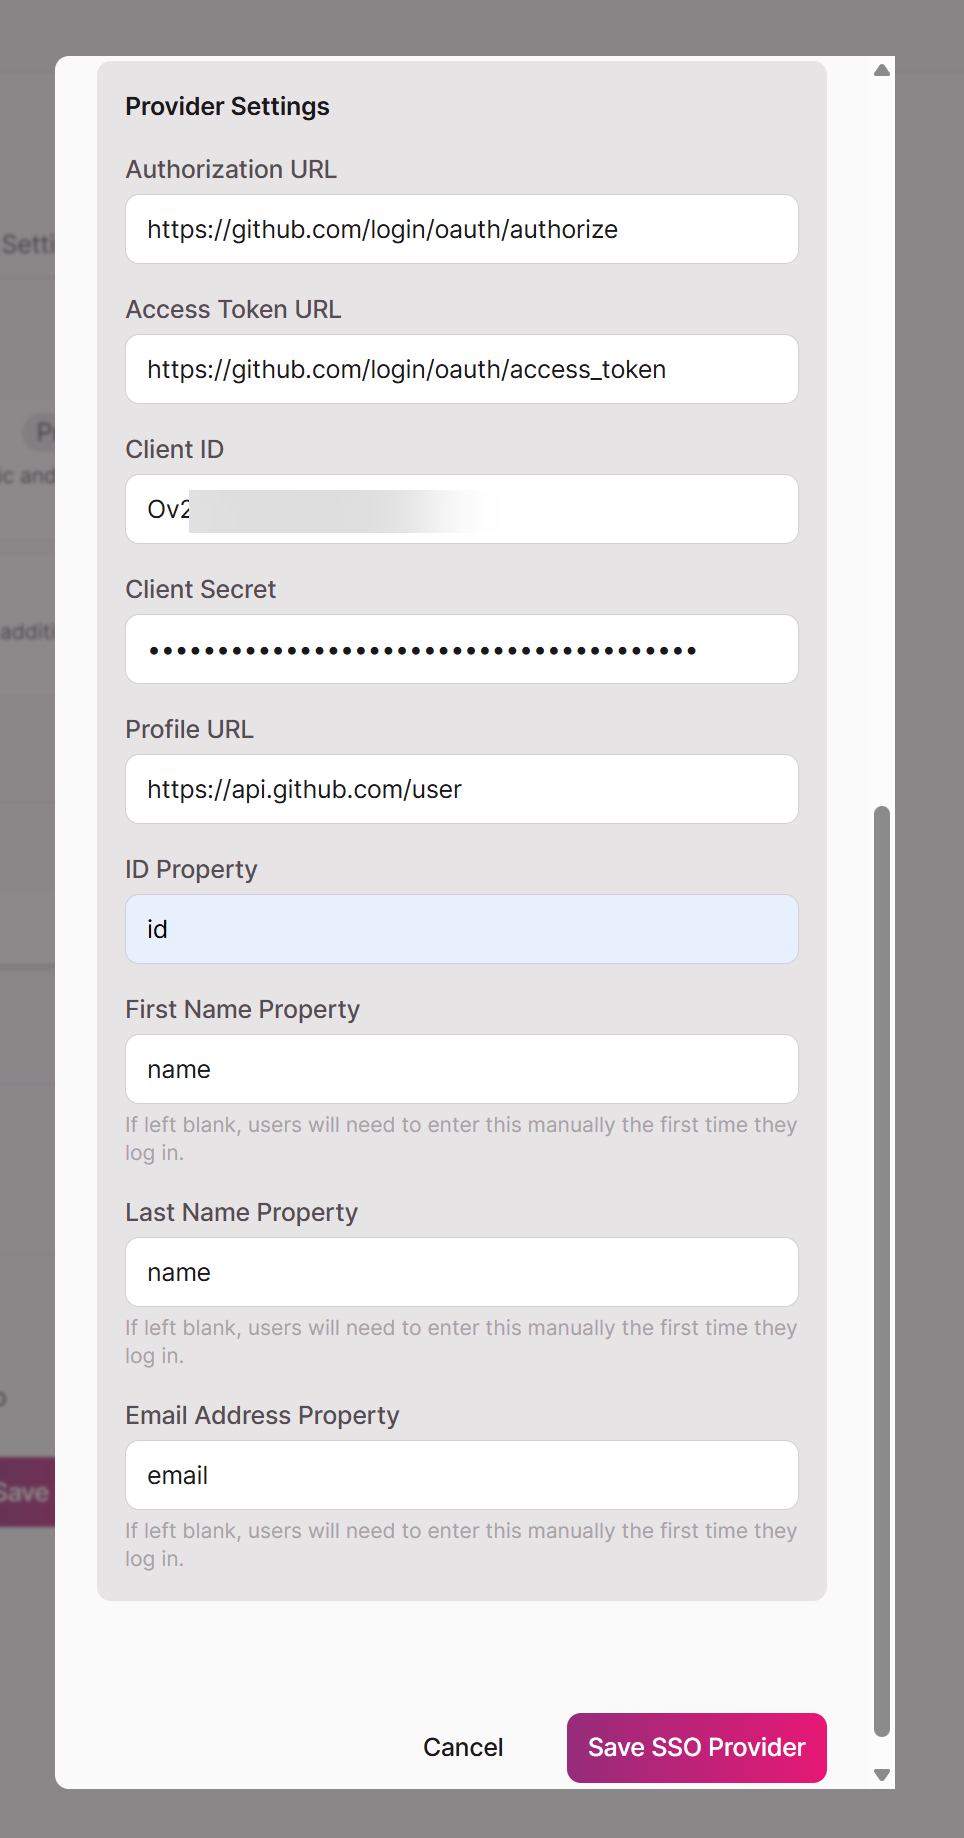
Once all fields are filled out, click Save SSO Provider.
Your GitHub OAuth is now availalable to add to any log in page.
Step 4: Testing and the Email Visibility Requirement
Your GitHub OAuth integration is now fully configured! To test it:
- Open your Knack Live App in an incognito or private browsing window.
- Navigate to your login page and click the new GitHub SSO button.
- You will be redirected to GitHub to authorize the application.
- After authorizing, you should be redirected back to Knack and logged in.
⚠️ Important: The GitHub Email Visibility Requirement
During testing, you might encounter a 401 Unauthorized error or a message saying "No email provided" when trying to log in.
This happens because GitHub allows users to keep their email addresses private. If a user's primary email address is set to private in their GitHub profile, GitHub will not send that email address to Knack during the OAuth flow. Since Knack requires an email address to create or match a user account, the login will fail.
How to fix this:
Users who want to log in to your Knack app using GitHub must ensure they have a public email address selected in their GitHub profile.
To change this setting in GitHub:
- Go to Settings > Public profile.
- Under the Public email dropdown, select an email address instead of "Select a verified email to display".
- Save the changes.
You may want to add a brief instruction note above your login button in Knack, advising users to ensure their GitHub email is public before attempting to log in.
Field Reference
The table below summarizes every field in the Knack OAuth provider settings panel for quick reference.
| Field | Required | Description / GitHub Value |
|---|---|---|
| Authorization URL | Yes | The URL where Knack sends users to log in. For GitHub: https://github.com/login/oauth/authorize |
| Access Token URL | Yes | The URL Knack uses to exchange the authorization code for an access token. For GitHub: https://github.com/login/oauth/access_token |
| Client ID | Yes | The unique identifier for your OAuth app, generated by GitHub. |
| Client Secret | Yes | The secret key for your OAuth app, generated by GitHub. |
| Profile URL | Yes | The API endpoint Knack calls to retrieve the user's profile information. For GitHub: https://api.github.com/user |
| ID Property | Yes | The JSON key from the Profile URL response containing the user's unique ID. For GitHub: id |
| First Name Property | No | The JSON key containing the user's first name. For GitHub: name |
| Last Name Property | No | The JSON key containing the user's last name. For GitHub: name |
| Email Address Property | No | The JSON key containing the user's email address. For GitHub: email |
Updated 3 months ago