

Appointment Element
Learn what the Appointment element is, how it lets end-users book appointments in your Live App, and how to configure it using Knack's builder.
What You'll Learn
The Appointment element lets end-users select an appointment type, a resource, and an available time slot, then submit a booking that creates a new record in your Appointments table. This article covers what the Appointment element is, how to access it, how to configure it — including Appointment Limits and Minimum Notice — and how to set up confirmation emails and automatic patient connections.
What is the Appointment Element?
The Appointment element is a booking form that reads availability from your Scheduling tables (Resources, Shifts, Appointment Types, Appointments, etc) and presents end-users with a guided flow: choose an appointment type, choose a resource ("With:"), choose a date, choose a time slot, then fill out any additional form fields and submit. On submit, it inserts a new record into your Appointments table.
Because the Appointment element reads live availability from the underlying scheduling engine, only dates and times that are actually bookable — based on resource shifts, existing appointments, and any configured booking limits — are shown to the end-user.
What the Appointment Element Looks Like in the Live App
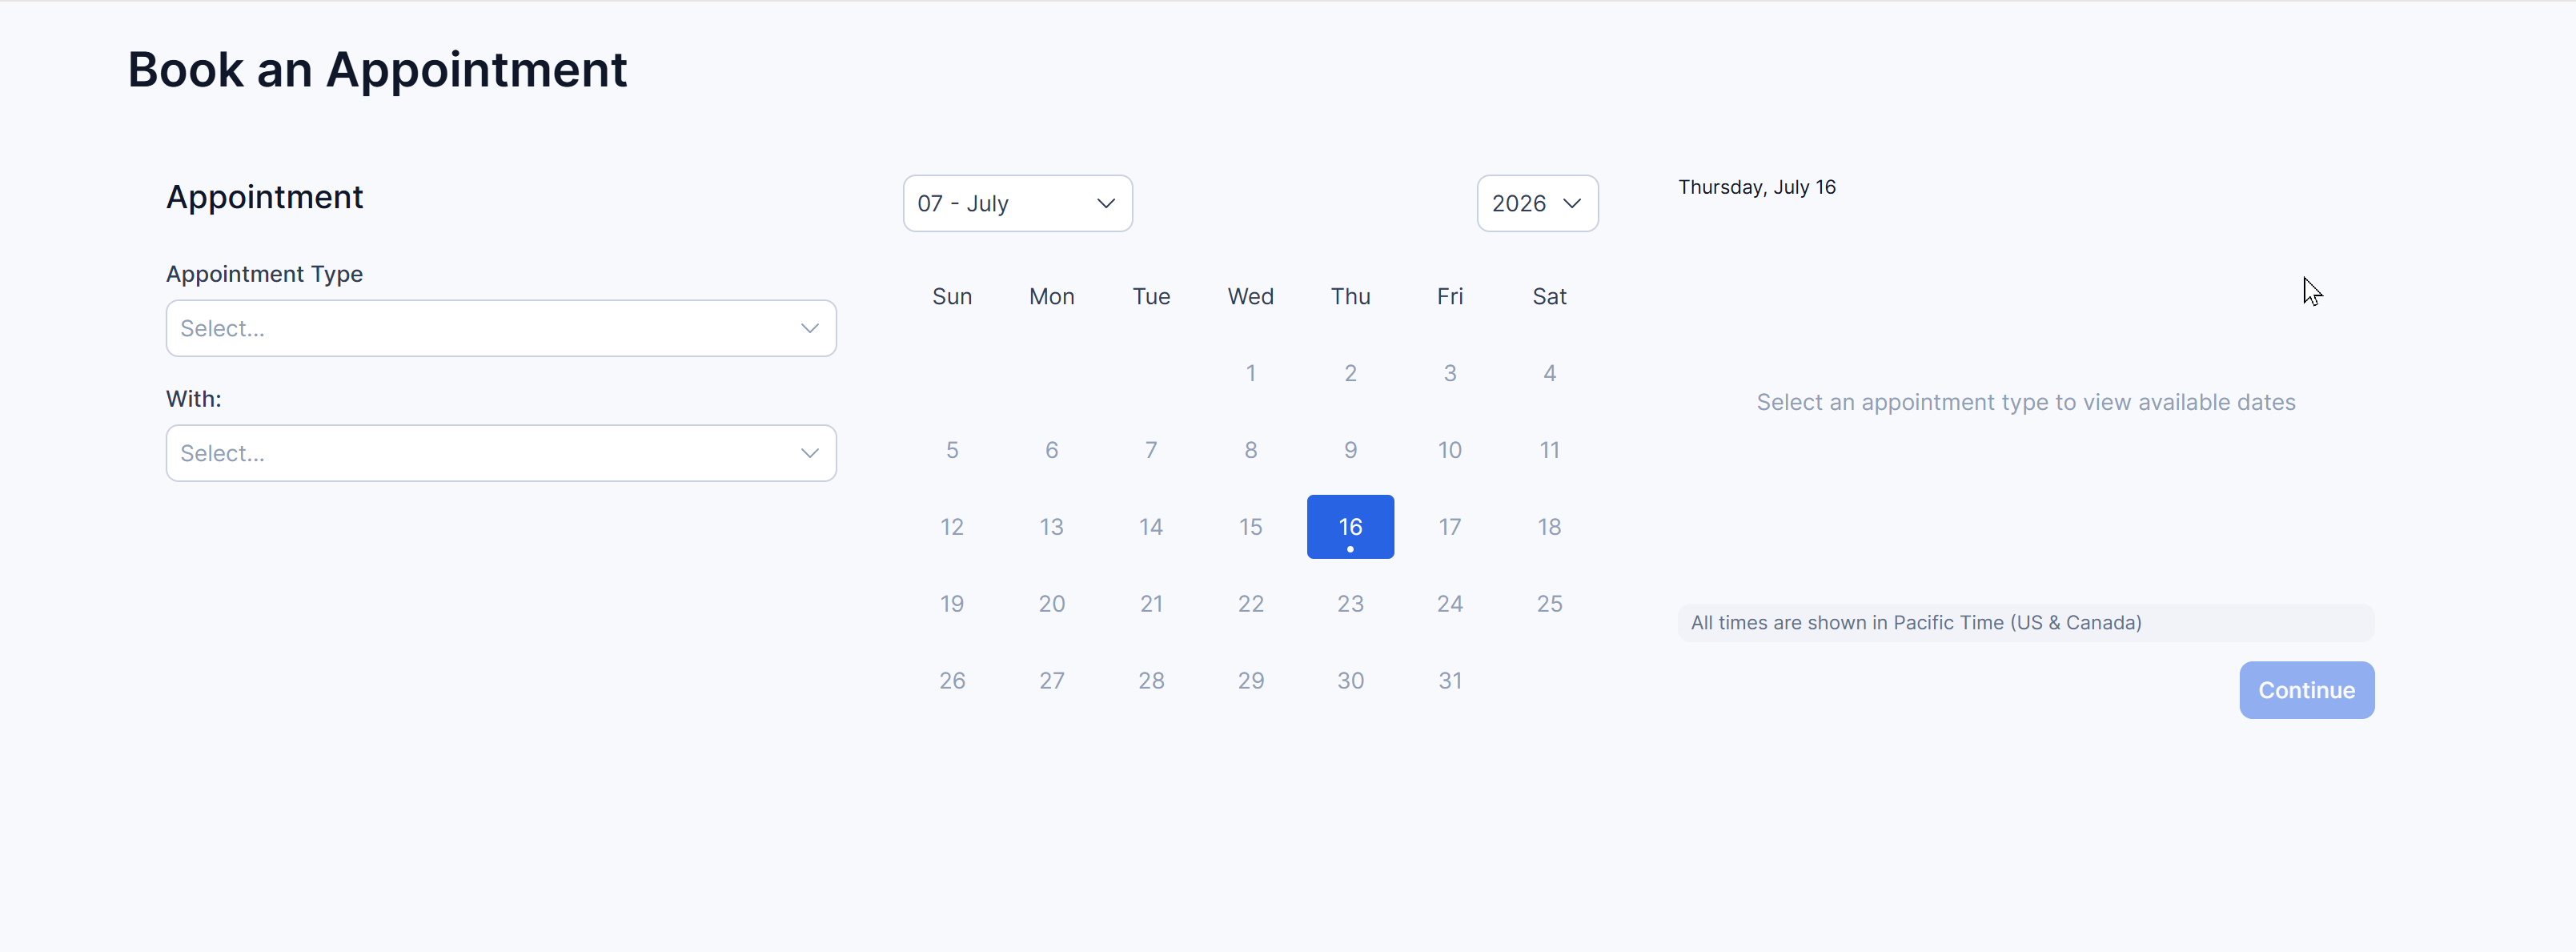
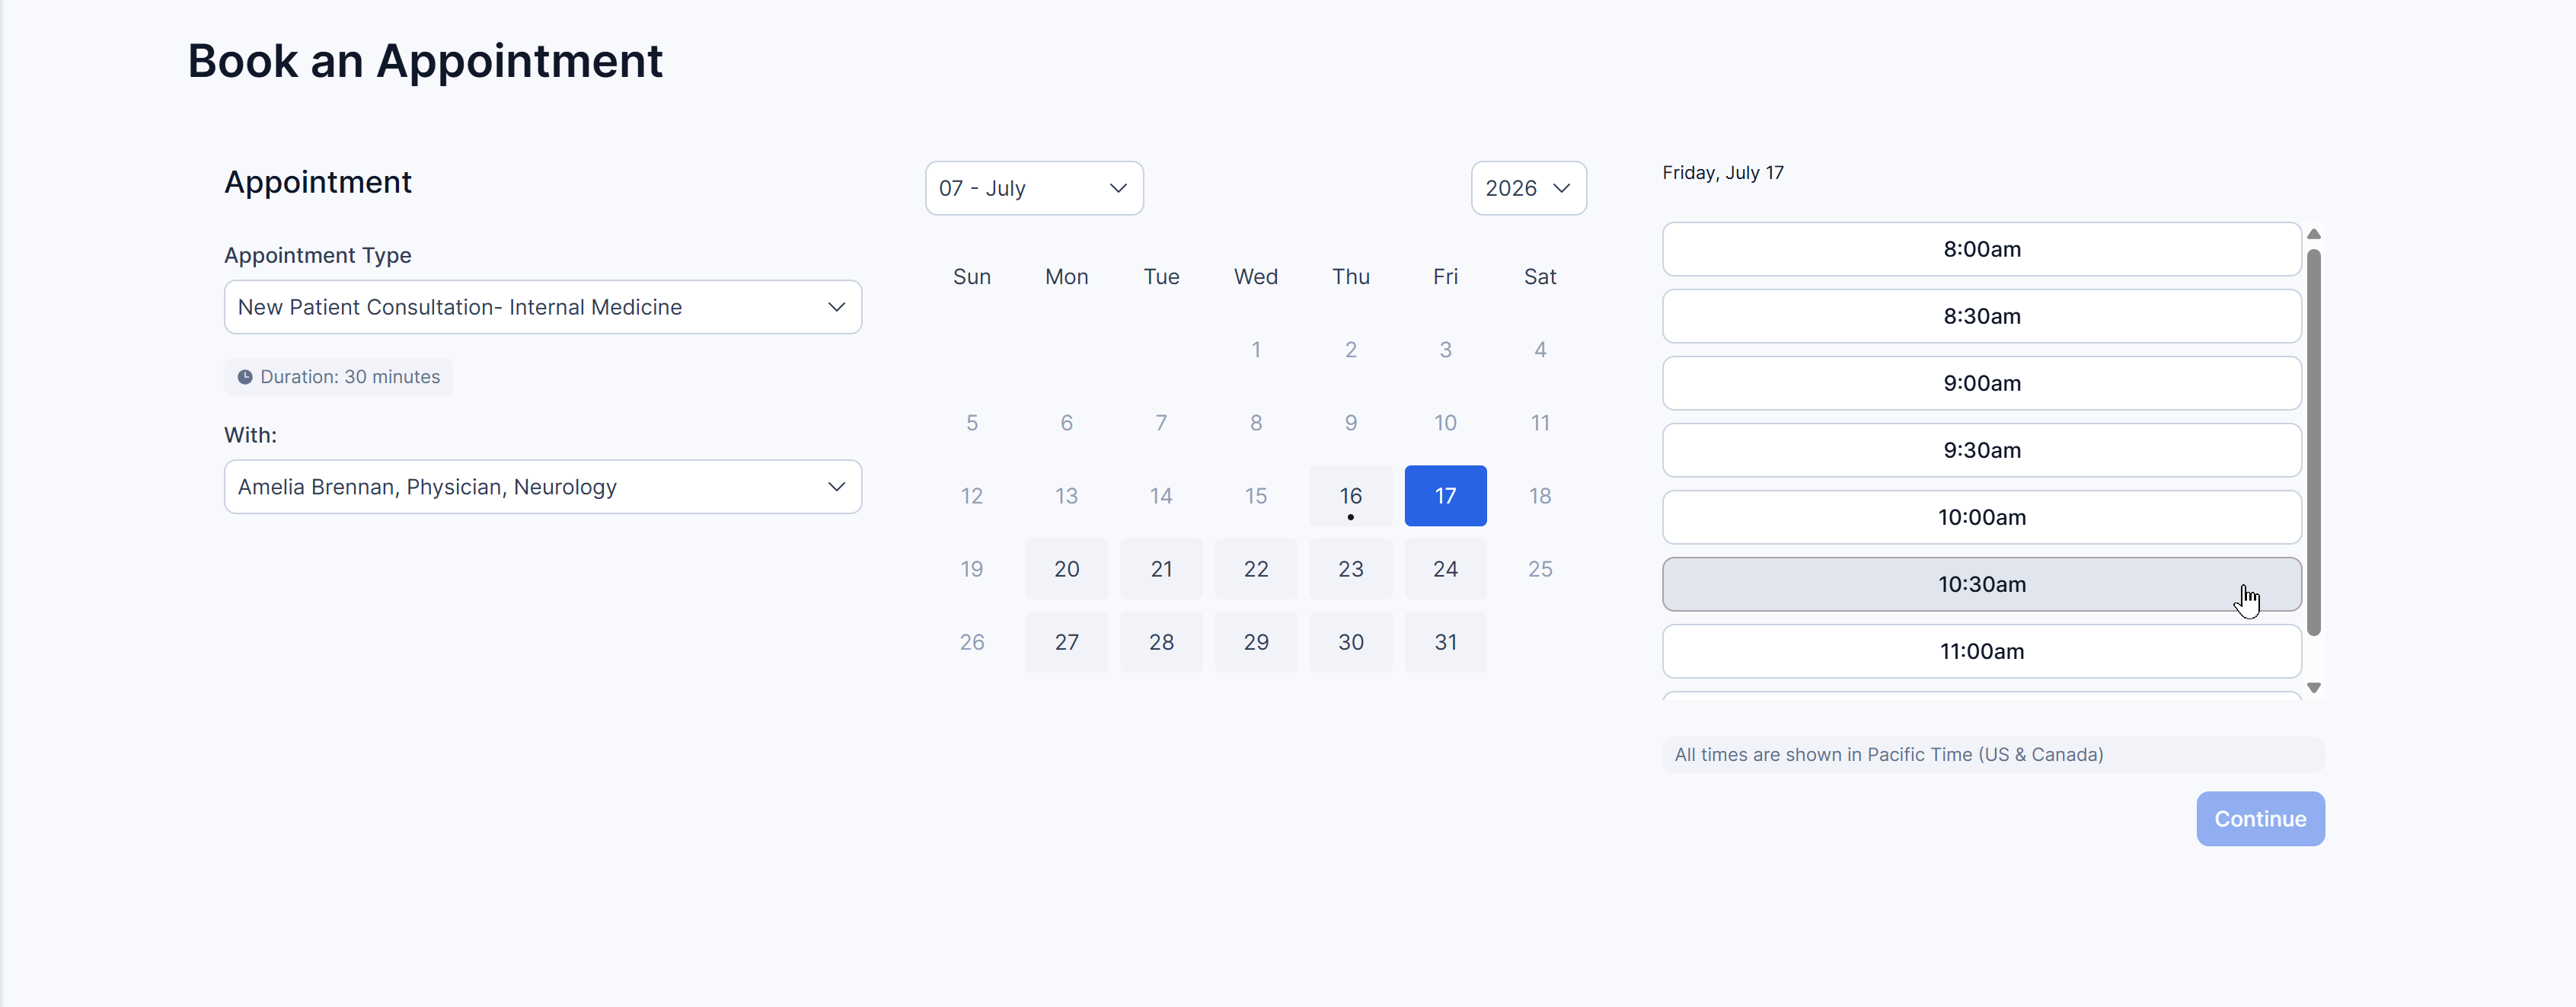
In the Live App, the end-user sees:
- An Appointment Type dropdown and a With: (resource) dropdown.
- A calendar. Once both an appointment type and a resource are selected, bookable dates become active on the calendar.
- A list of available time slots for the selected date, along with a label confirming which timezone times are shown in (for example, "All times are shown in Pacific Time (US & Canada)").
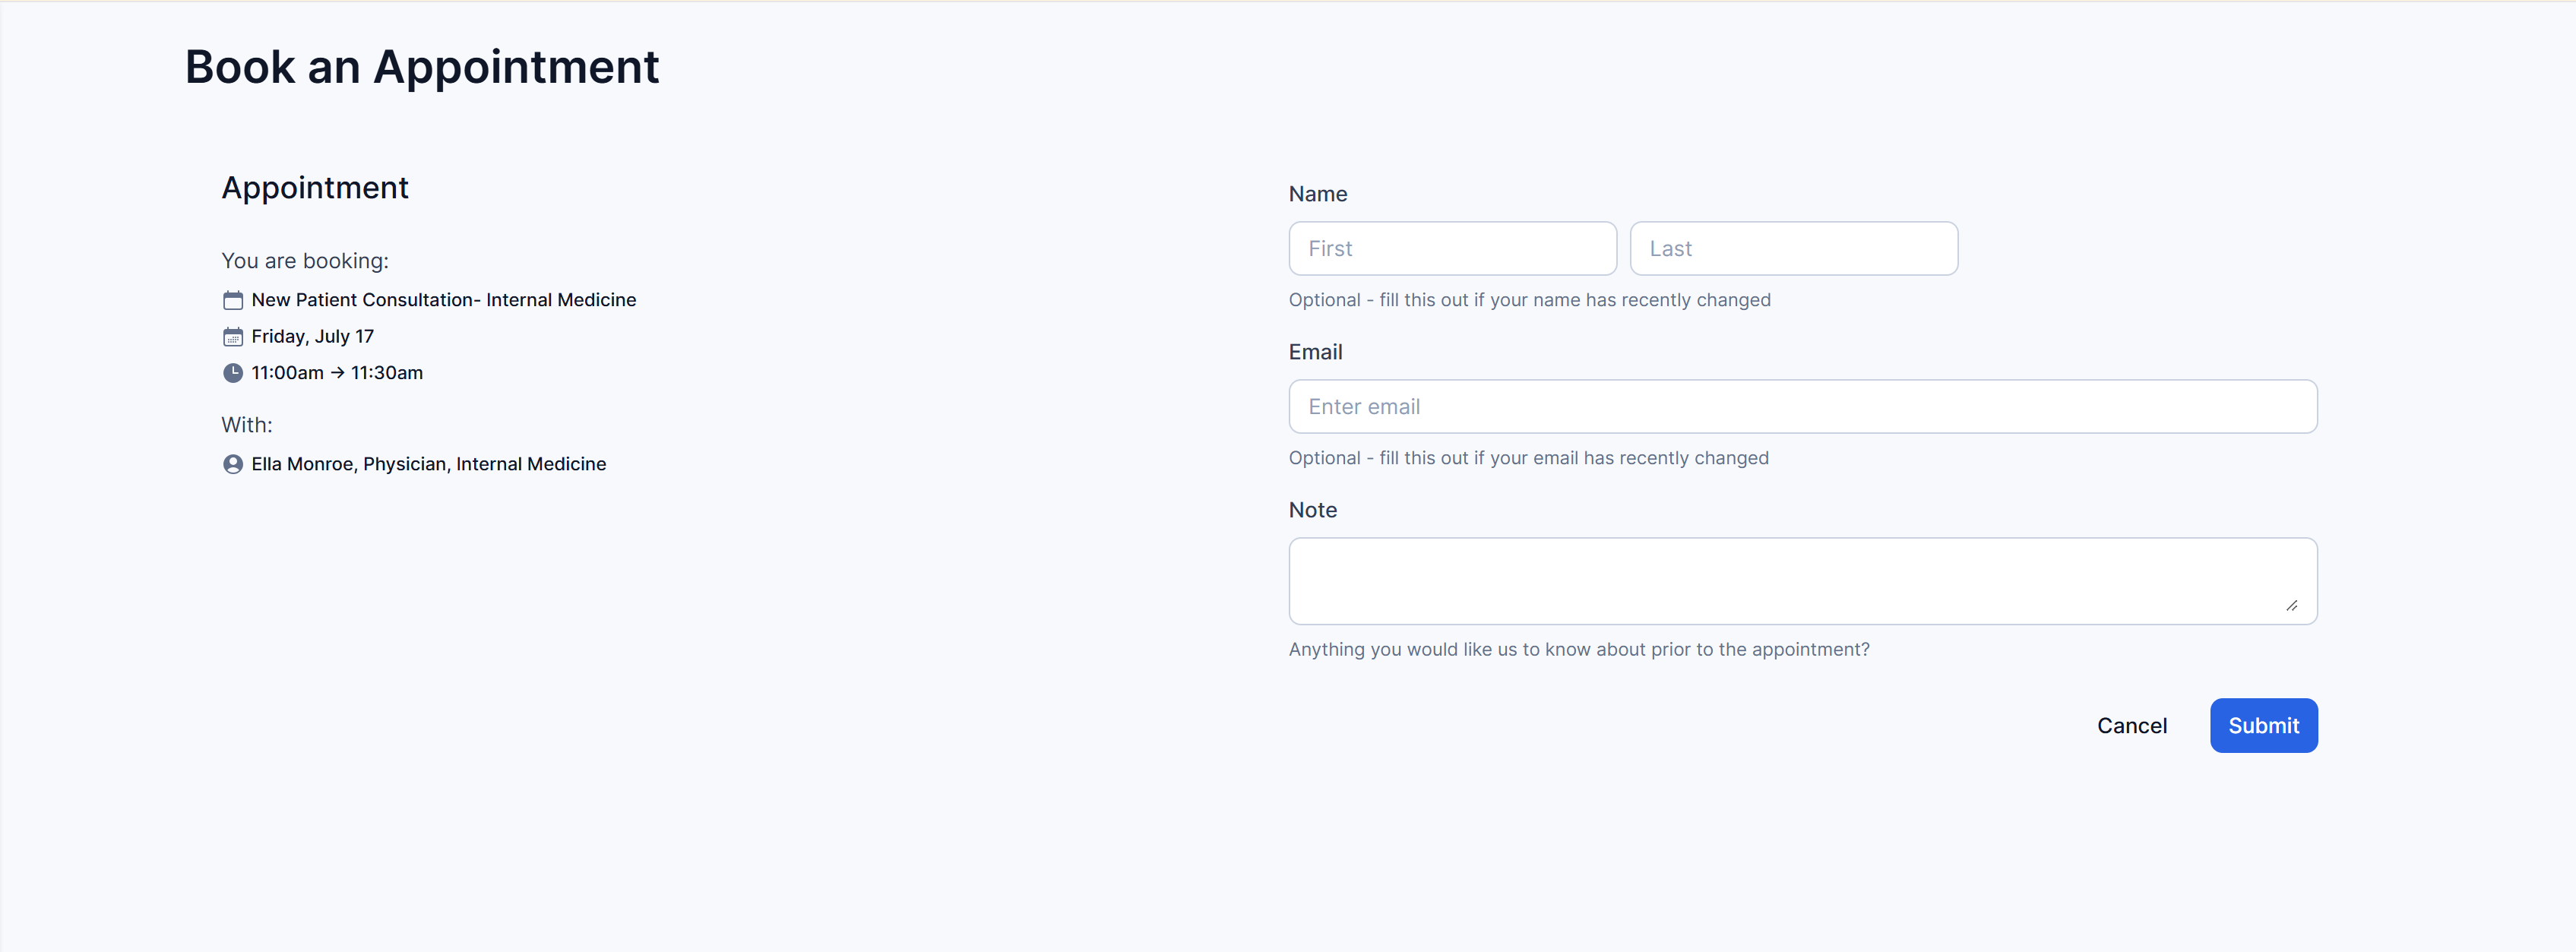
- After a time slot is selected, a review screen summarizing the appointment type, date, time, and resource, along with any additional form fields (for example, Name, Email, Note).
- A Submit button to complete the booking.
If no time slots are available for a selected date — for example, because the resource is fully booked or a minimum notice period excludes that day — the end-user sees a "No available time slots for this date" message instead.
Accessing the Appointment Element
- Go to the Pages section of the Builder.
- Select the page that contains your Appointment element, or add a new page and add an Appointment element to it.
- Select the Appointment element in the center panel to open its settings on the right.
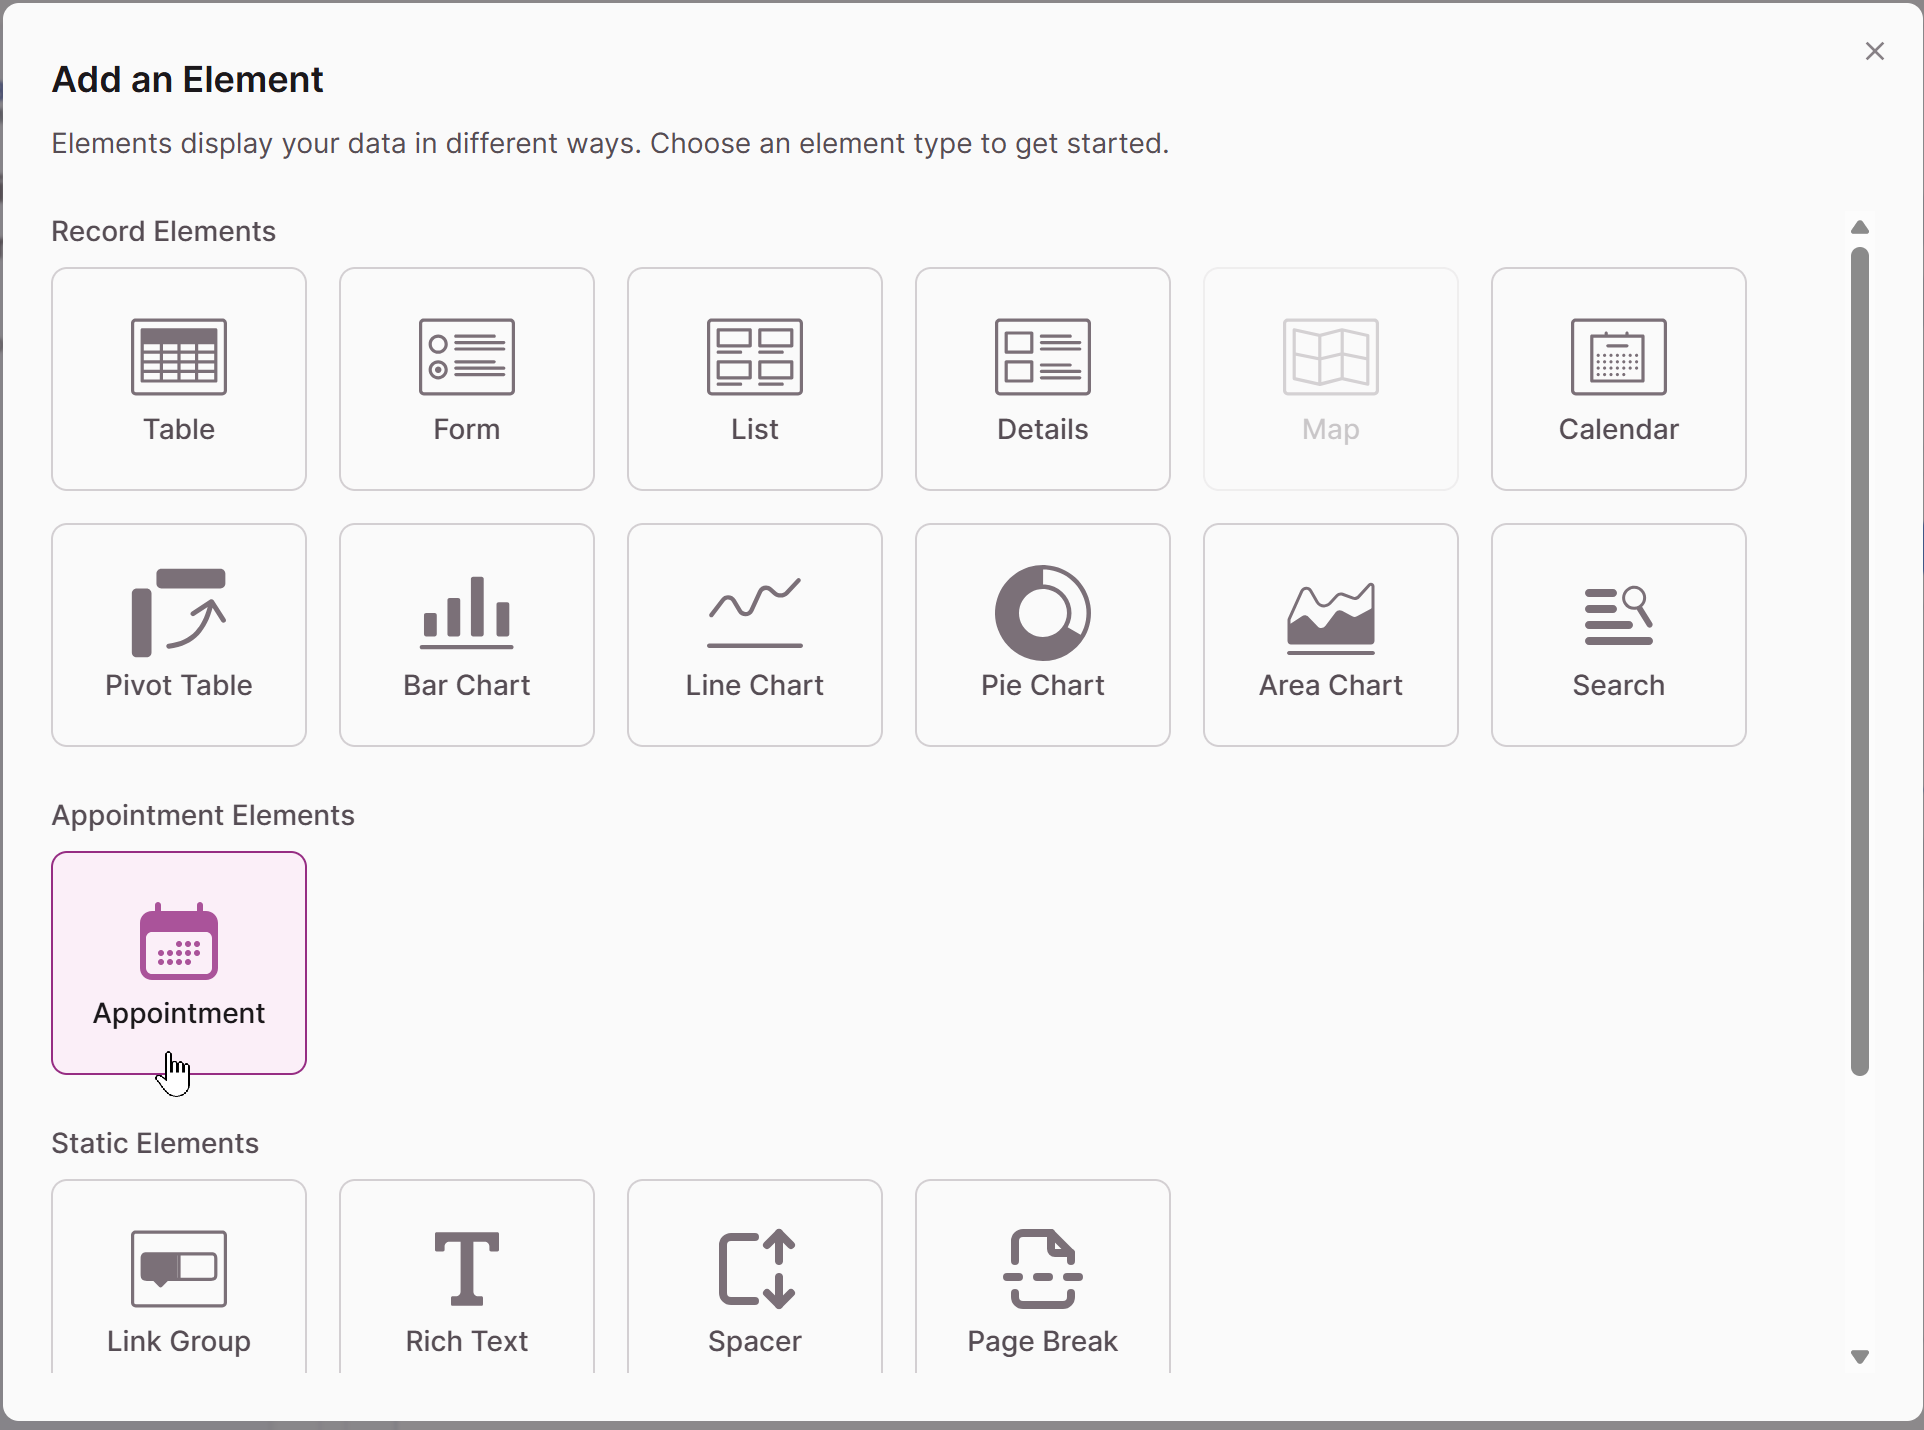
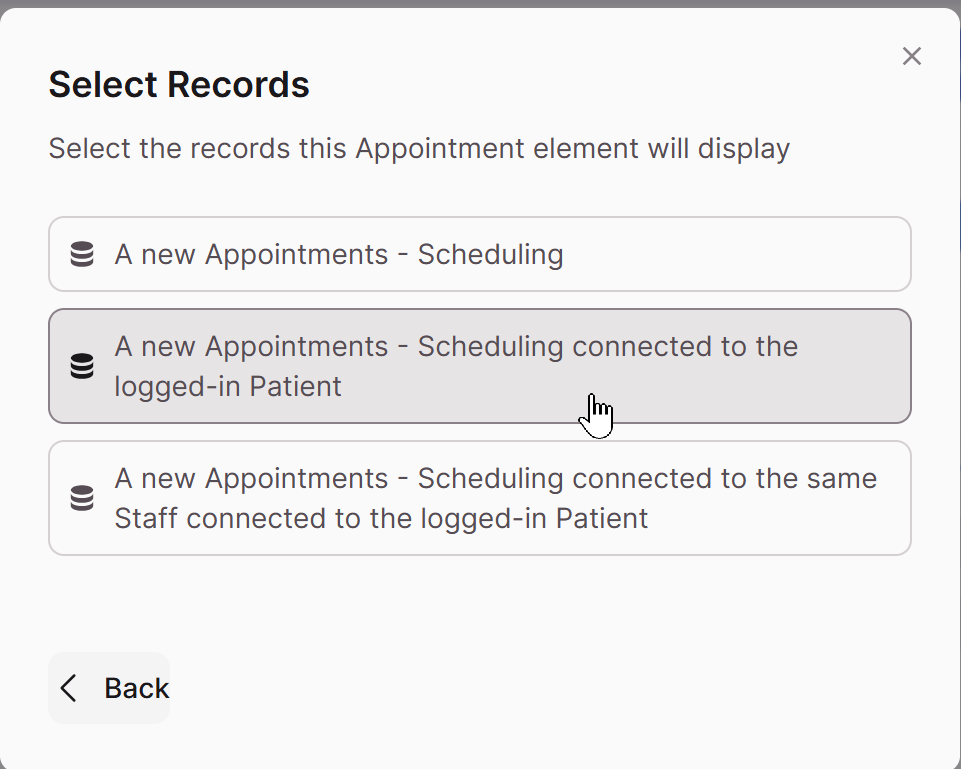
When you first add an Appointment element, you'll be prompted to Select Records — choose which table's records the element should display and insert into (for example, "Appointments - Scheduling").
Configuring the Appointment Element
When you select an Appointment element, the settings panel opens on the right with the following sections:
- Title & Description — Customize the title, description, and internal label for this element.
- Appointment Configuration (Step 1) — Configure the available appointment types, resource availability, and booking limits.
- User Fields (Step 2) — Manage the form fields shown to the end-user and add field display rules.
- Submit Actions — Set what happens after the form is submitted.
- Record Actions — Automatically update or insert records after the form is submitted.
- Email Actions — Automatically send emails when the form is submitted.
Appointment Configuration (Step 1)
Appointment types and resource details are pulled from your Appointments - Scheduling table. Within Appointment Configuration, you'll find:
Appointment Types — Select which appointment types from your Scheduling tables are bookable through this element. End-users will only be able to choose from the types you add here.
Resource Availability — Select the bookable resource (or resource table) end-users can choose from in the "With:" dropdown. Availability shown on the calendar and in the time-slot list is calculated from that resource's Shifts and existing Appointments.
Appointment Limits — Set booking constraints that apply on top of resource availability. This includes:
- Require Minimum Notice — A toggle that, when turned on, prevents end-users from booking appointments that start too soon.
- Off by default. When turned on, defaults to 12 Hours.
- When on, a numeric input and a unit dropdown (Hours or Days) appear, letting you set how far in advance a booking must be made.
- Hours is a rolling window measured from the current moment — for example, 12 Hours means no slot starting within the next 12 hours is offered.
- Days is measured in full calendar days, not a 24-hour window — for example, 1 Day means the appointment can't be booked today, only starting tomorrow; 2 Days pushes the earliest bookable day to the day after tomorrow, and so on.
- See the Scheduling and Timezones article Single Timezone and Multi-Timezone apps differ.
For a full breakdown of Minimum Notice behavior, see Require Minimum Notice for Appointment Booking
User Fields (Step 2)
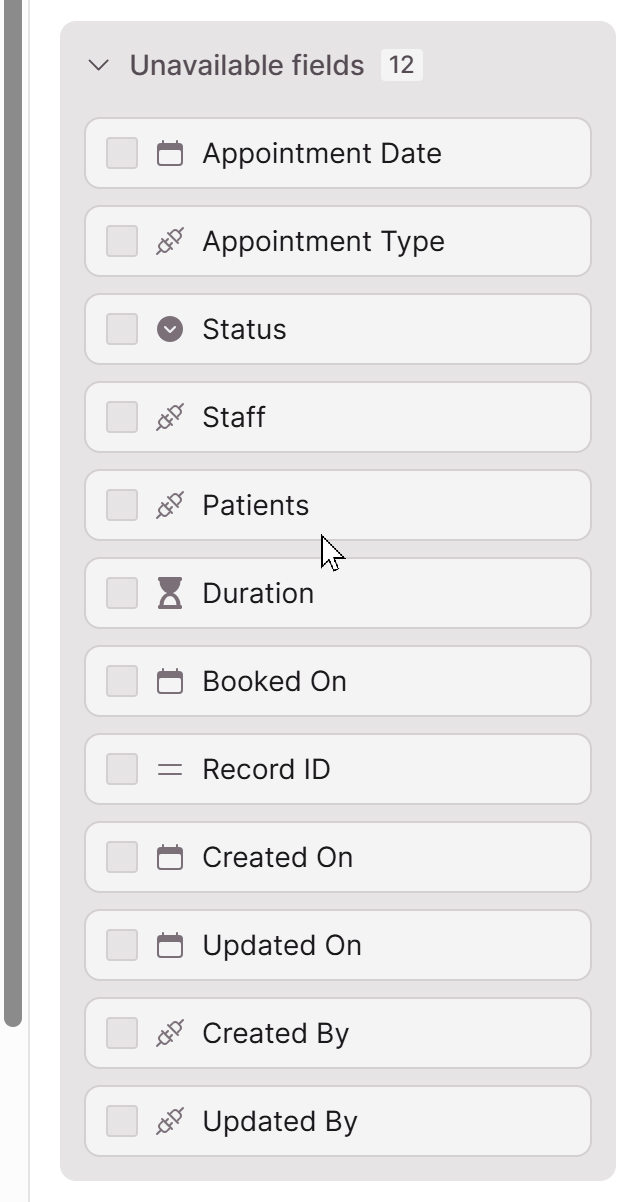
This section lists the fields from your Appointments table that can appear on the booking form, organized under Fields and Display Rules tabs. Fields already added to the form are checked; available-but-unused fields appear under Unavailable fields.
Common fields here include Name, Email, Note, and any connection fields (such as a connection to a Patients or Contacts table). See Automatically Connecting the Logged-In User to an Appointment below for guidance on connection fields specifically.
Submit Actions, Record Actions & Email Actions
These sections work the same way they do on standard Form elements:
- Submit Actions controls what the end-user sees or where they're redirected after booking (see Form Submit Actions).
- Record Actions lets you automatically update or insert other records when a booking is submitted (see Forms Record Actions).
- Email Actions lets you automatically send an email — such as a booking confirmation — when the appointment is submitted (see Forms Email Actions).
Sending a Confirmation Email to the Booker
You can automatically send the booker a confirmation email as soon as they submit their appointment.
- Select your Appointment element, then open Email Actions in the settings panel.
- Add a new email action.
- Set the recipient to the Email field submitted on the form (or, if you're using the logged-in user auto-connection described below, the logged-in user's email).
- Write your subject line and email body. You can insert merge fields from the submitted record — for example, the appointment type, date, time, and resource — so the confirmation reflects the specific booking.
- Save your changes.
Once configured, every booker will automatically receive a confirmation email with their appointment details when they submit the form.
Automatically Connecting the Logged-In User to an Appointment
If your Appointment element sits on a page protected by a login, and your Appointments table has a connection field to your user table (for example, a Patients table), Knack will automatically fill in that connection field with the logged-in user when they submit a booking — you don't need to show a field for it on the form.
Best Practice:For this to work, your related user table (for example, Patients) needs to be enabled as a Related Work Table. Go to that table's Table Settings and check Include records from this table as Work Table. This makes the table available as a choice when connecting new appointments to the logged-in user, and it's what allows the user role field on the Appointments table to populate automatically on submit.
This means you can simplify the booking form for logged-in users:
-
In the Page Editor, select your Appointment element.
-
Open User Fields (Step 2) in the settings panel.
-
If the connection field to your user table (for example, Patient) is present, it does not need to be shown to the end-user — it will be populated automatically on submit.
-
Optionally, remove the Name and Email fields from the form under the Fields tab, since that information can already be derived from the logged-in user's record via the connection.
Alternative: populate other fields with a Record Action
If you want to pull additional information from the logged-in user onto the Appointment record — for example, populating an Email field on the Appointments table with the logged-in user's email, rather than asking them to type it again — you can do this with a Record Action instead of a form field:
- Select your Appointment element, then open Record Actions in the settings panel.
- Add a new Record Action that updates the submitted Appointments record.
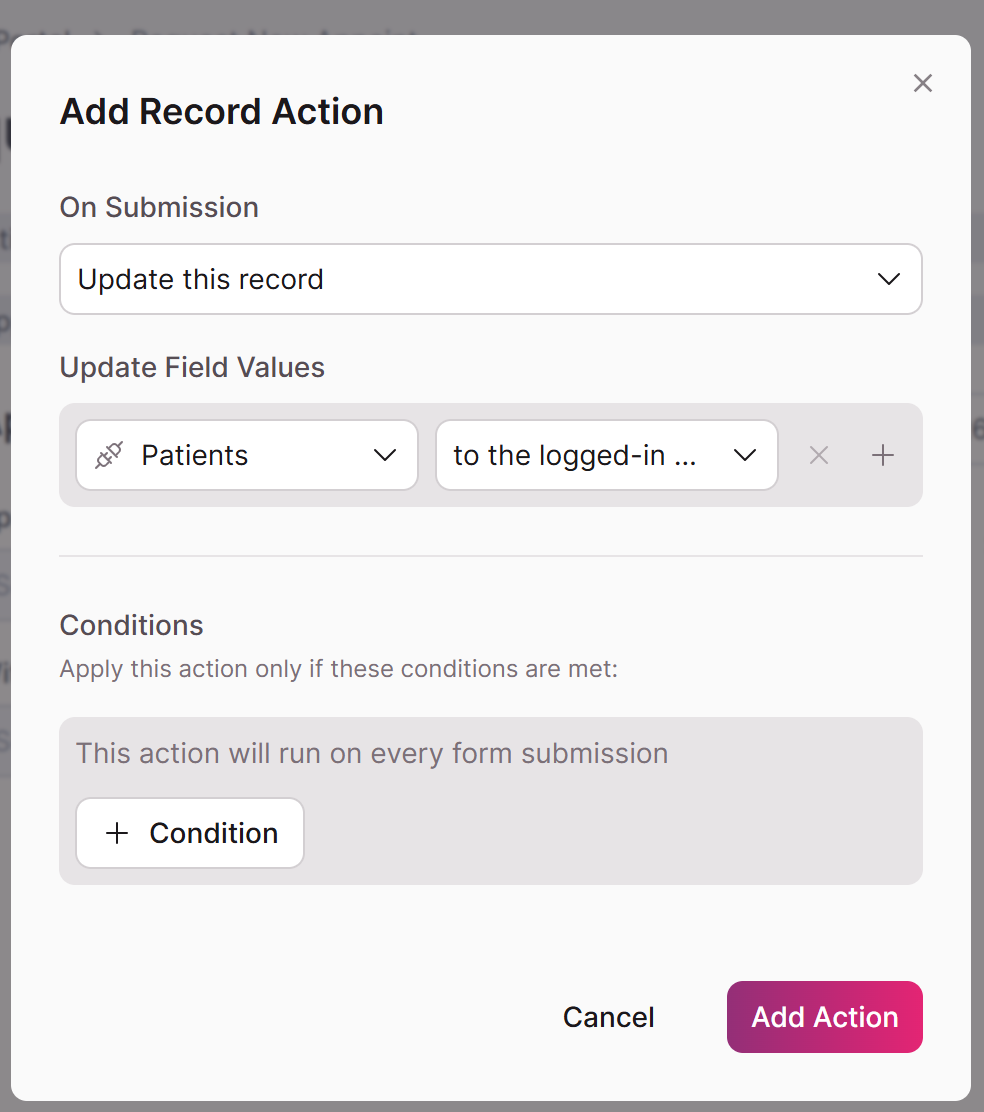
- Set the Email field (or other target field) to be populated from the logged-in user's record — using the connection created by the auto-filled Patient field — rather than from form input.
- Save your changes.
This approach keeps the booking form shorter for logged-in users while still ensuring the appointment record has the contact information you need.
Notes & Troubleshooting
- The connection field auto-fill described above only applies when the Appointment element is on a page protected by a login, and only for a connection field pointing to the logged-in user's table on the Appointments table.
- If no appointment types or no resources are selected in Appointment Configuration, end-users won't see any bookable dates.
- If Require Minimum Notice is on and no dates appear as bookable, double check the configured value and unit — a large Days value combined with limited resource availability can push the first bookable day out further than expected.
- Removing the Name or Email fields from the form is only appropriate if that data is available another way (for example, via the logged-in user connection) — otherwise you may lose contact information needed for confirmations or follow-ups.
- I have multiple related work tables. Which selection do I choose?
-
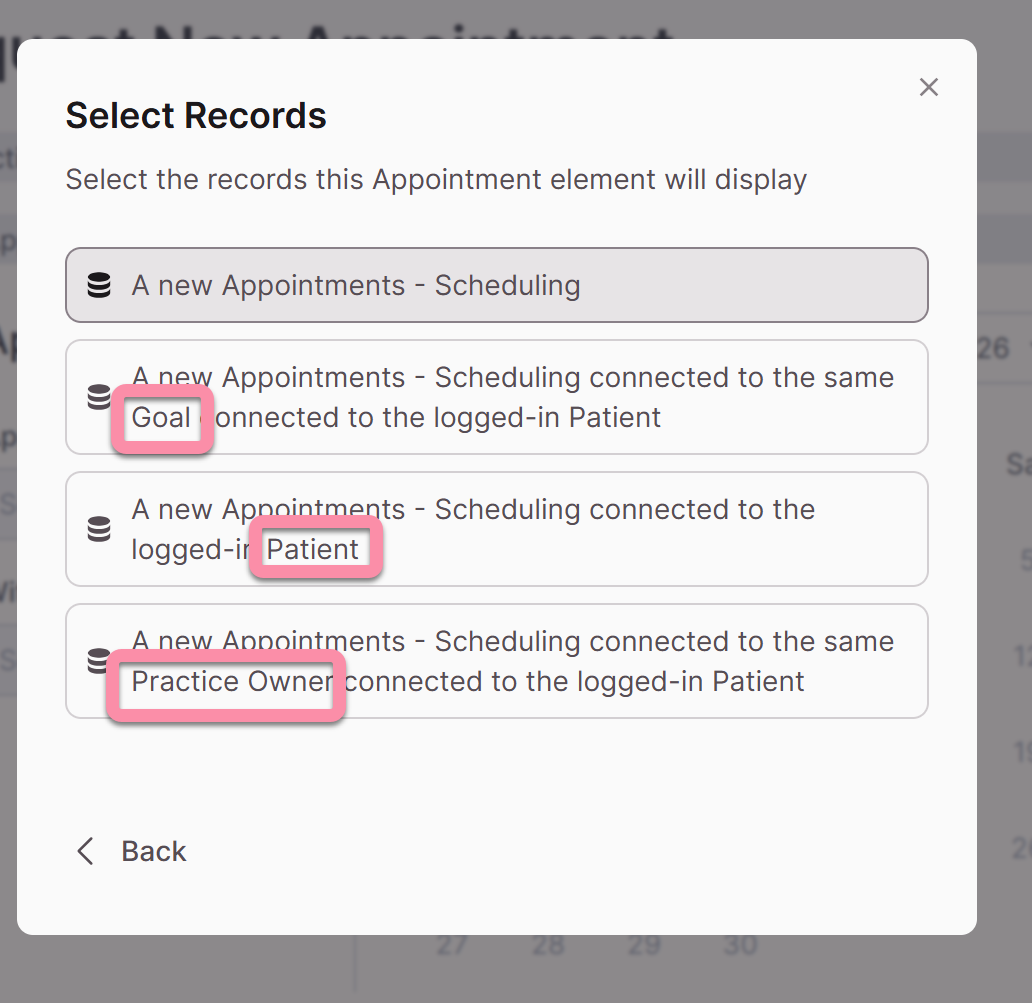
When you're building an "Add Appointment" form in Knack, and you have multiple related work tables, this "Select Records" popup asks: when someone creates a new appointment, how should Knack automatically connect it to other records (like a Goal, Patient, or Practice Owner)?
-
The options, in plain terms:
"A new Appointments - Scheduling" — Just create a blank new appointment with no automatic connections.
"...connected to the same Goal connected to the logged-in Patient" — Look at whoever is logged in, find their Patient record, find that Patient's Goal, and automatically link the new appointment to that same Goal. Think of it as "follow the thread from the logged-in person to their Goal, and attach it."
"...connected to the logged-in Patient" — Directly link the new appointment to the Patient record of whoever is logged in.
"...connected to the same Practice Owner connected to the logged-in Patient" — Same idea as the Goal option, but following the thread to the Patient's Practice Owner instead, and attaching that.
The key thing to know: Each option only fills in one connection on the new record. If you pick the "Goal" option, only the Goal field gets auto-filled — the Patient field will stay empty unless you separately set it up to auto-fill with a record action. Knack doesn't chain multiple connections together automatically from a single choice here; each connected field needs its own setup if you want more than one filled in automatically.
How can I have my users see only the resources relevant to them?
In this example, Janet, a user in the Patients table, has two doctors on her care team.
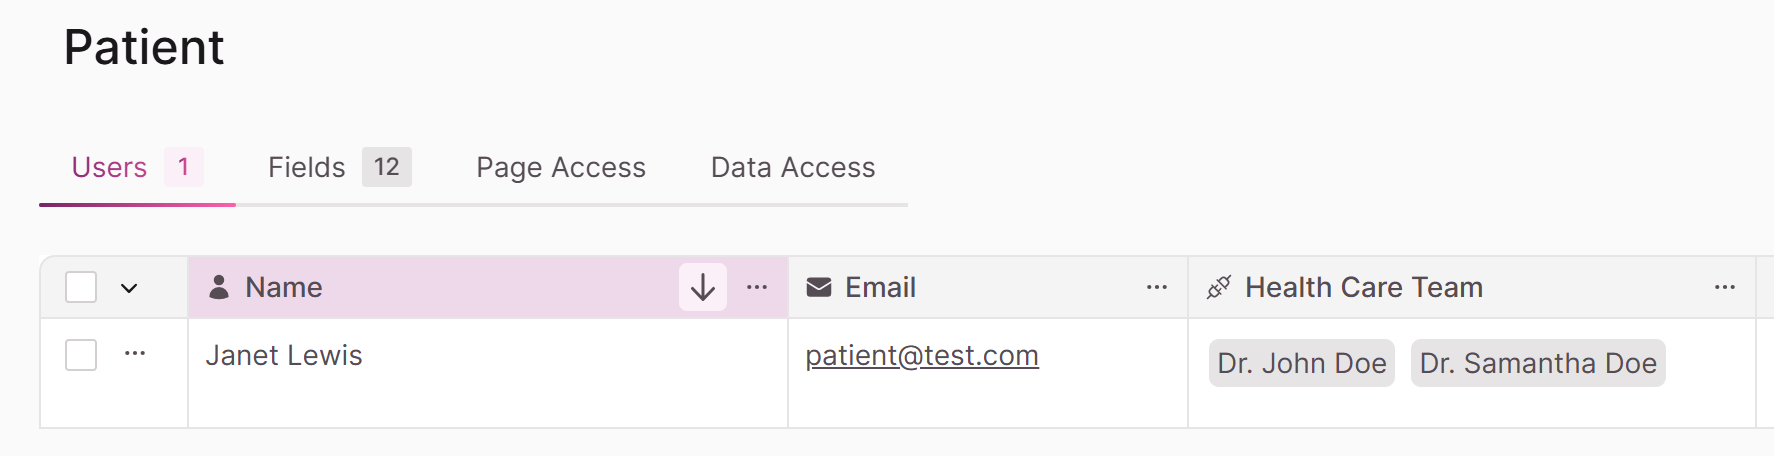
In the scenario that we only want to show these two providers to select from when Janet books her appointment, and with the Doctors table as the bookable resource, when we create the Appointment element, we would select the third option: ...connected to the same Doctor connected to the logged-in Patient.
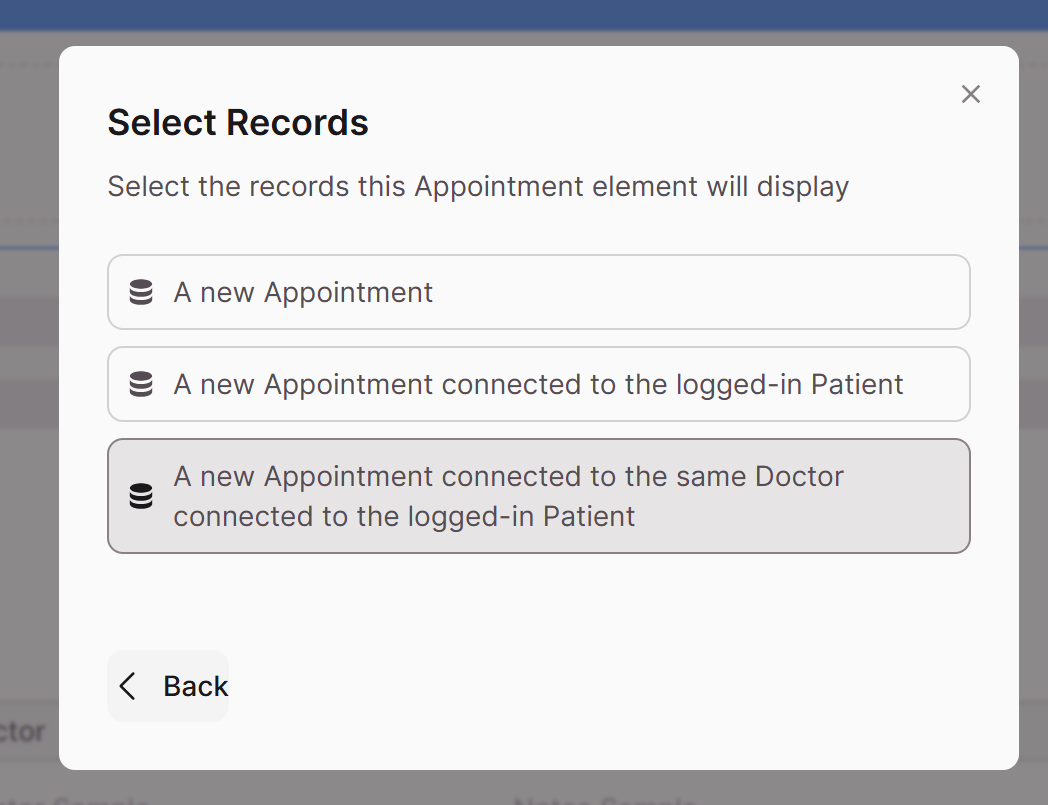
That will ensure that Janet only sees her specific providers when making her appointment, instead of all doctors in the practice.
Then, we could set up a record rule to automatically populate the Appointments record with Janet's name, so she doesn't have to manually fill it in herself.
Next Steps
- Require Minimum Notice for Appointment Booking — Full details on configuring and validating Minimum Notice
- Scheduling and Timezones — How Single Timezone and Multi-Timezone modes affect what bookers see
- Setting Up Knack Scheduling — Overview of Scheduling tables and setup
- Forms Email Actions — Configure confirmation and notification emails
- Forms Record Actions — Automatically update or insert related records
Updated 30 days ago